Welcome to the Scoops & Cones quilt along! We’re making the Scoops & Cones quilt over the next four weeks. This week, we’re making 40 ice cream cone blocks. We have photo tutorials, tips, and fun ice cream ideas to help you lick this task!
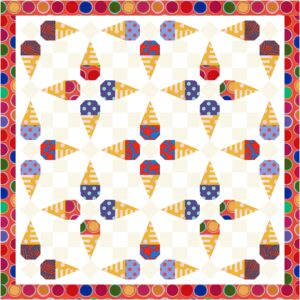
Head over to the introduction post to learn more about the quilt and grab the fabric requirements!
Click Here for the cutting instructions!
Last week, we cut out our quilts and tested two ice cream cone block construction methods: patchwork piecing and foundation paper piecing (FPP). Now it’s time to dish out all the ice cream cone blocks for the quilt. We have an alternative trimming method for the patchwork piecing method and a photo tutorial of the FPP method for you this week. And stick around for some fun ideas for taking your ice cream blocks to the next level.
Patchwork Piecing
Click Here to download the Patchwork Piecing instructions
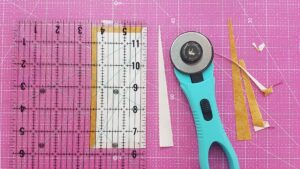
For an alternative trimming method, grab some freezer paper. That’s right, freezer paper like you get at the grocery store.
Sew the Half Rectangle Triangles as shown in the instructions, but don’t trim. Cut out a piece of freezer paper 2″ x 5″ rectangle.
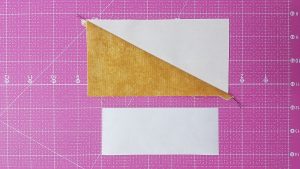
Mirroring the direction of the HRT to be trimmed, mark the freezer paper on the paper side in half diagonally once, corner to corner.

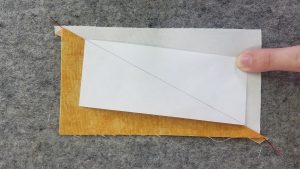
Lay the marked paper over the HRT shiny side down and line up the marking over the seam so it aligns precisely and there is more than 1/4″ excess at each side. Press with a warm iron to temporarily adhere the paper to the fabric.
Using a ruler, measure 1/4″ from the edge of the freezer paper on a short end and trim. Trim the opposite side so the unit measures 5 1/2″ long.

Trim the long sides in the same manner so the unit measures 2 1/2″ wide.
Peel the freezer paper away from the trimmed unit.

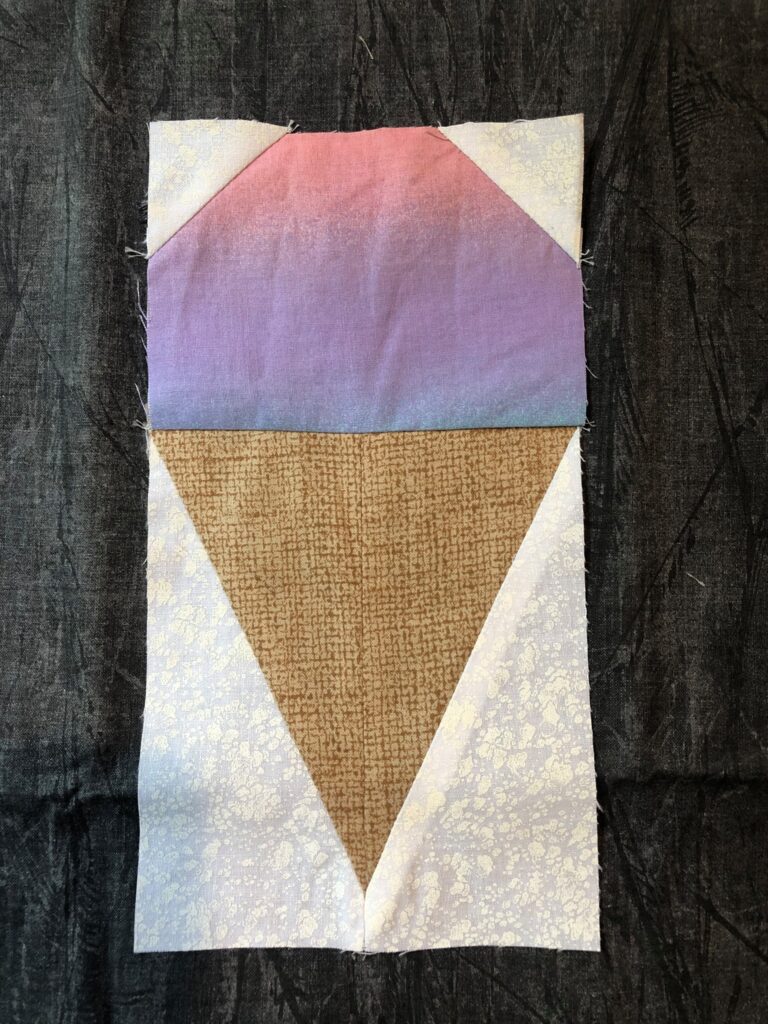
The unit is now trimmed and with the seam properly offset for accurate points.

Make 40 ice cream cone blocks measuring 4 1/2″ x 8 1/2″ unfinished.
Foundation Paper Piecing
Click Here to download the Foundation Paper Piecing Templates
Click Here to download the FPP Assembly Instructions
To make the ice cream cone blocks using the FPP templates, follow the FPP assembly instructions. Make 40 ice cream cone blocks measuring 4 1/2″ x 8 1/2″ unfinished.
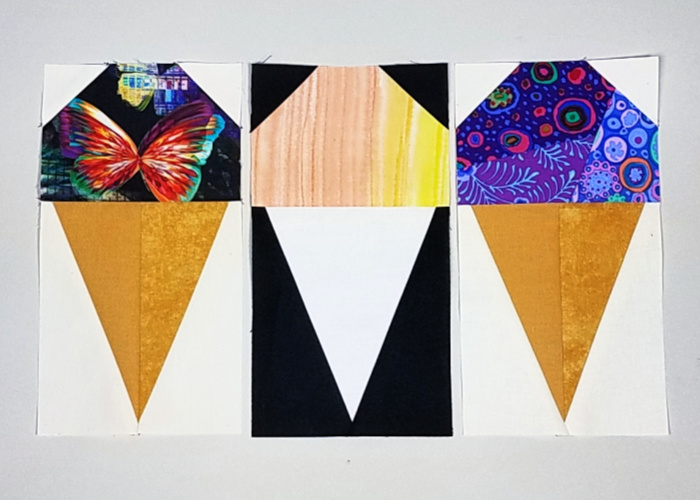
Fun Ice Cream Cone Ideas!

We have three fun ideas for creating a variation on the ice cream cone blocks.
- Fussy Cut – Fussy cut the ice cream using your preferred fussy cutting method. This is a fun way to show off print fabrics.
- One Cone Piece or Snow Cone – This is a two-for-one idea! If you want to use a single fabric for the cone piece, use the FPP template to create a triangle template. Note that you’ll need to cut a piece at least 4 1/2″ x 5 1/2″ for the cone. The second idea is for the snow cone lovers! Make a white cone, use a darker background, and fill those snow cones full of vibrant, fruity flavors!
- Piece the Ice Cream – Using improv piecing, use up scraps to make pieced fabric. Cut the fabric up into ice cream rectangles and enjoy!
Next Time…
Check back July 31st, 2019 for the next installment in the Scoops & Cones quilt along. We’ll be making all the setting blocks for the quilt.
We all scream for ice cream!
Last week we asked you to share your tester ice cream cone blocks for a chance at a sweet giveaway surprise. Everyone shared some scrumptious creations!
Linda S.
0 Comments for “Scoops & Cones QAL – Ice Cream Cone Blocks”