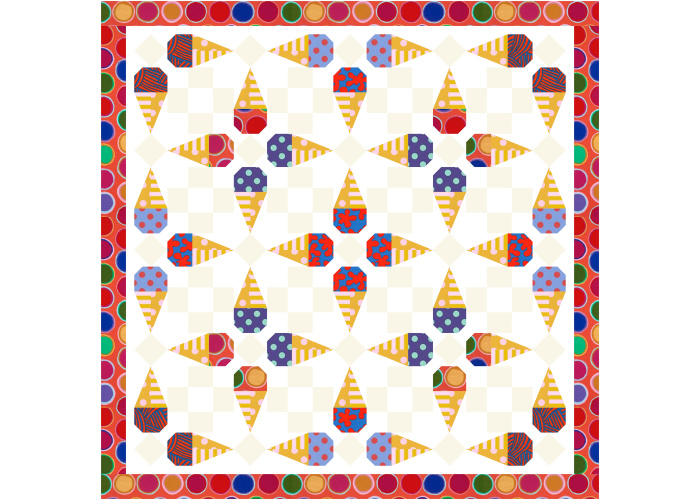
Welcome to the Scoops & Cones quilt along! We’re making the Scoops & Cones quilt over the next four weeks. This week, we’re deciding on a preferred piecing method and cutting out our Scoops & Cones quilt.
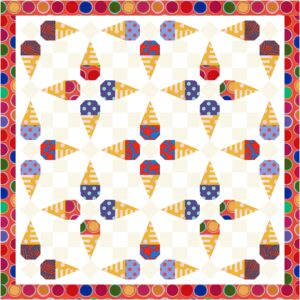
Head over to the introduction post to learn more about the quilt and grab the fabric requirements!
We’re kicking off week 1 with cutting instructions and two construction method options. We’re including the pattern for the ice cream block this week so you can try out both construction methods and make your choice before cutting out the quilt. Think of it as a flavor taste test in a mini spoon!
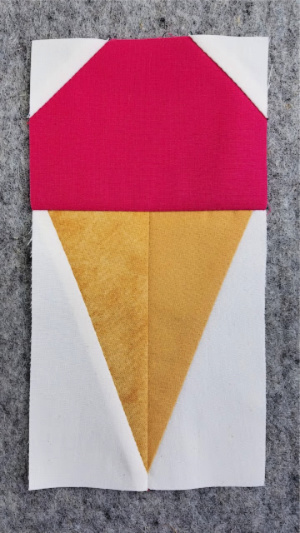
The Scoops & Cones quilt is built around this ice cream cone block, and we have two ways for you to make the block.
The first is traditional patchwork. I like this method because it’s fairly quick piecing and uses a little less fabric. Getting the hang of piecing and trimming Half Rectangle Triangles is the hardest part of this method, which is why we’ve put together a photo tutorial of how to make an ice cream cone block using traditional patchwork piecing techniques.
Click Here to try Patchwork Piecing the ice cream cone block!
If patchwork piecing is for you, here’s the fabric requirements for the Scoops & Cones quilt.
Patchwork Cutting Instructions
Based on 42” usable fabric
From the Background (white) & Inner Border fabric, cut:
(8) 3 ¾” x WOF strips, and subcut into:
(40) 3 ¾” x 6 ¼”
(3) 1 ½” x WOF strips, and subcut into:
(80) 1 ½” x 1 ½”
(5) 3” x WOF strips
(2) 3 ½” x WOF strips
(7) 2 ½” x WOF strips, and subcut into:
(100) 2 ½” x 2 ½”
(6) 1 ½” x WOF strips
From the Accent (cream) fabric, cut:
(3) 3” x WOF strips
(3) 3 ½” x WOF strips
(3) 4 ½” x WOF strips, and subcut into:
(25) 4 ½” x 4 ½”
From the Light Cone fabric, cut:
(4) 3 ¾” x WOF strips, and subcut into:
(20) 3 ¾” x 6 ¼”
From the Dark Cone fabric, cut:
(4) 3 ¾” x WOF strips, and subcut into:
(20) 3 ¾” x 6 ¼”
From the Ice Cream fabric(s), cut:
(40) 3 ½” x 4 ½”
From the Outer Border fabric, cut:
(6) 3 ½” x WOF strips
From the Binding fabric, cut:
(6) 2 ½” x WOF strips
The second construction method is Foundation Paper Piecing (FPP). I love the accurate results I get with of FPP without having to do lots of marking and accurate trimming. There’s more fabric waste, and papers to rip off at the end, but it can be worth that little extra time and effort. Grab some scrap fabric and try out a block using FPP to see if you prefer this method.
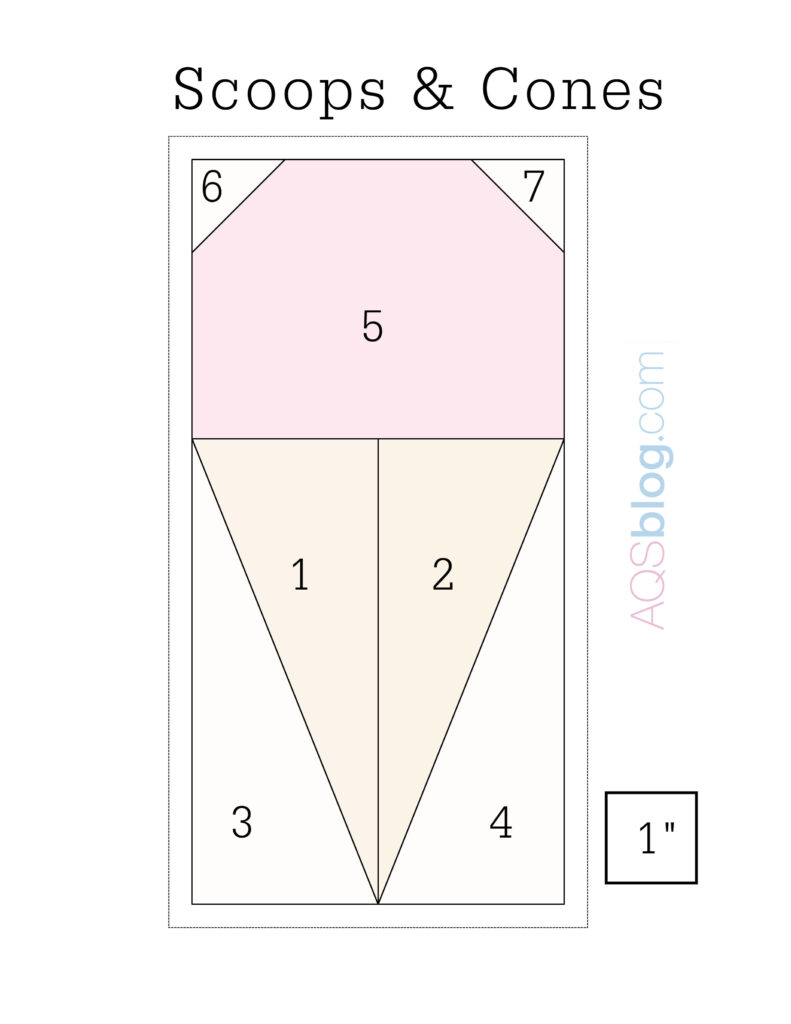
Click Here to try Foundation Paper Piecing the ice cream cone quilt!
If FPP is for you, here’s the cutting instructions for Scoops & Cones.
Foundation Paper Piecing Cutting Instructions
Based on 42” usable fabric
From the Background (white) & Inner Border fabric, cut:
(8) 4” x WOF strips, and subcut into:
(40) 4” x 7” (Check back next week for more FPP instructions)
(3) 2 ½” x WOF strips, and subcut into:
(40) 2 ½” x 2 ½” cut in half diagonally once
(5) 3” x WOF strips
(2) 3 ½” x WOF
(7) 2 ½” x WOF strips, and subcut into:
(100) 2 ½” x 2 ½”
(6) 1 ½” x WOF strips
From the Accent (cream) fabric, cut:
(3) 3” x WOF strips
(3) 3 ½” x WOF strips
(3) 4 ½” x WOF strips, and subcut into:
(25) 4 ½” x 4 ½”
From the Light Cone fabric, cut:
(4) 4” x WOF strips, and subcut into:
(20) 4” x 7” (Check back next week for more FPP instructions)
From the Dark Cone fabric, cut:
(4) 4” x WOF strips, and subcut into:
(20) 4” x 7” (Check back next week for more FPP instructions)
From the Ice Cream fabric(s), cut:
(40) 4” x 5”
From the Outer Border fabric, cut:
(6) 3 ½” x WOF strips
From the Binding fabric, cut:
(6) 2 ½” x WOF strips
Next Time…
We’ll be making all the ice cream cones for the quilt. There will be a step-by-step photo tutorial for Foundation Paper Piecing, alternative trimming methods for Patchwork Piecing, and we’ll show off your test flavor ice cream cones.
0 Comments for “Scoops & Cones QAL – Cutting Instructions”