
It’s the third week of the Dancing Ribbons Quilt Along! We’re covering foundation paper piecing joining as we sew all the Y-sections.
Dancing Ribbons Quilt Along
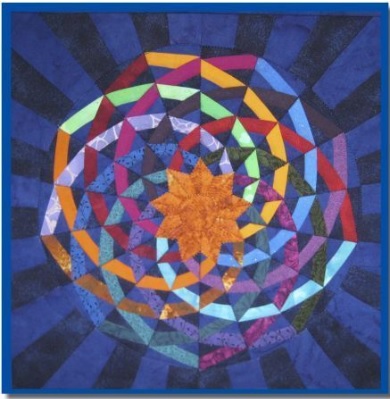
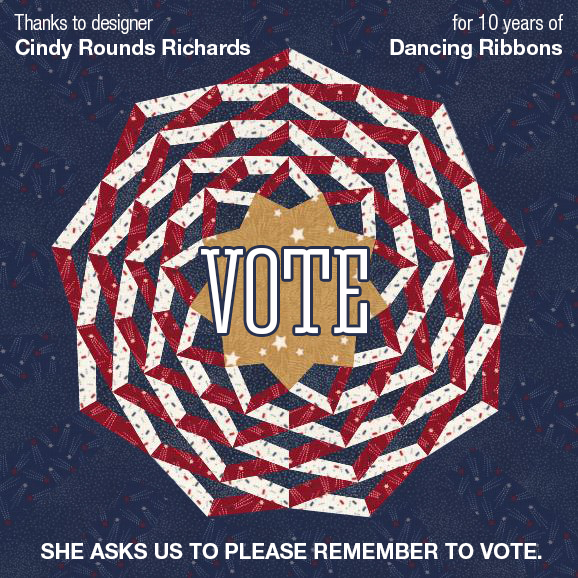
Dancing Ribbons pattern by Cindy Rounds Richards
Quilt above made by Beverly Mattila
This 12″ x 12″ miniature quilt has captured a lot of imaginations since its release in September 2010. And now, almost a decade later, we’re celebrating this fun project with a 4-week quilt along!
How to Join the Quilt Along
Subscribe to the OnPoint newsletter to be notified of the new post each week. Join the AQS Quilting Project Parade on Facebook to talk to fellow quilters, share your progress, and ask questions. Look below for when the posts go up each week! This is a free quilt along and there is no formal sign-up. Make the project at your pace and enjoy!
The Schedule
Fabric Pull & Organizing – Click Here
X-sections Assembly – Click Here
Y-sections Assembly – See Below!
Z-sections Assembly & Finishing Touches – Coming July 8th
The Pattern
You can find the pattern for free by Clicking Here!
Last Time…
The first week, we selected our fabric and organized using the Color & Fabric Guide. You were also given the option to cut out all the pieces if that’s part of your process. Some folks cut strips and then subcut what they need as they need it. Last week, we started sewing our Dancing Ribbons project working on the X-sections. Now we’re ready to start sewing all the Y-sections and joining the circle.
Before Sewing
Prepare:
Print out the number of foundation paper patterns needed.
Cut fabric into pieces larger than needed to cover the pattern area. (Refer to pattern for sizes if you have not yet completed this step.)
Set the stitch length on your sewing machine to make short stitches.
Grab supplies:
Iron
Small acrylic ruler with 1/4″ marks
Small rotary cutter and mat
Use the same methods as last week for organizing and assembling the X-sections.
Joining the Paper Piecing Sections
Joining paper piecing sections and maintaining straight edges can be one of the trickiest parts of foundation paper piecing. We have a trick for getting nice results, and all you need extra is a firm pin and a craft clip or two.
Joining Sections
(Note: the pieces shown aren’t from dancing ribbons but the method is the same)
Begin by laying out the sections as the block will be assembled. Identify the order in which the sections should be sewn together.
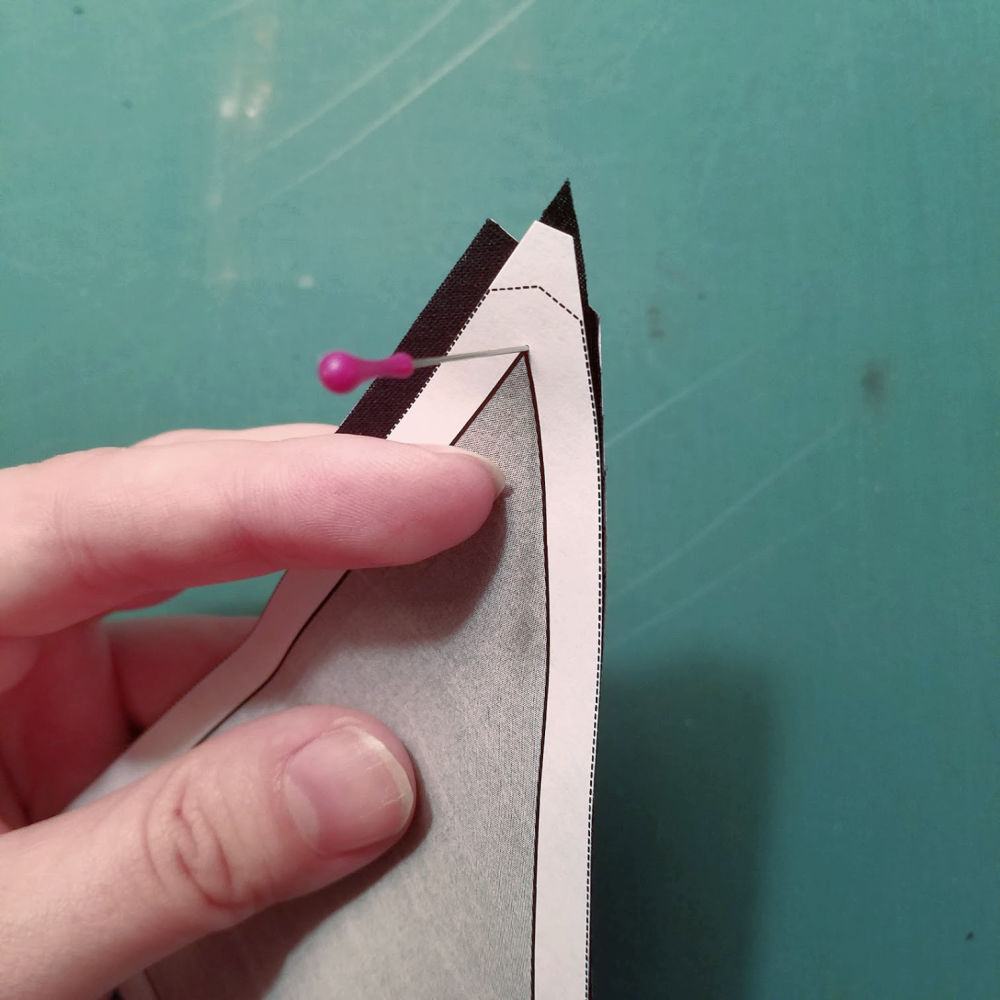
Starting with the first two sections that need to be sewn together, bring the two sections right sides together. With a firm pin, pierce one section through the point with the pin.
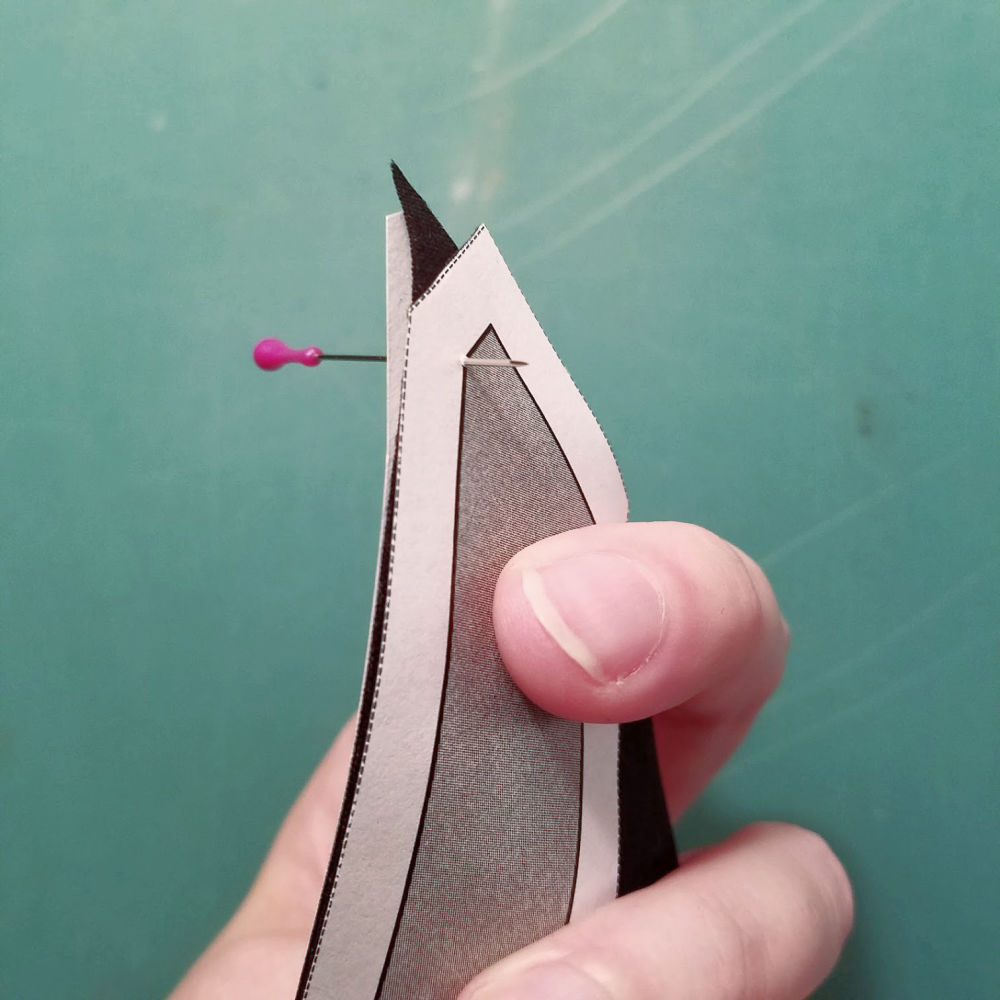
Pierce the pin through the second section at the point as well. Leave the pin standing upright. The goal is to hold the points together for a brief moment rather than to pin the sections together.
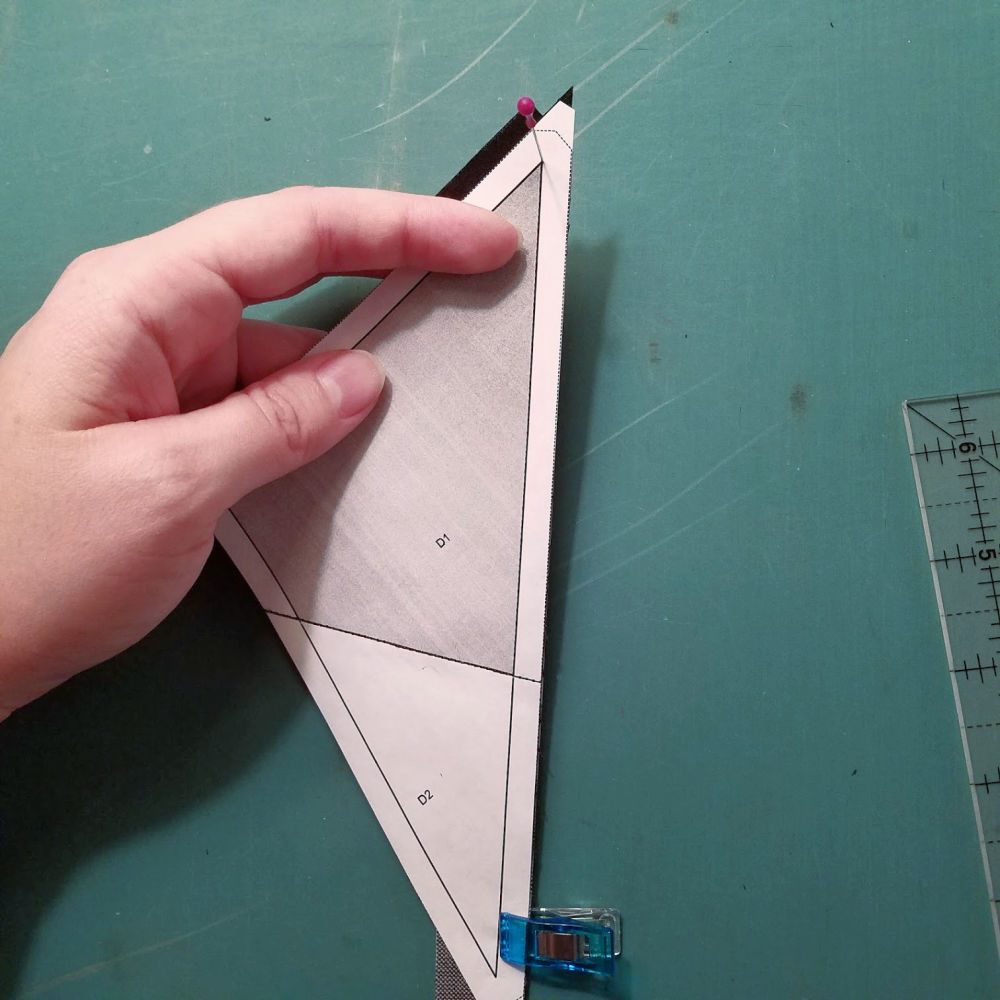
With the pin still in place and held perfectly upright, secure the rest of seam using a craft clip. A clip is preferred to pinning because it holds the pieces together without shifting, which can sometimes happen with pinning.
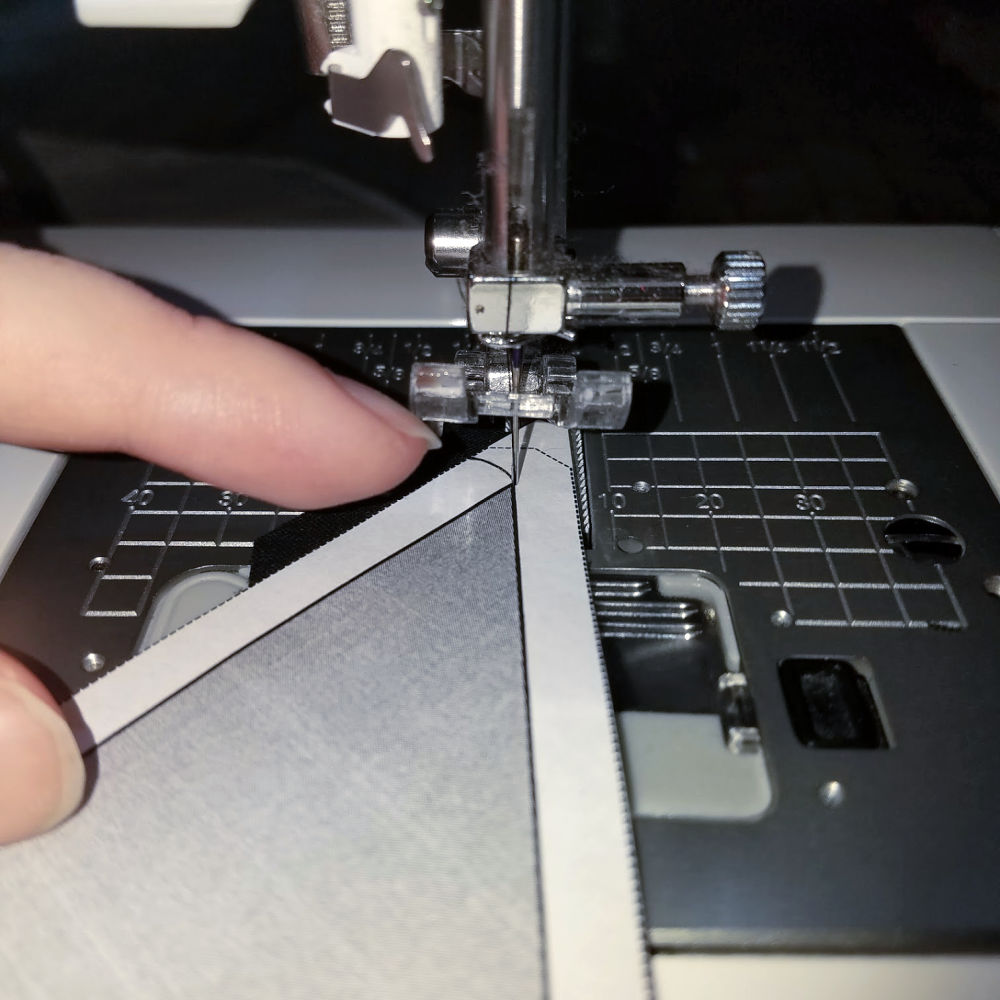
Bring the pieces under the sewing machine, and remove the pin while carefully maintaining the fabric alignment. Bring the machine needle down into the hole created by the pin where the points of the two sections meet.
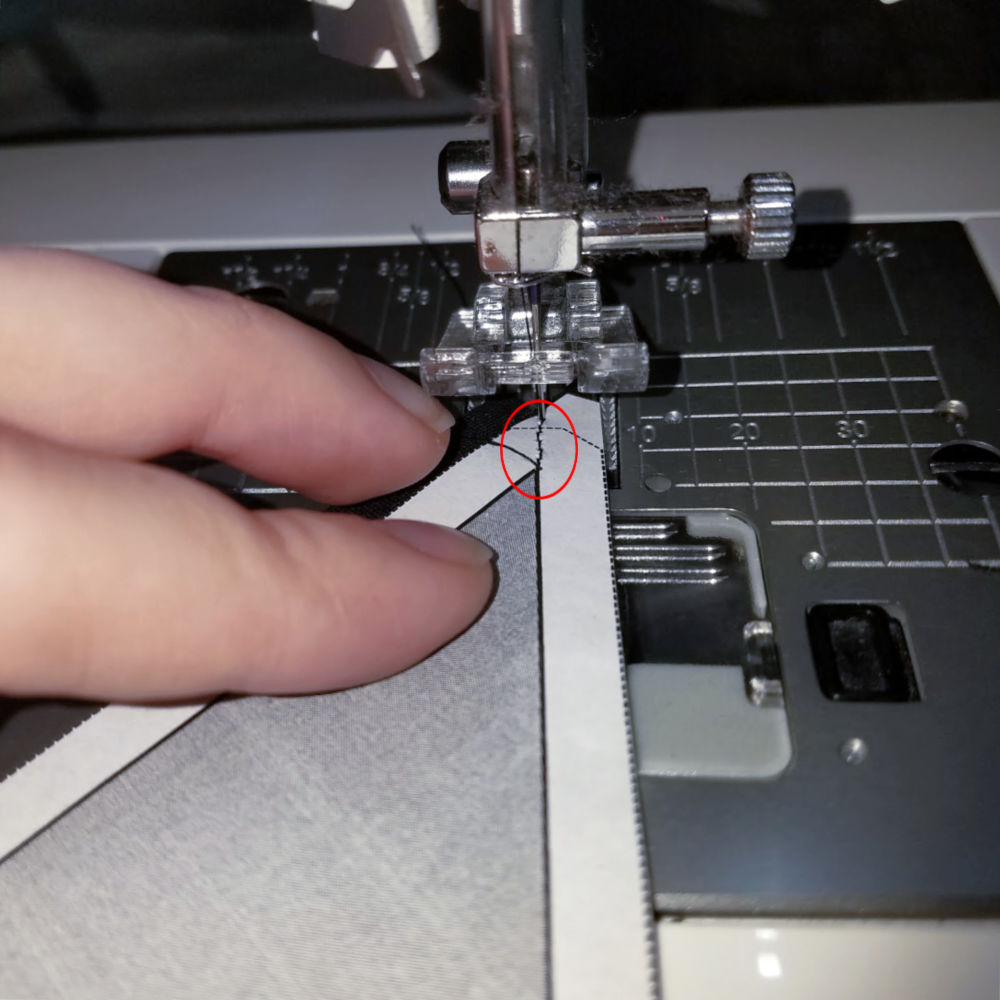
Sew backwards to secure the seam, and then forwards again through the rest of the section on the seam line. Remove the craft clip before reaching it. Once sewn, you can check that the pieces joined together successfully. Use this method to match point by point.
Suggested Supplies
Some of these supplies have already gotten use this week, but check it out anyways in case your supplies are low!
Printer for printing patterns
Sewing Machine
Sewing thread (the same color as background fabric)
Microtex Sharp machine needles
Small cutting mat
Small ruler for trimming
Large Ruler for measuring
Rotary Cutter
Karen K. Buckley Scissors
Fabric Glue Pen
Pencil
Wonder Clips
Wooly felted ironing mat
Small iron
Next Time
Come back next week when we’ll be sewing the Z-sections and finishing up! Be sure to subscribe to the OnPoint newsletter to never miss a post.
Show off your progress, connect with other quilters, get ideas, motivation and more!
Join us in the AQS Project Parade Facebook Group and quilt along with us!
Members get even more…
AQS Members can access hundreds of patterns and digital issues of American Quilter at any time!
Find quilt along series like Forever & A Day, 30 Days of Birds and more.

Not a member? Join today!
I have to ask why do all of these look off center to me?
Hi Christi, It may be the illusion of value and placement along with having nine sections rather than an even number. Take care, Betsey
Perhaps but every single one I have seen looks off center. Does it appear that way on a wall?
I would love to show a photo of my original quilt. How can I do that?
Hi Cindy, That would be wonderful! Please email me your image and I’ll add it! betsey.langford@americanquilter.com Thanks! Betsey
After sewing, which way do you press?