
It’s the first week of the Dancing Ribbons Quilt Along! We’re pulling our fabrics as we talk colorways, fabric selections, and get inspired by Dancing Ribbons projects made by quilters like you.
Dancing Ribbons Quilt Along
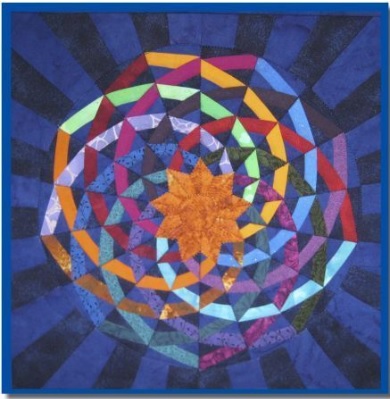
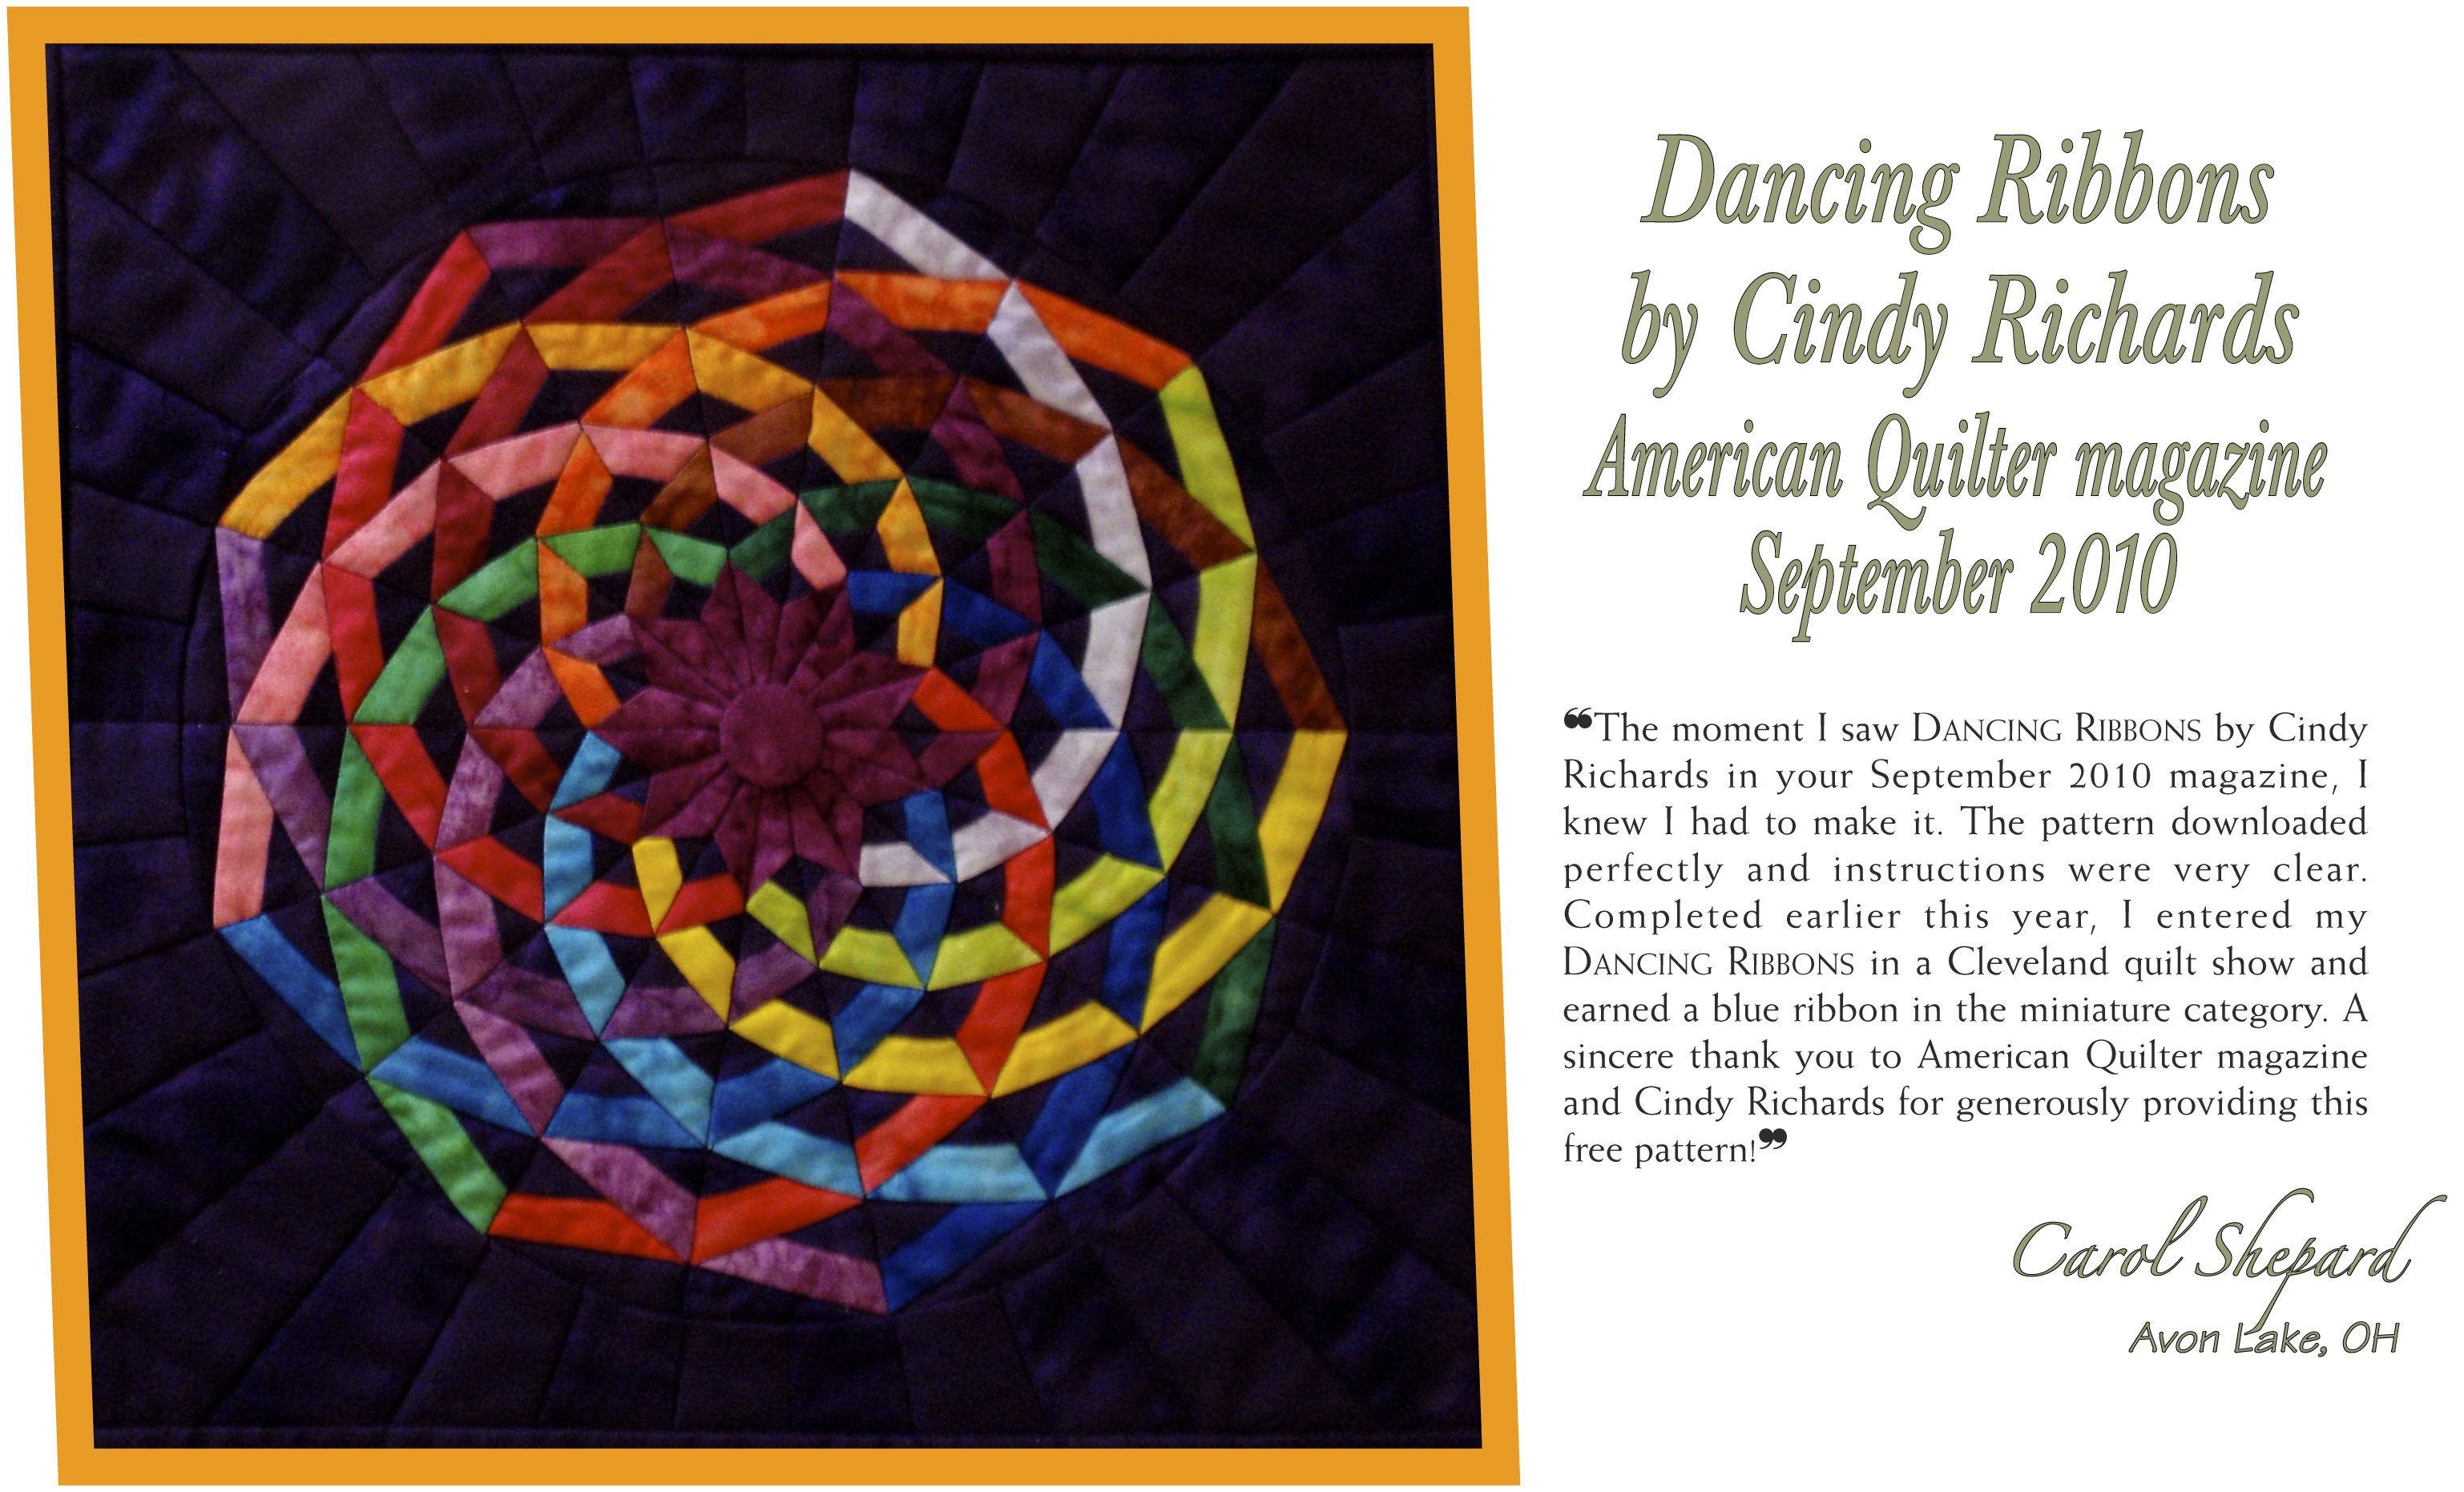
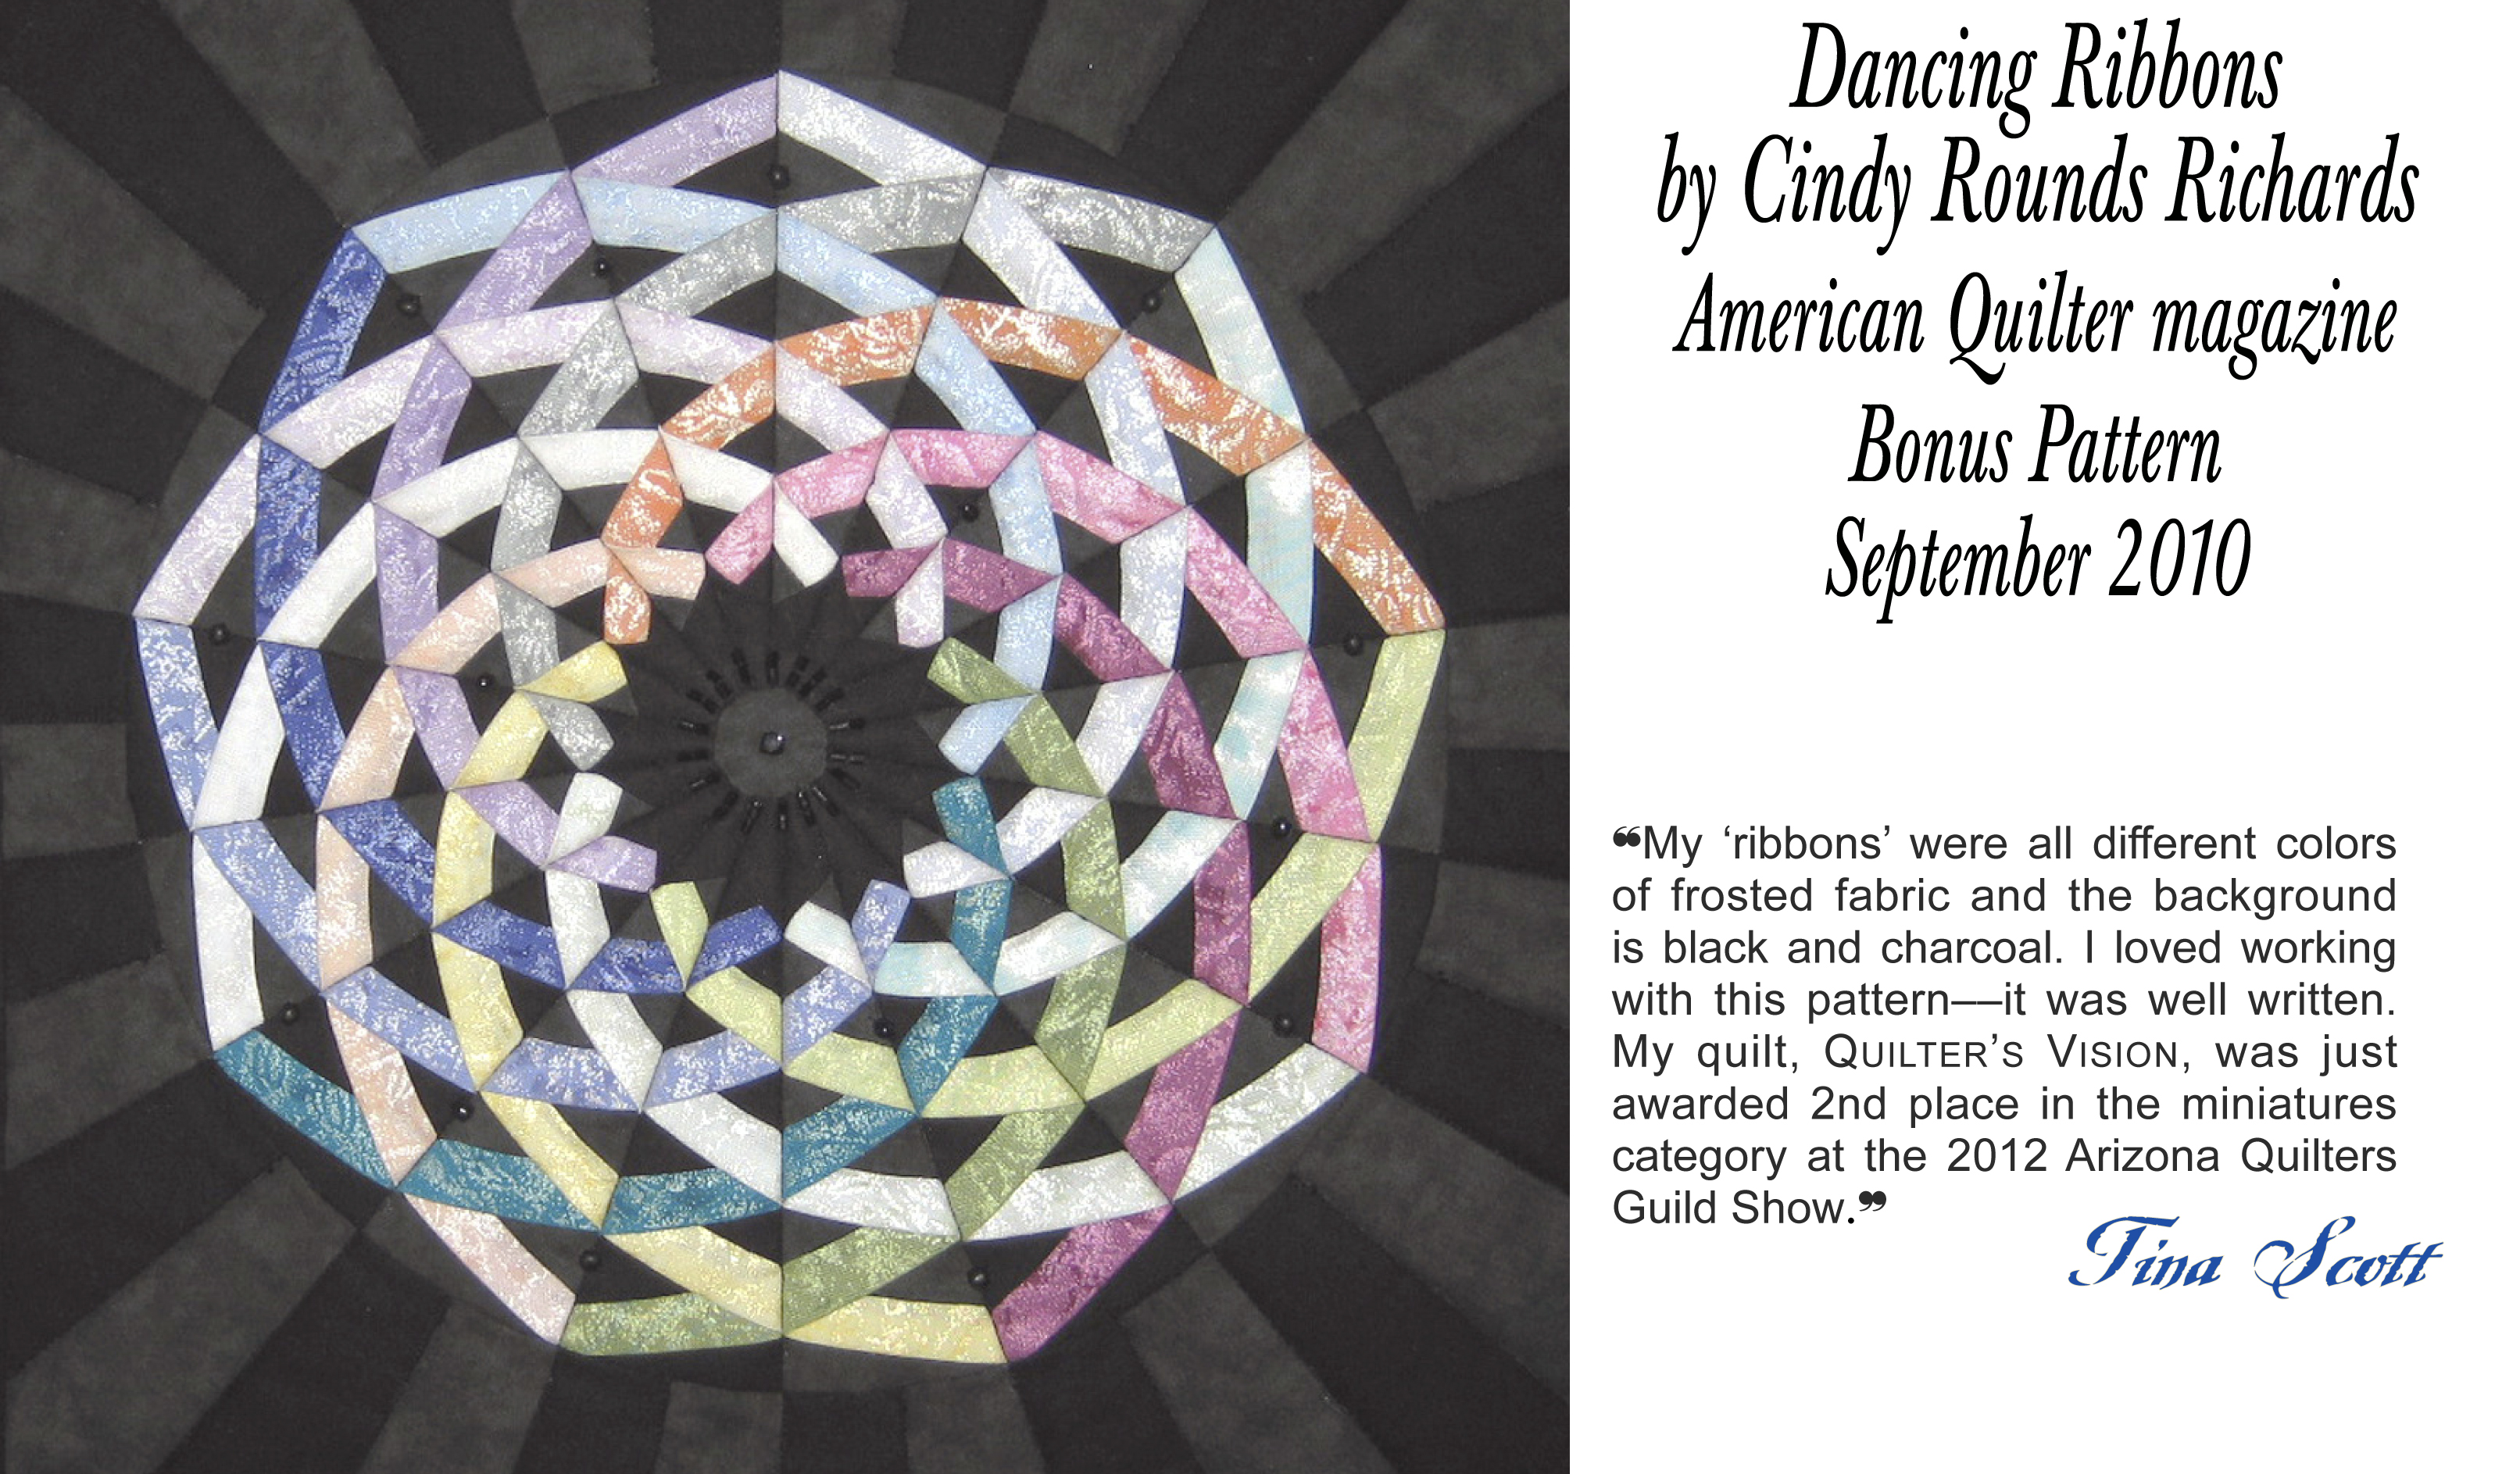
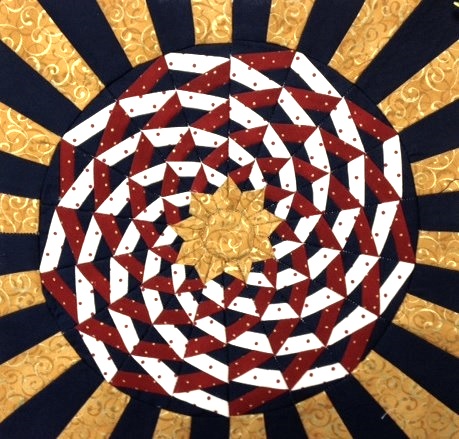
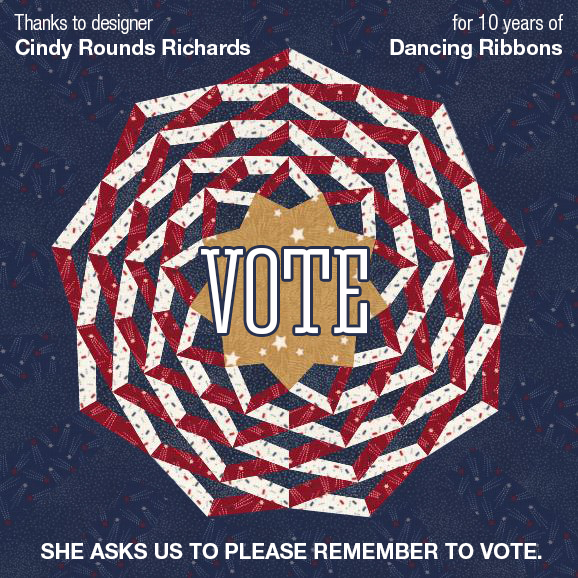
Dancing Ribbons pattern by Cindy Rounds Richards
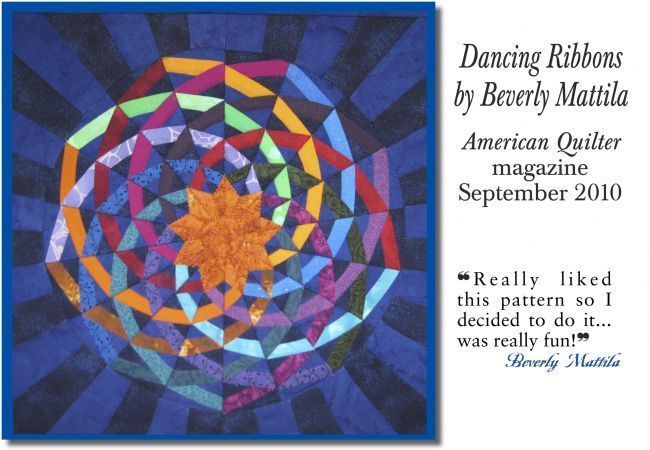
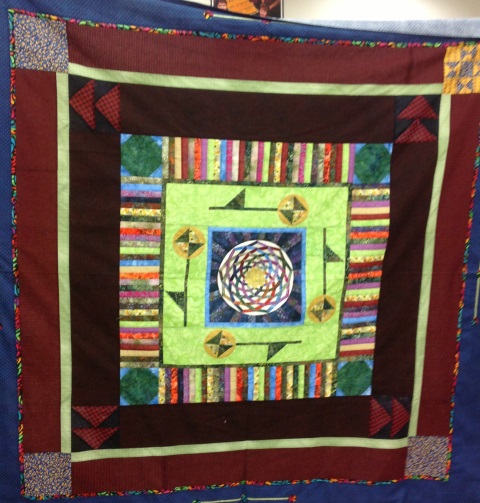
Quilt above made by Beverly Mattila
This 12″ x 12″ miniature quilt has captured a lot of imaginations since its release in September 2010. And now, almost a decade later, we’re celebrating this fun project with a 4-week quilt along!
How to Join the Quilt Along
Subscribe to the OnPoint newsletter to be notified of the new post each week. Join the AQS Quilting Project Parade on Facebook to talk to fellow quilters, share your progress, and ask questions. Look below for when the posts go up each week! This is a free quilt along and there is no formal sign-up. Make the project at your pace and enjoy!
The Schedule
Fabric Pull & Organizing – See Below!
X-sections Assembly – Click Here
Y-sections Assembly – Click Here
Z-sections Assembly & Finishing Touches – Click Here
The Pattern
You can find the pattern for free by Clicking Here!
Getting Organized
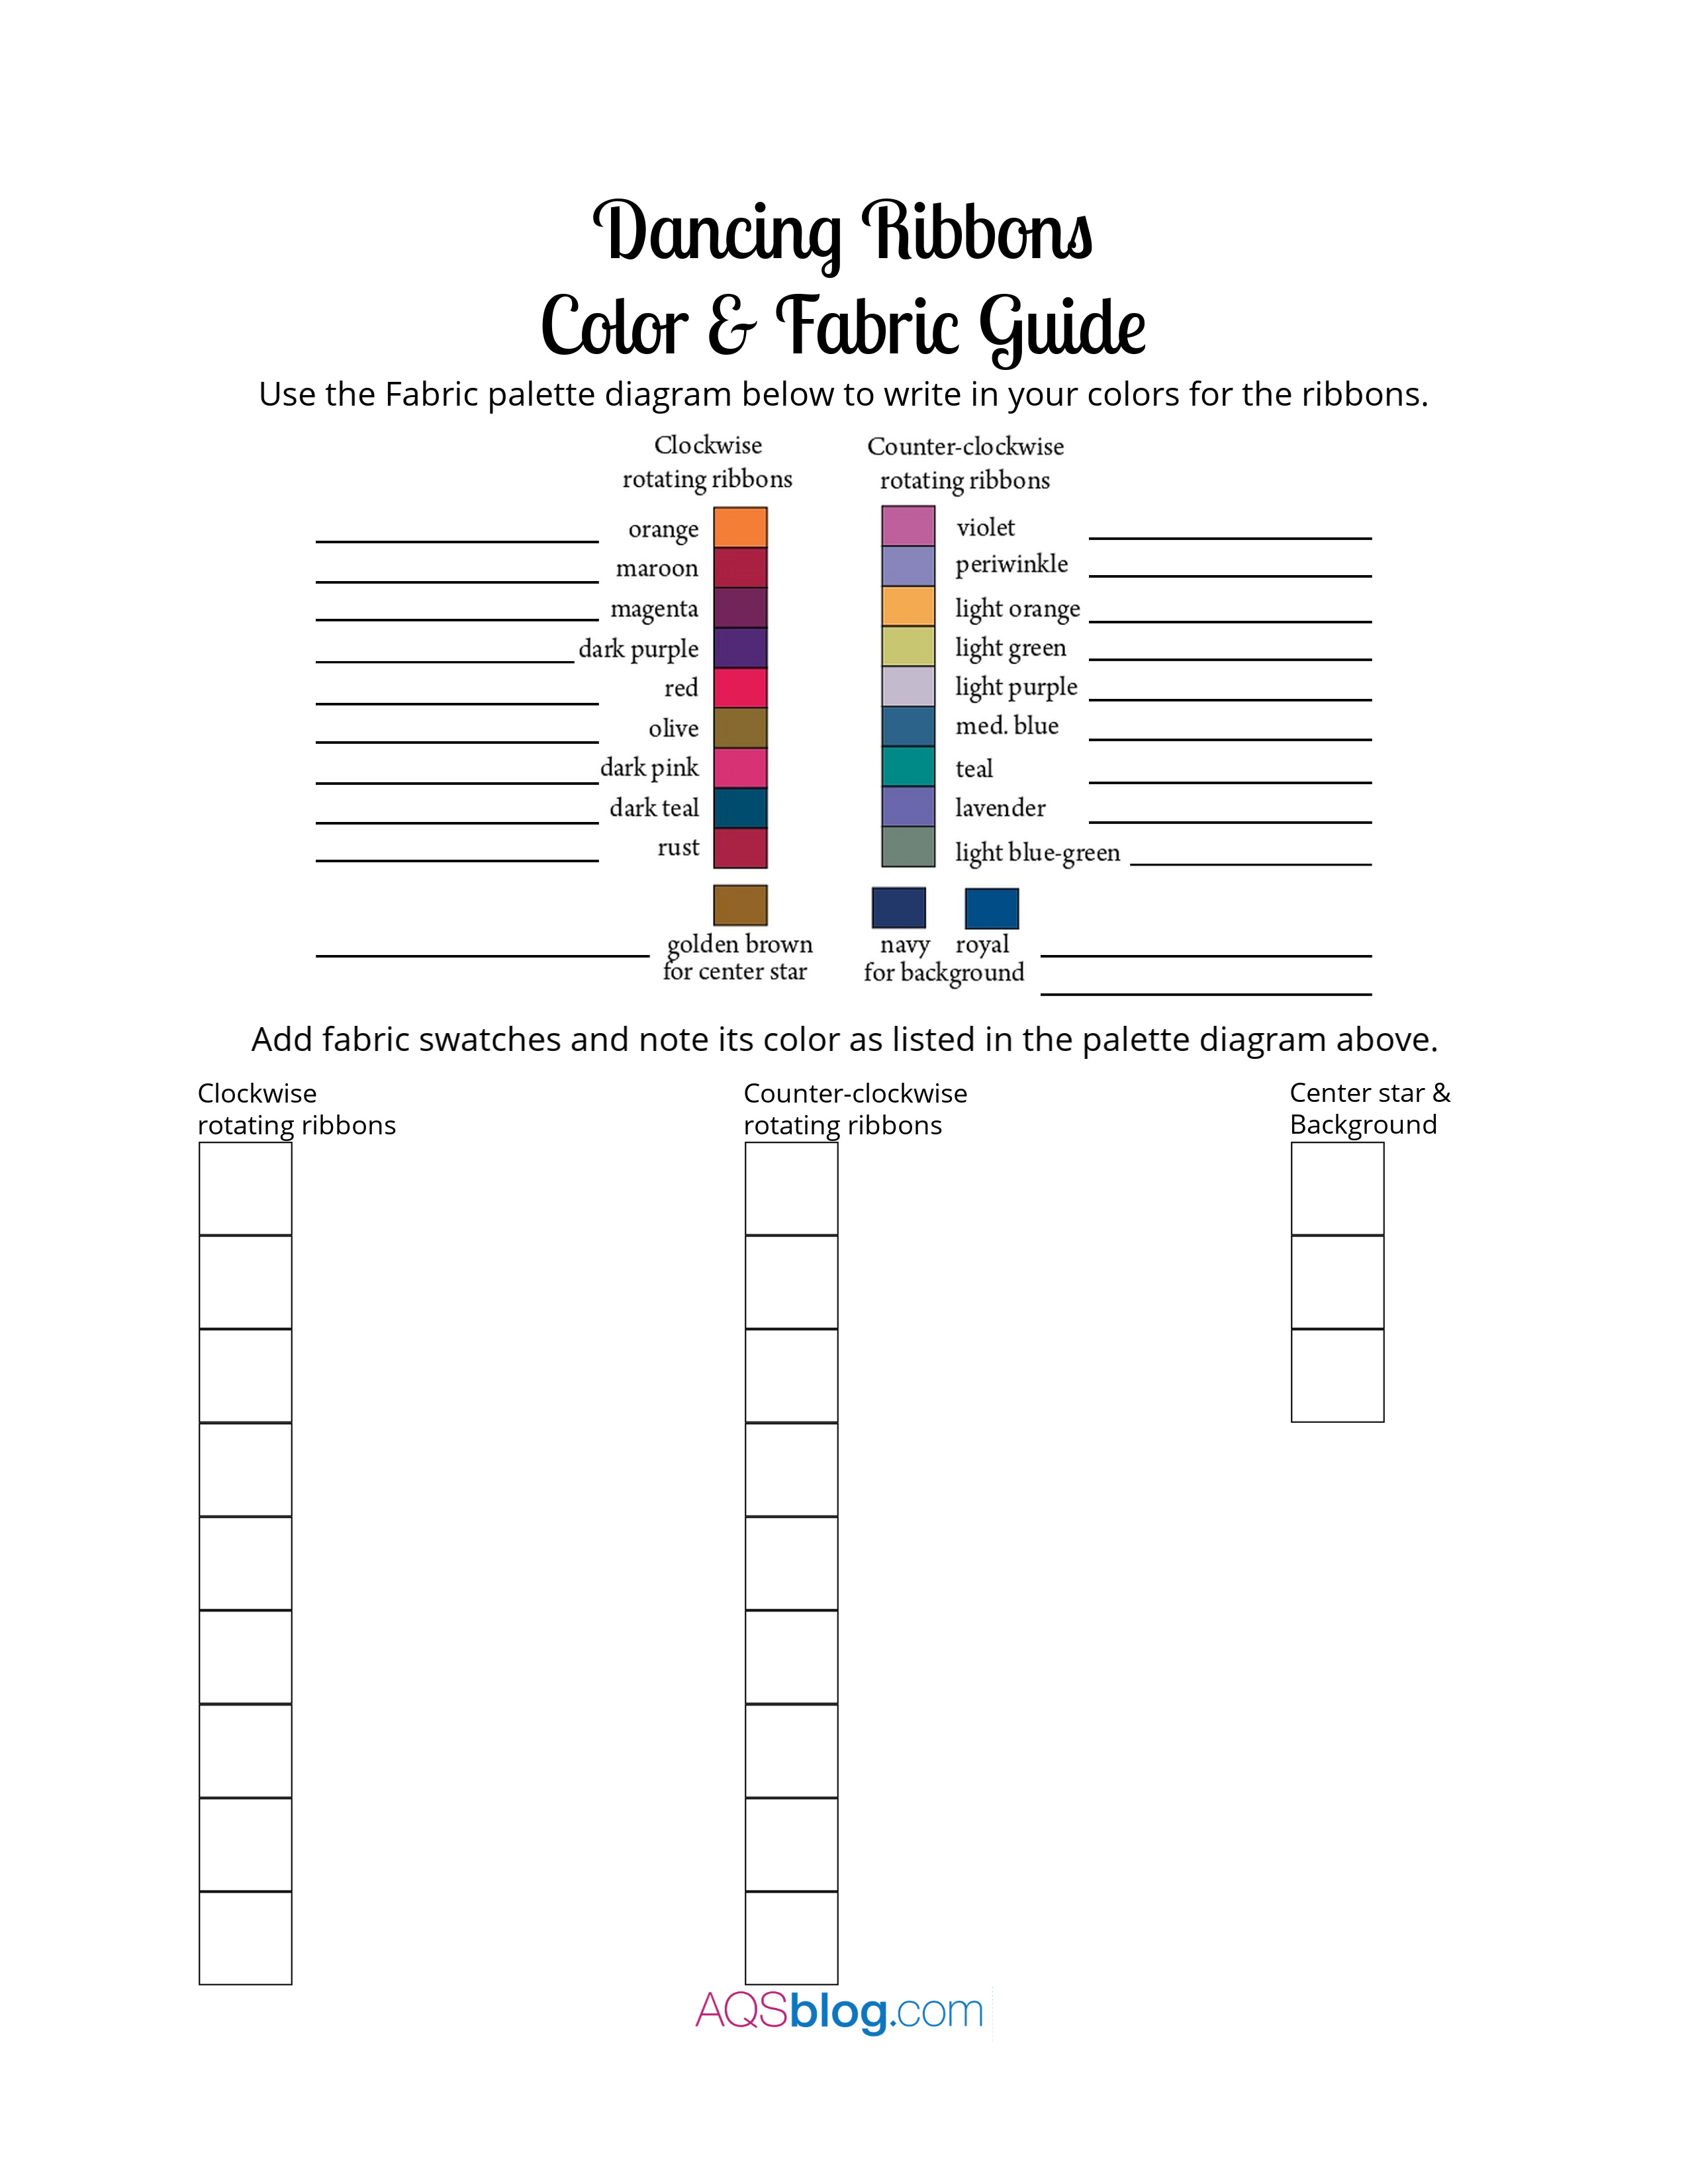
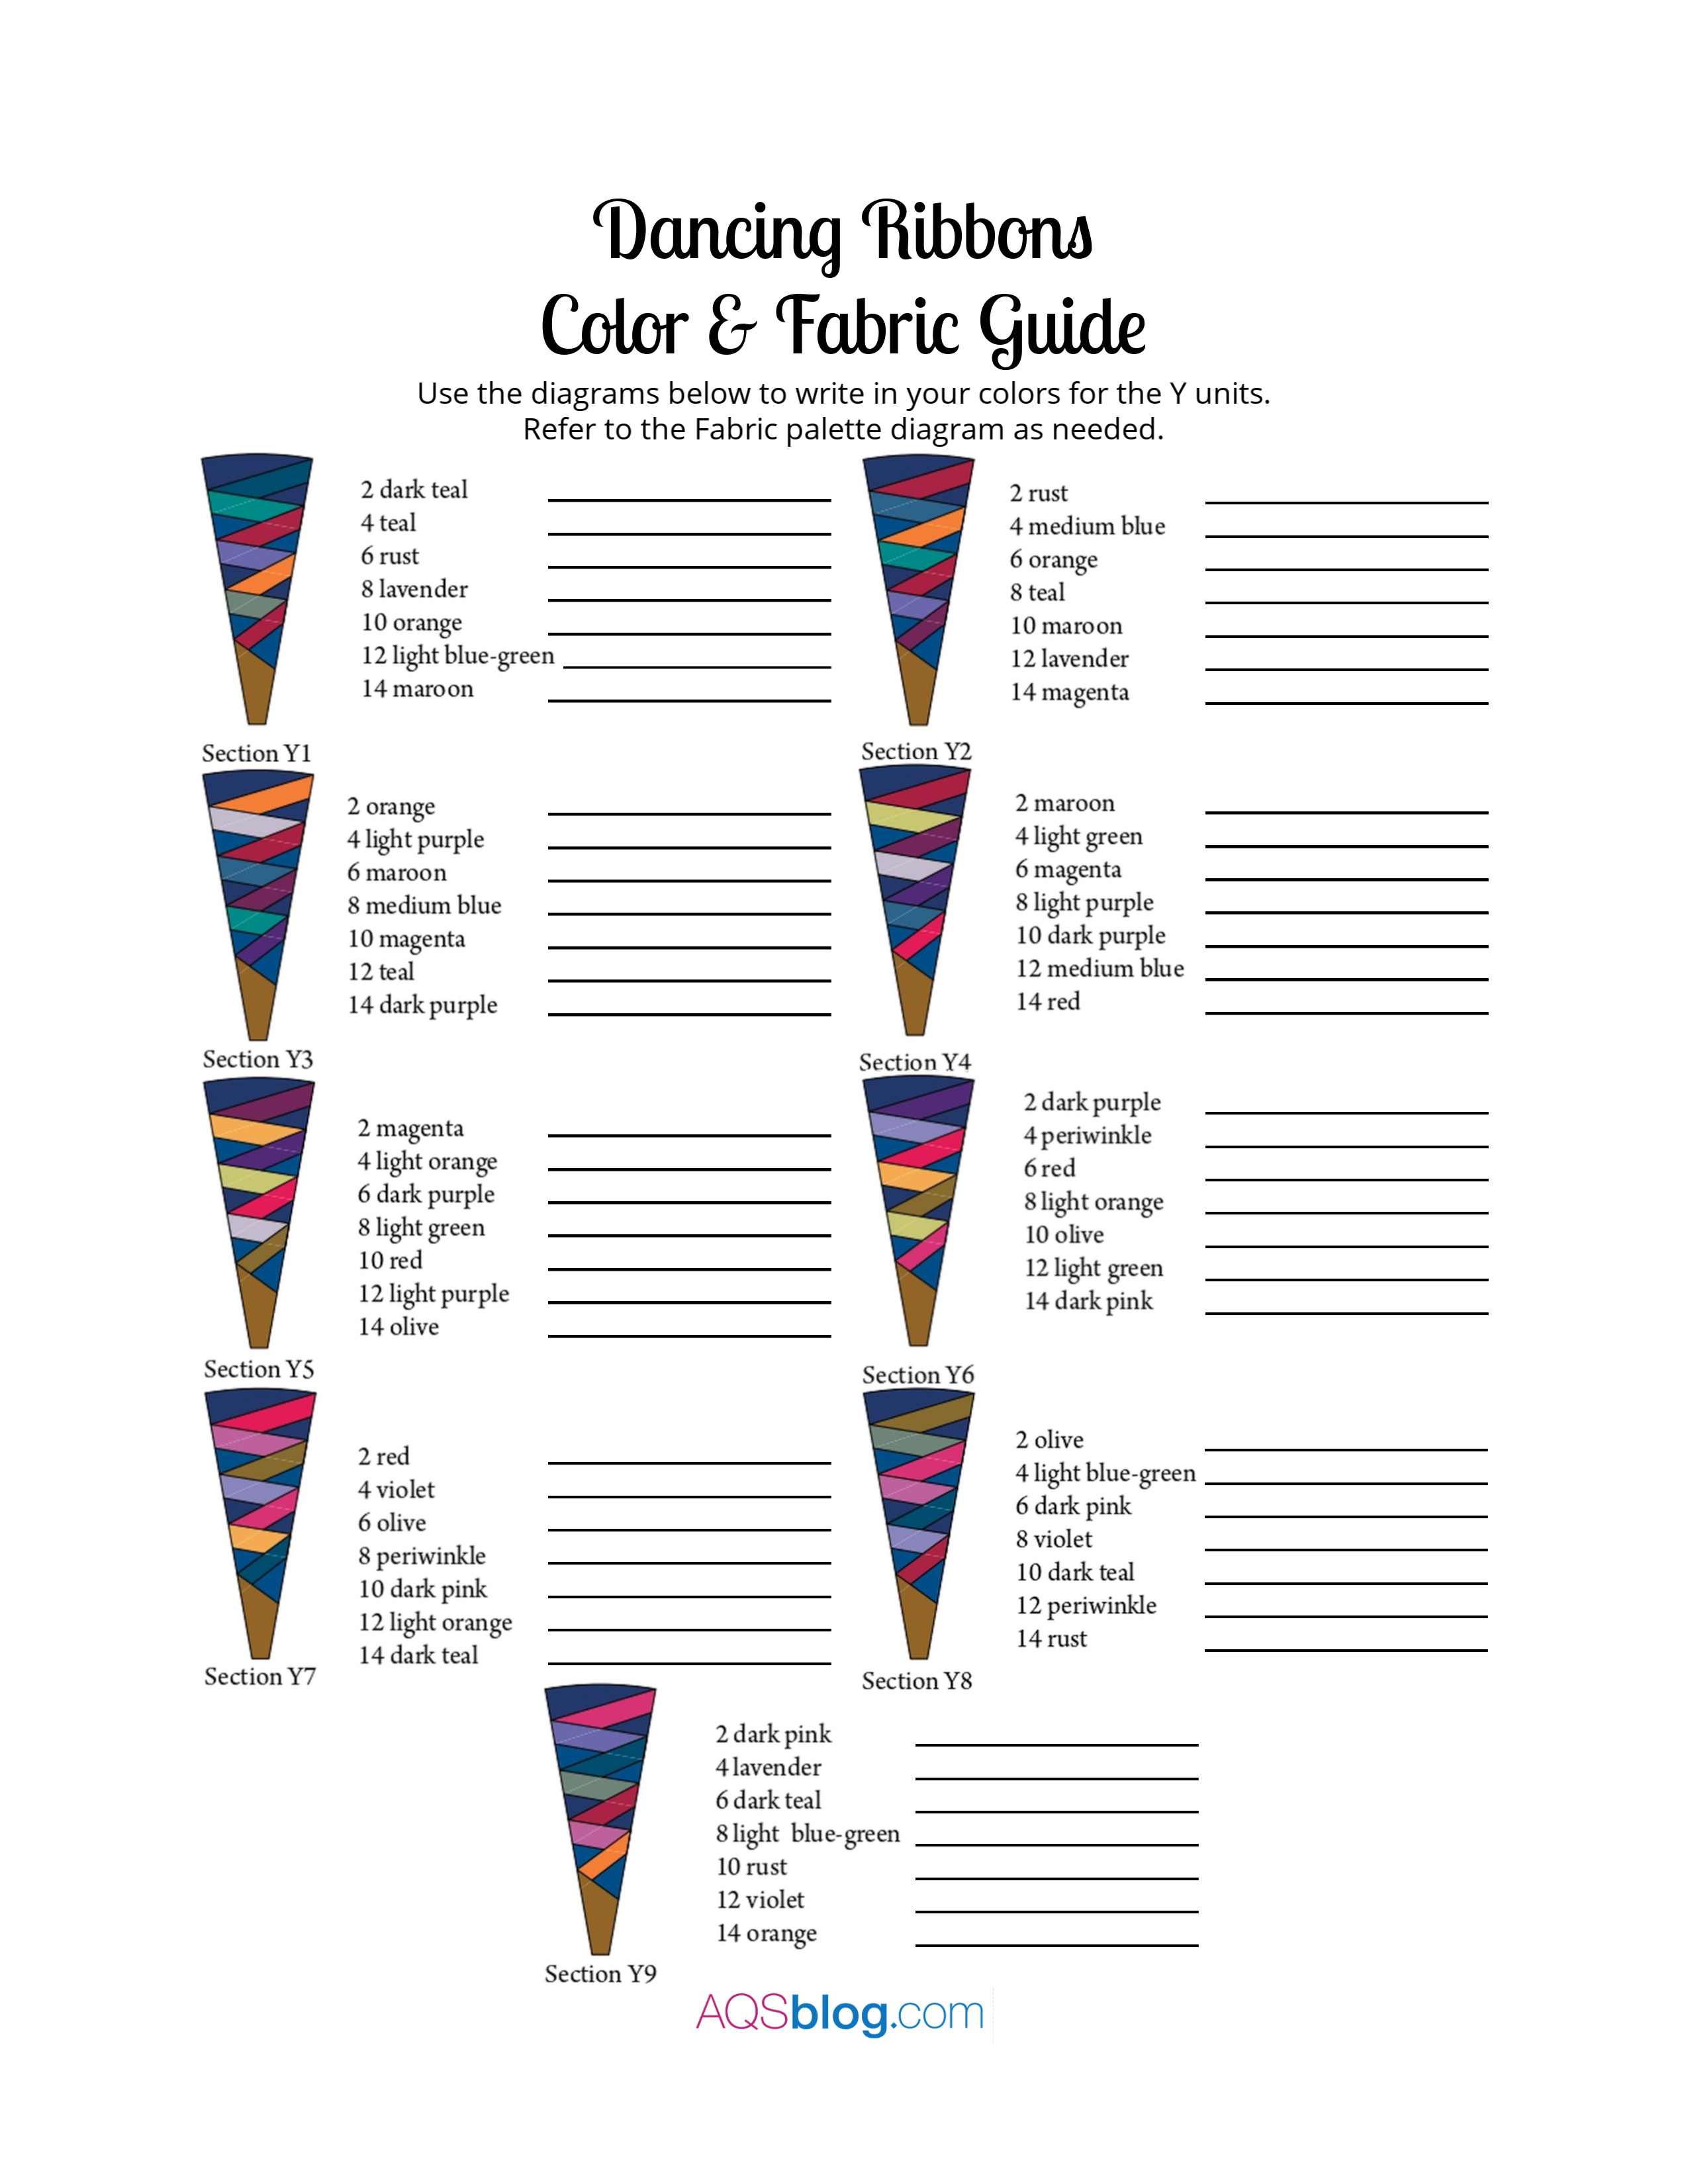
The Dancing Ribbons pattern has a fabric guide key and a guide to the fabric placement on the X and Y pieces. For the quilt along, there is more help than ever for you to play with the design of your Dancing Ribbons project.
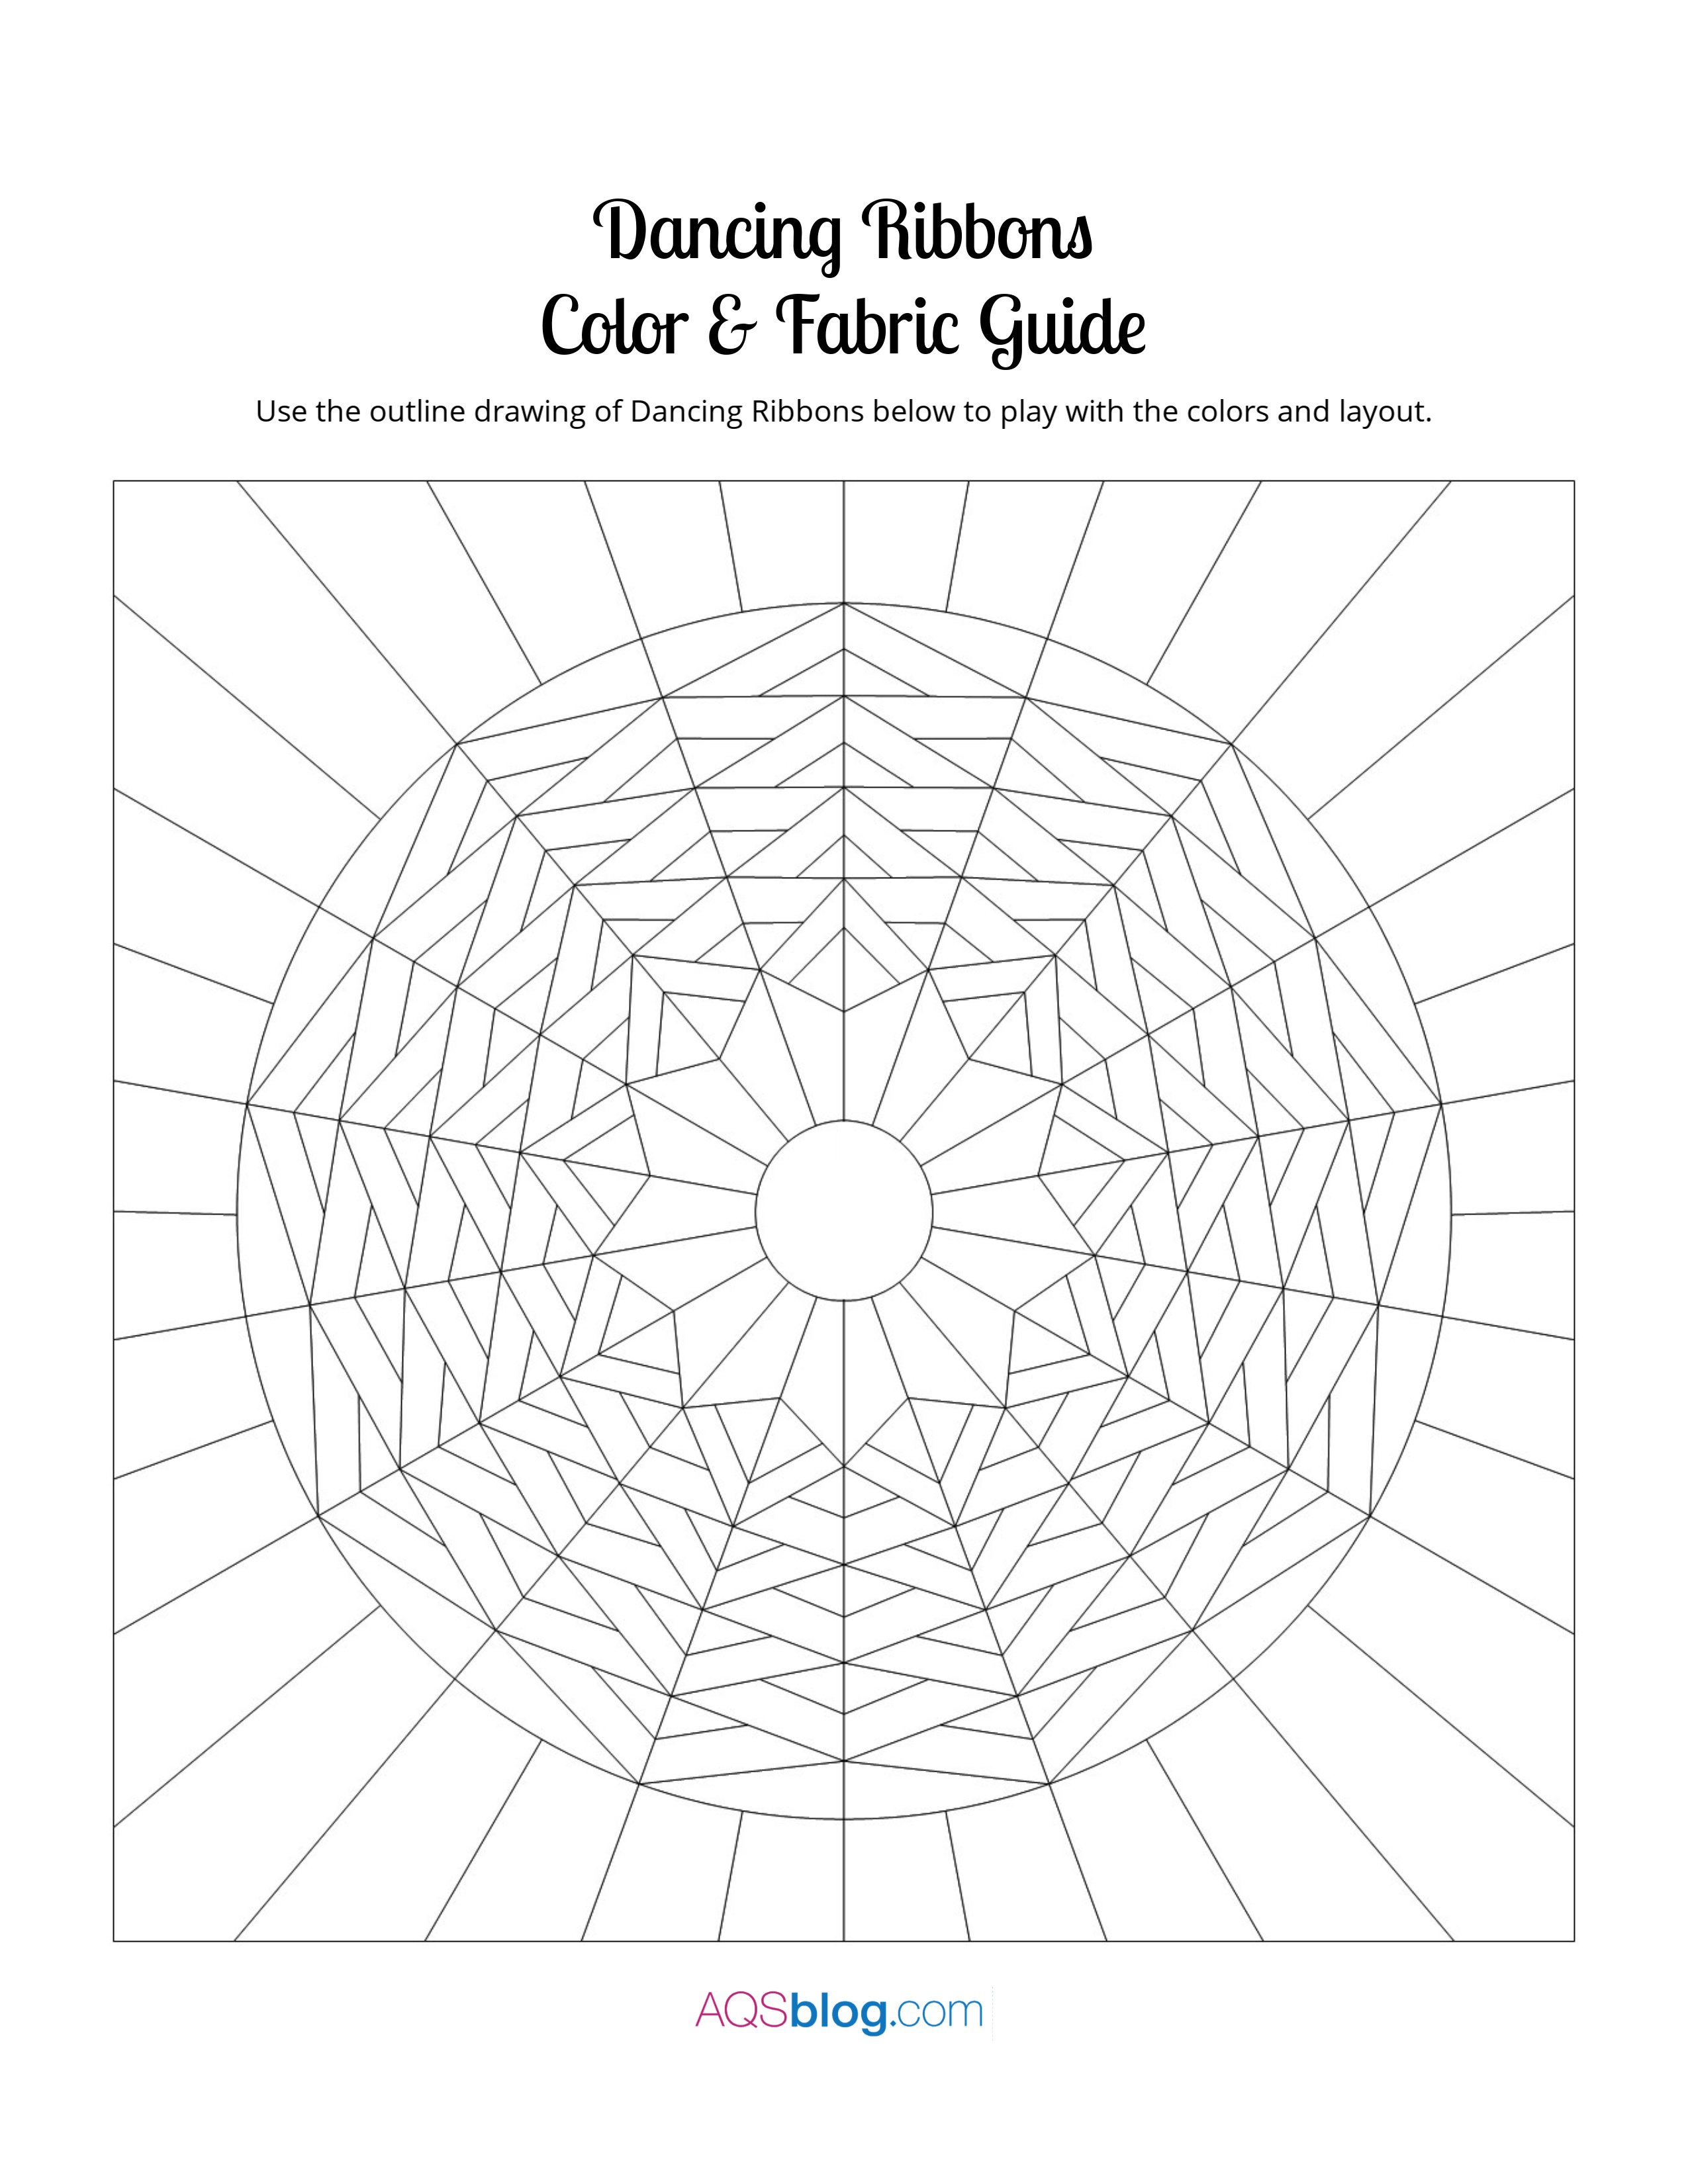
Click Here to download the Dancing Ribbons Fabric & Color Guide.
The first page of the Fabric & Color Guide is a coloring page! Use it to map out your color placement.
The second page features the fabric palette guide and a space to place your fabric swatches. This is all based on the pattern, but offers a little more space for organizing.
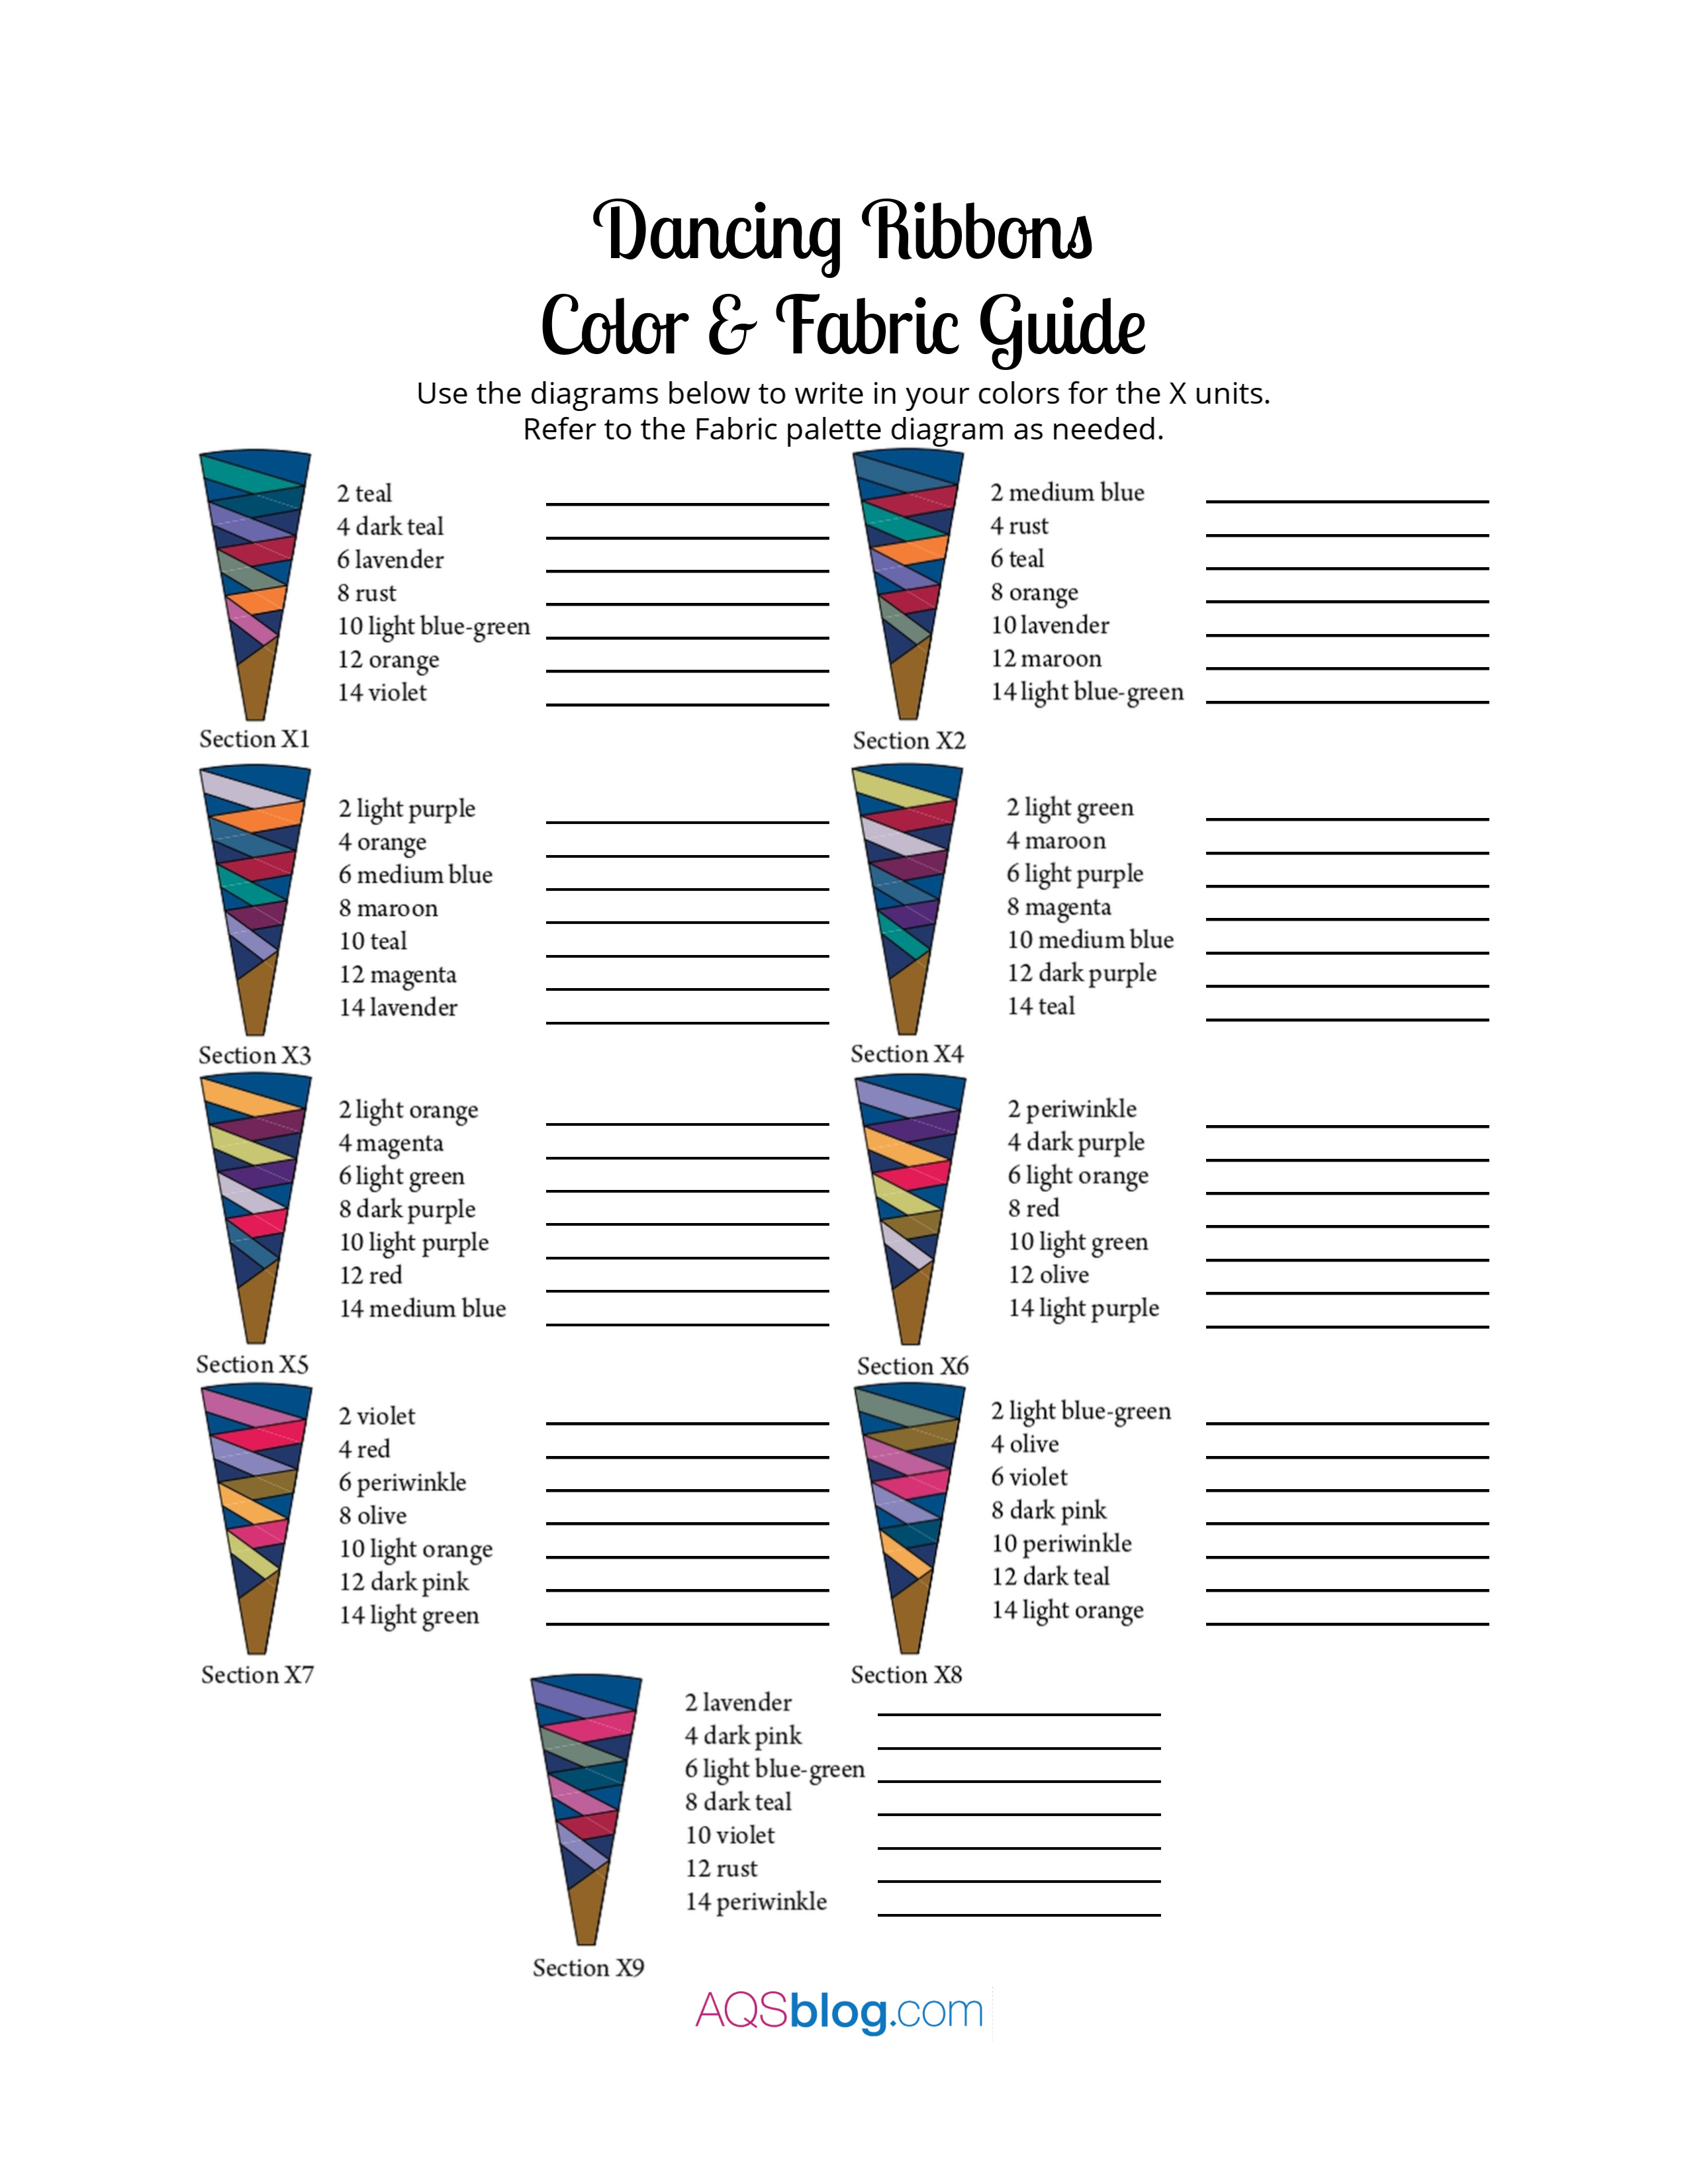
The third and fourth pages are the guides for the X-sections and Y-sections. Use the information you filled in on the fabric palette guide page to fill in your fabric choices.
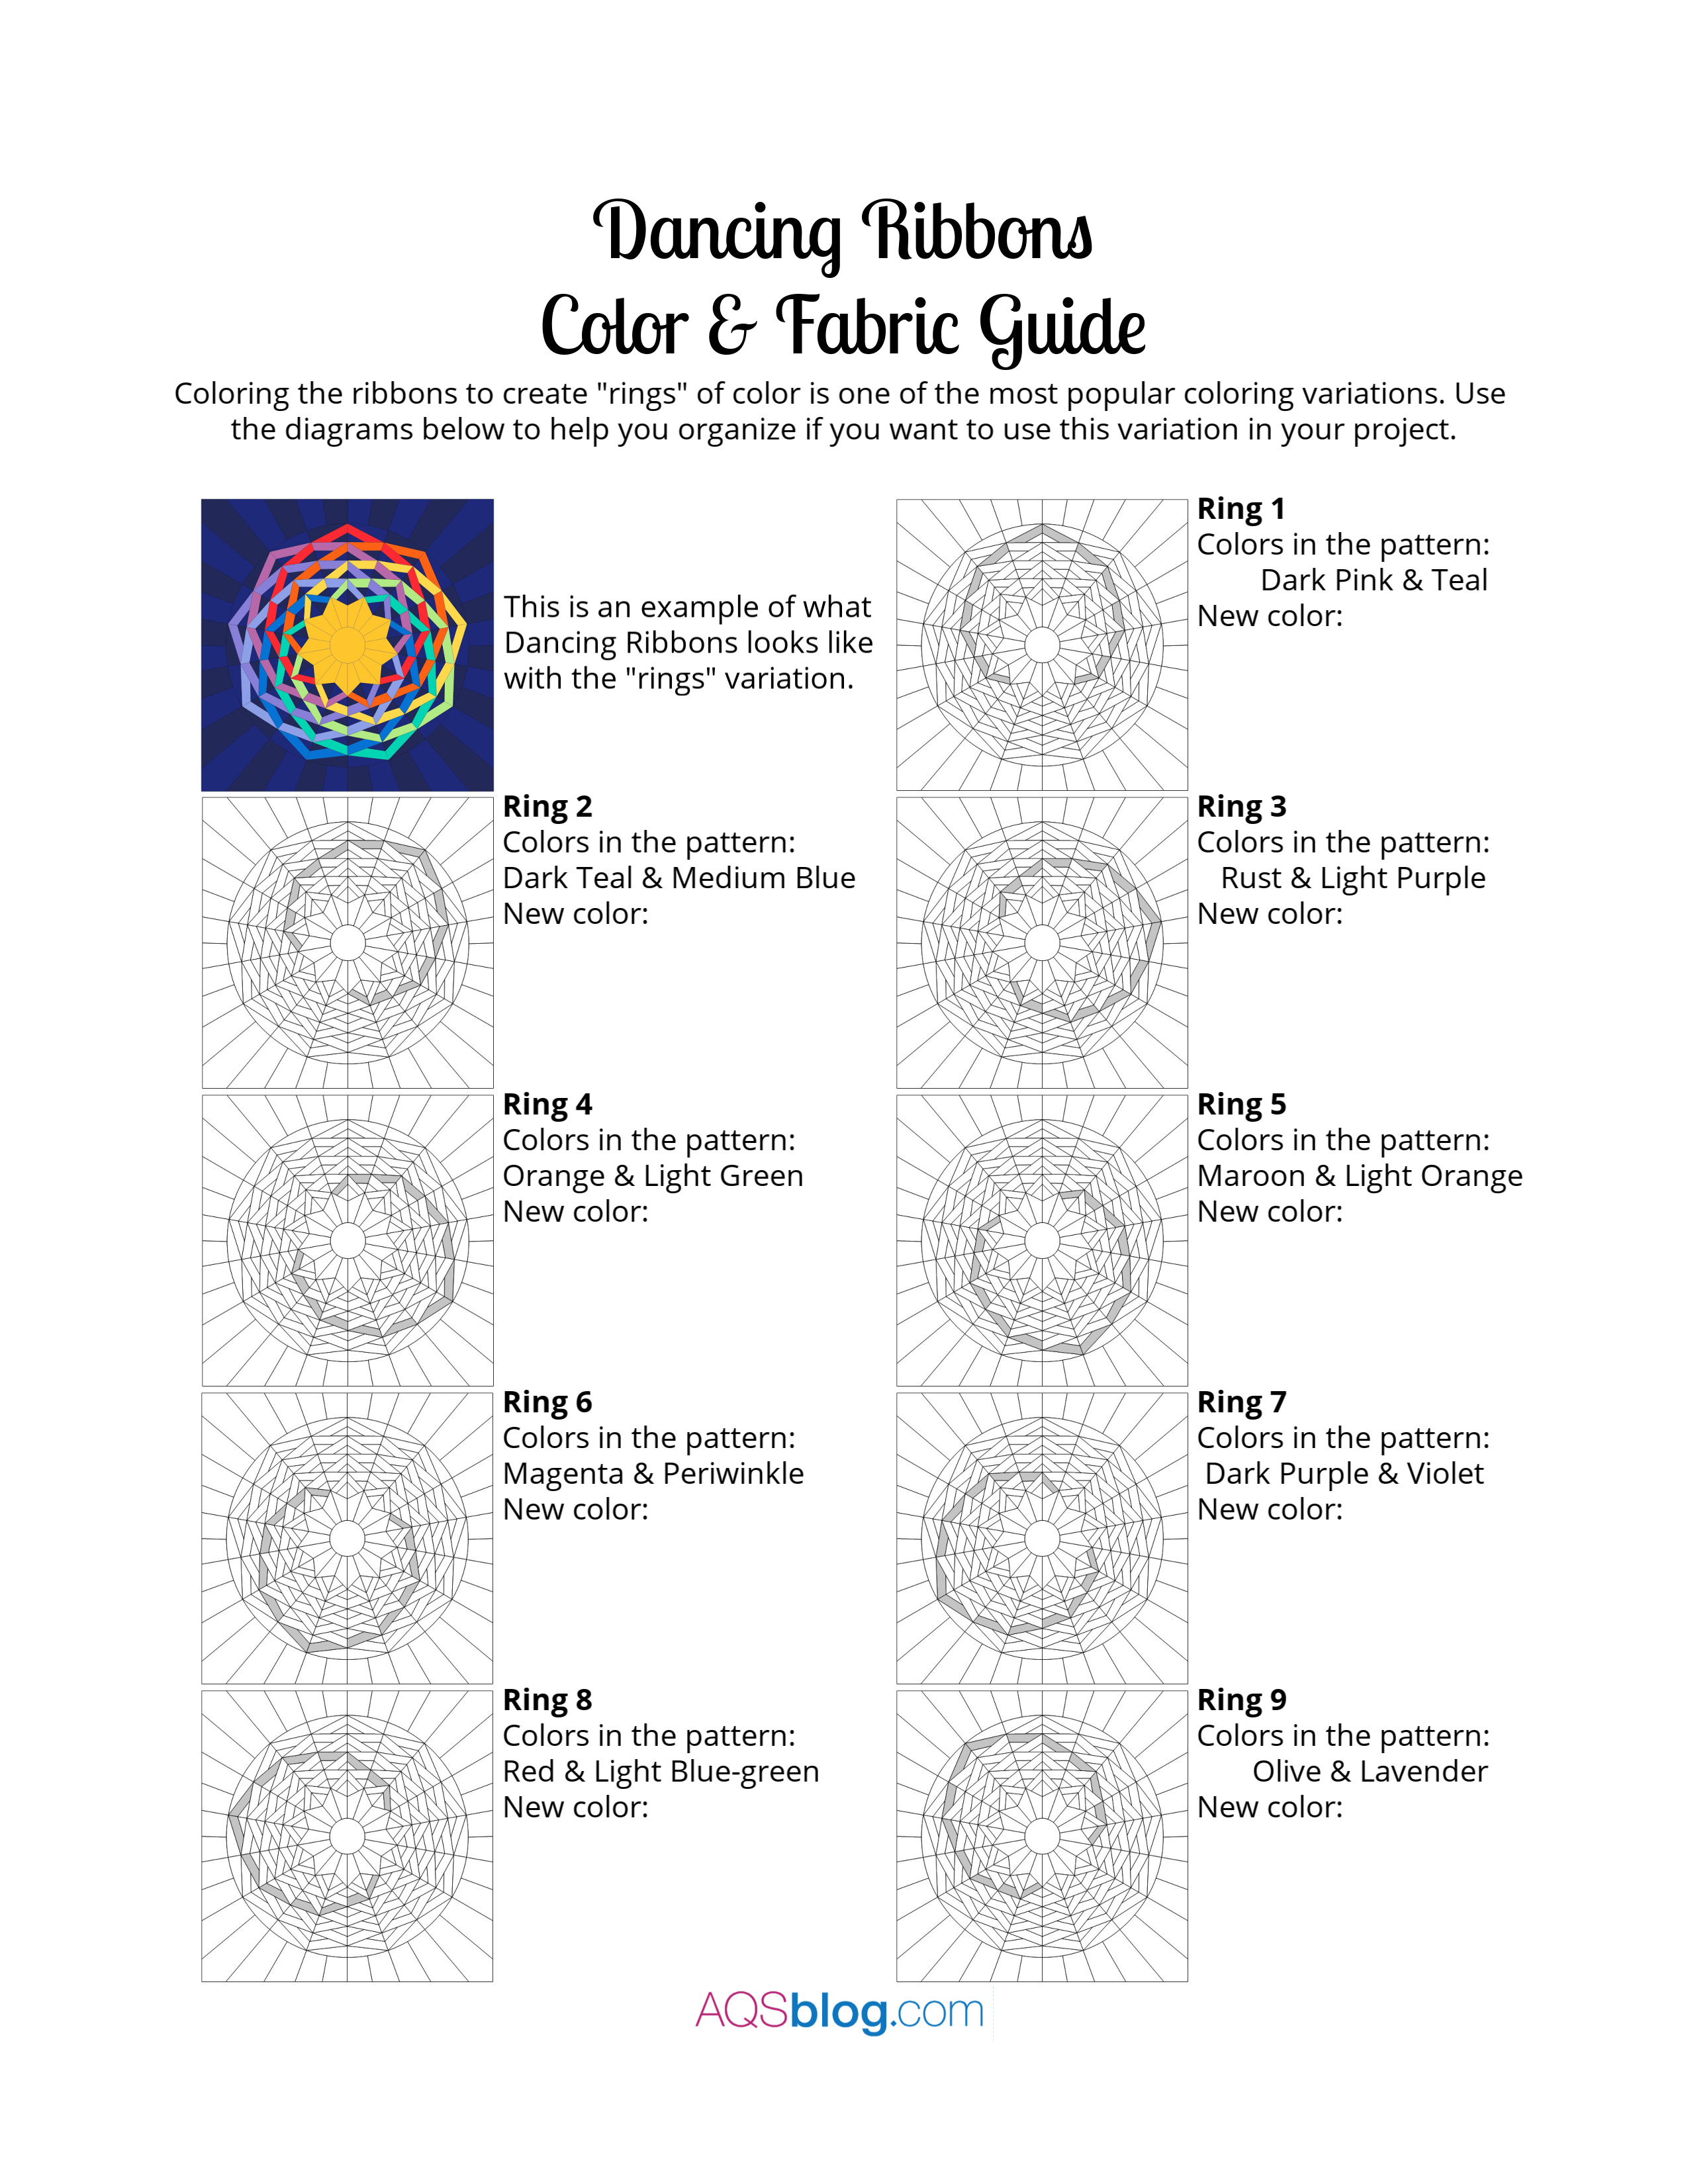
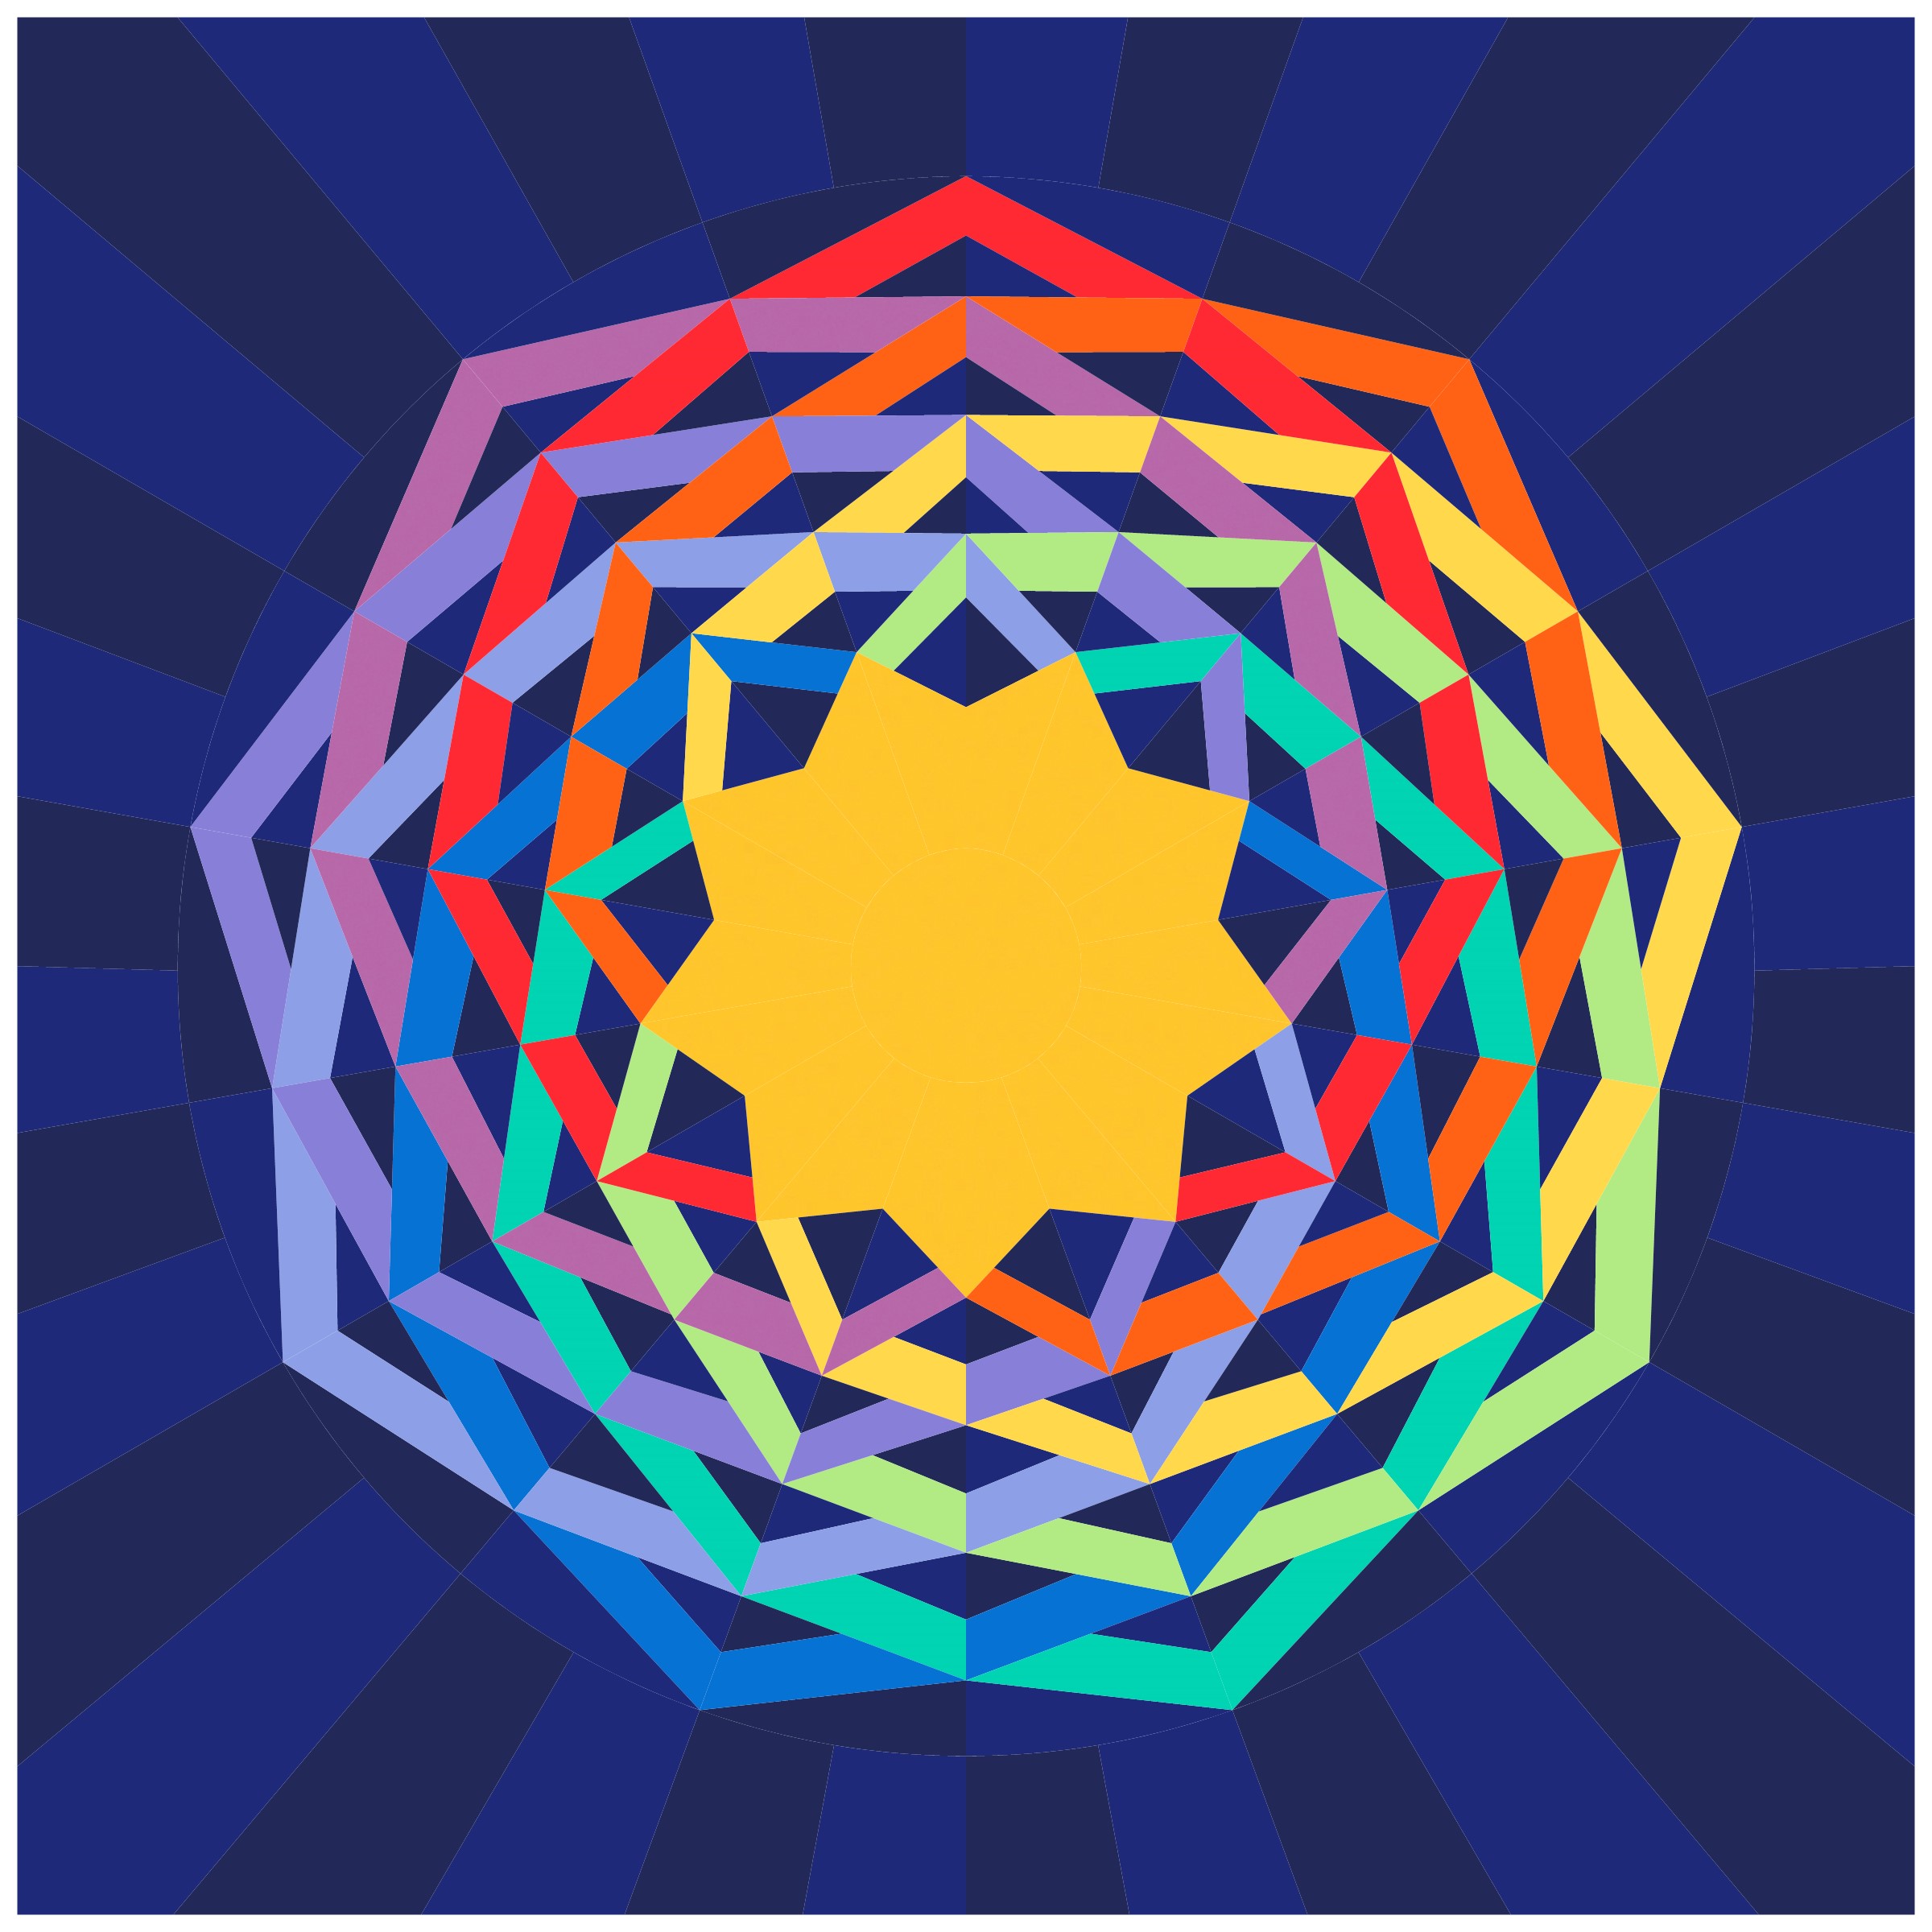
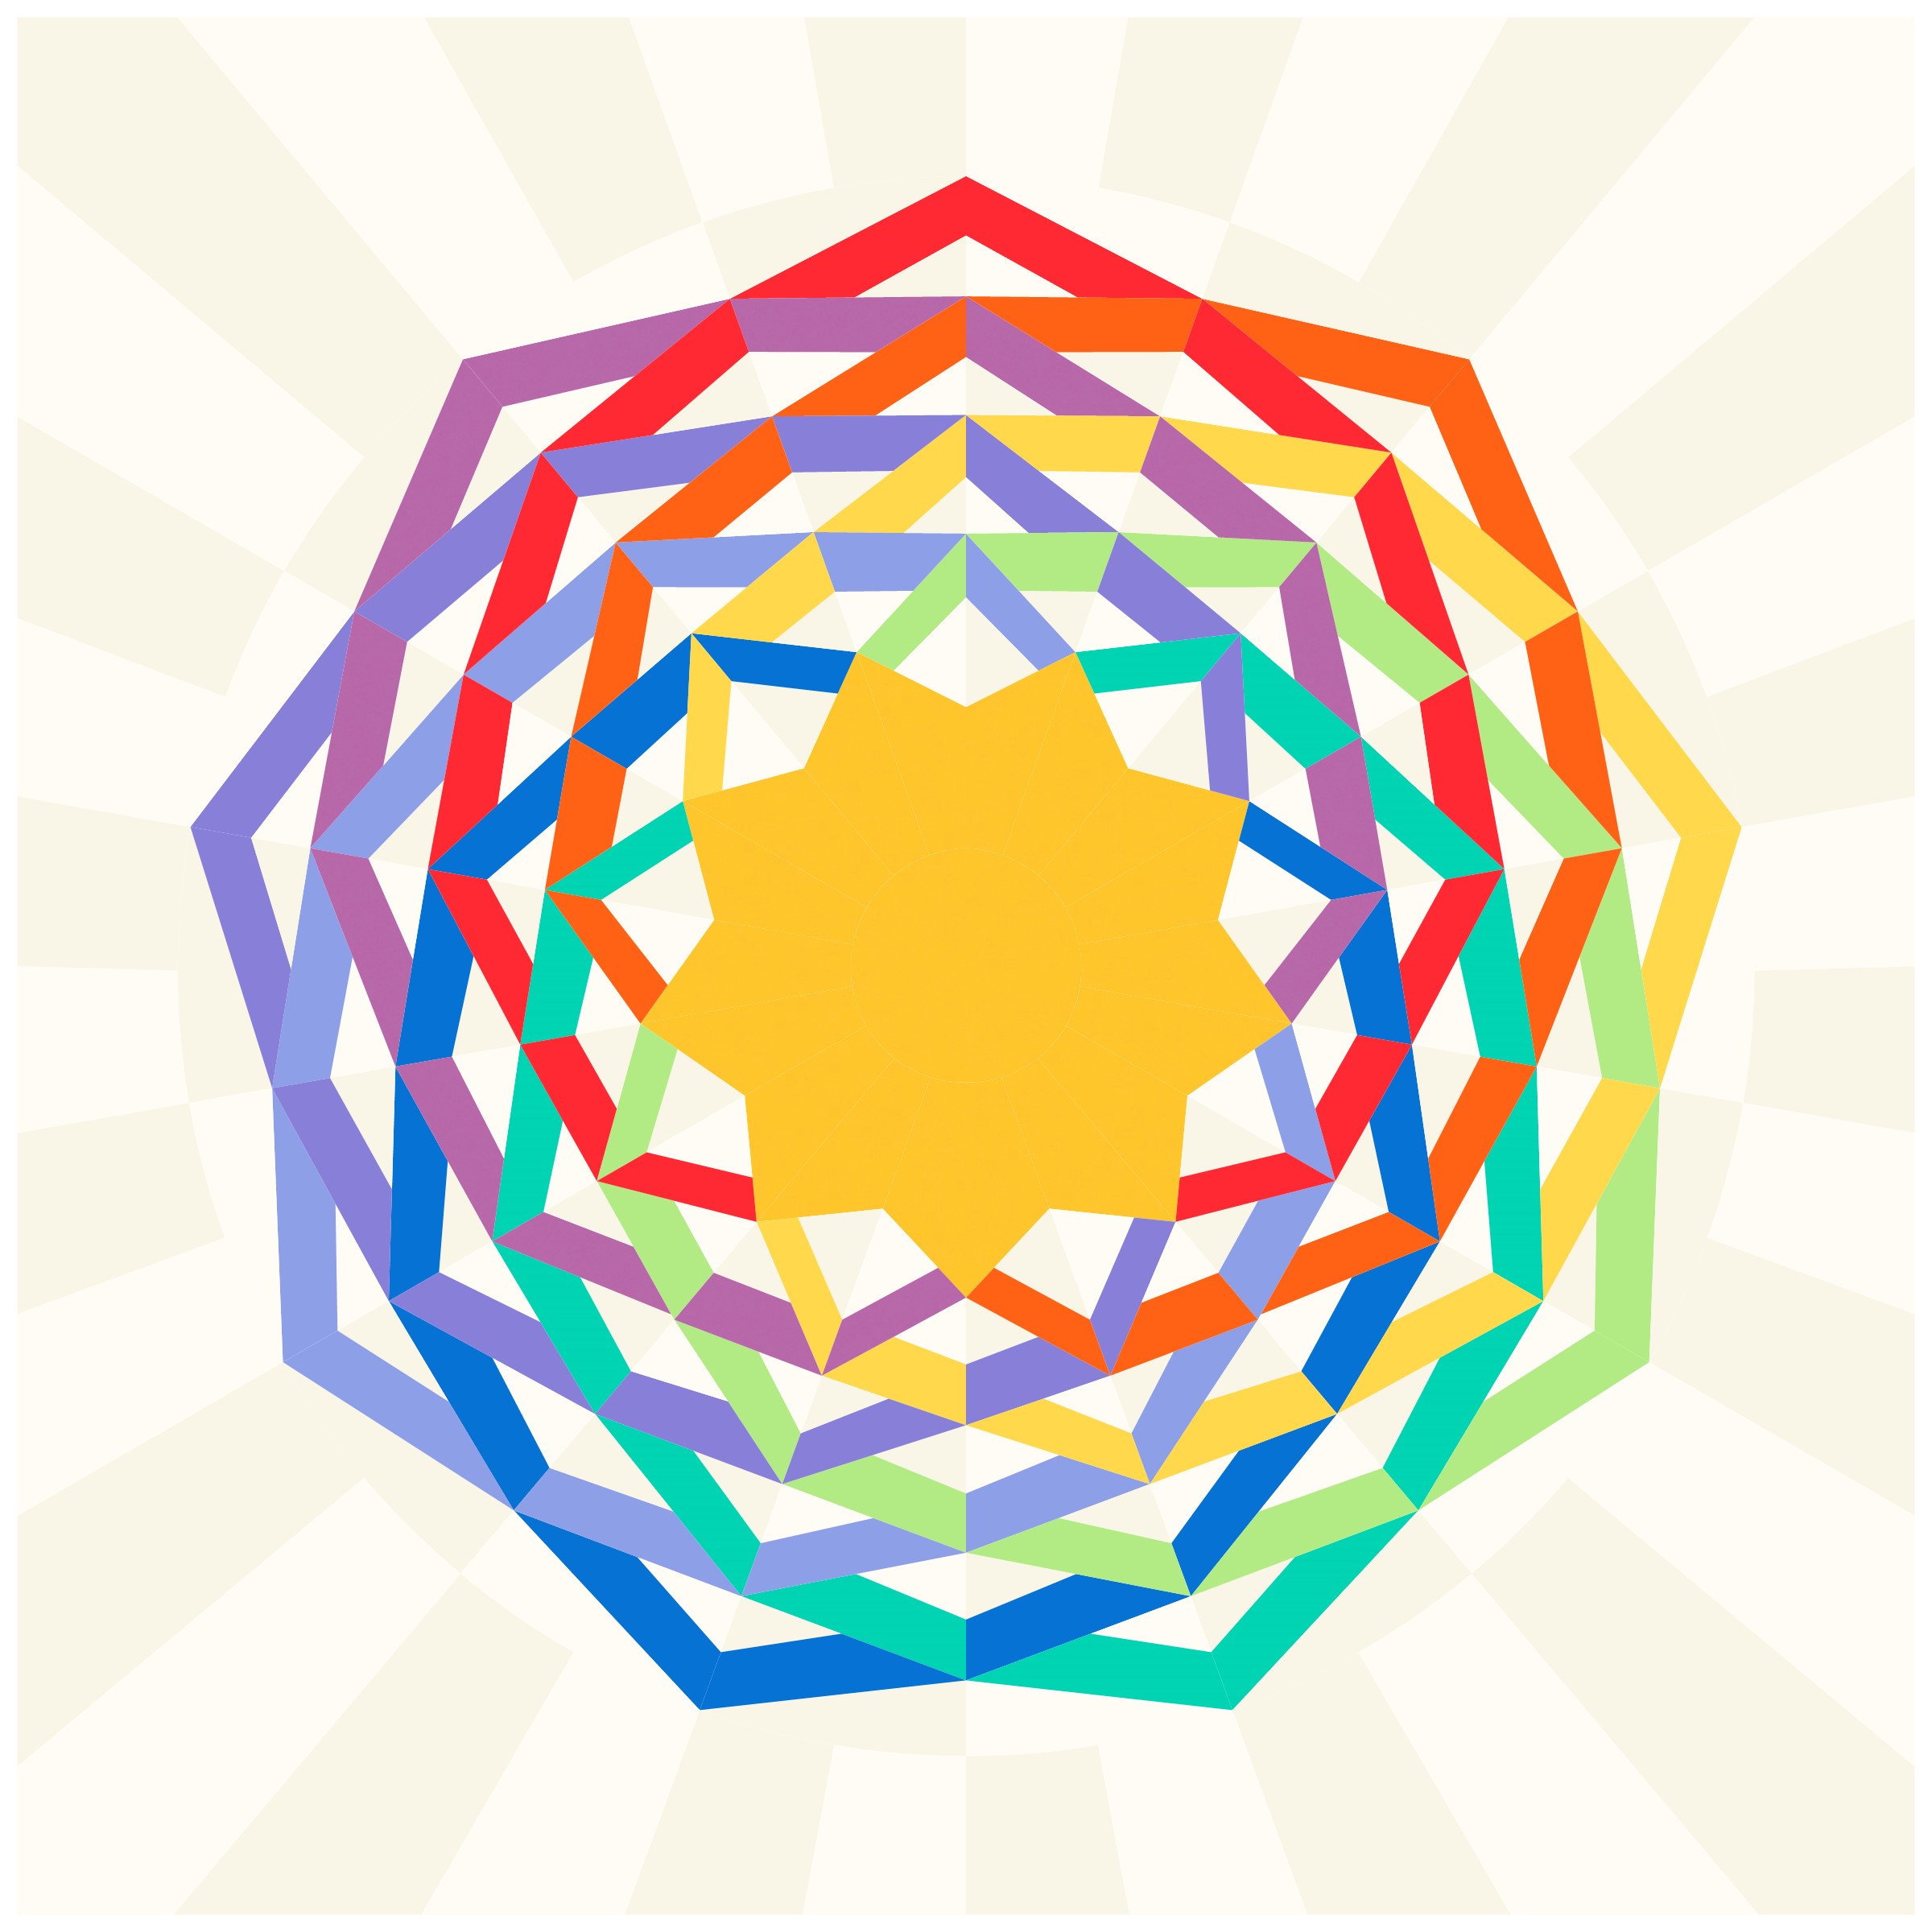
The final page is an optional guide for making Dancing Ribbons with connected “rings” of color, one of the most common design variations quilters make. This page identifies which colors of ribbon make up a ring and names each ring to help you organize and plan.
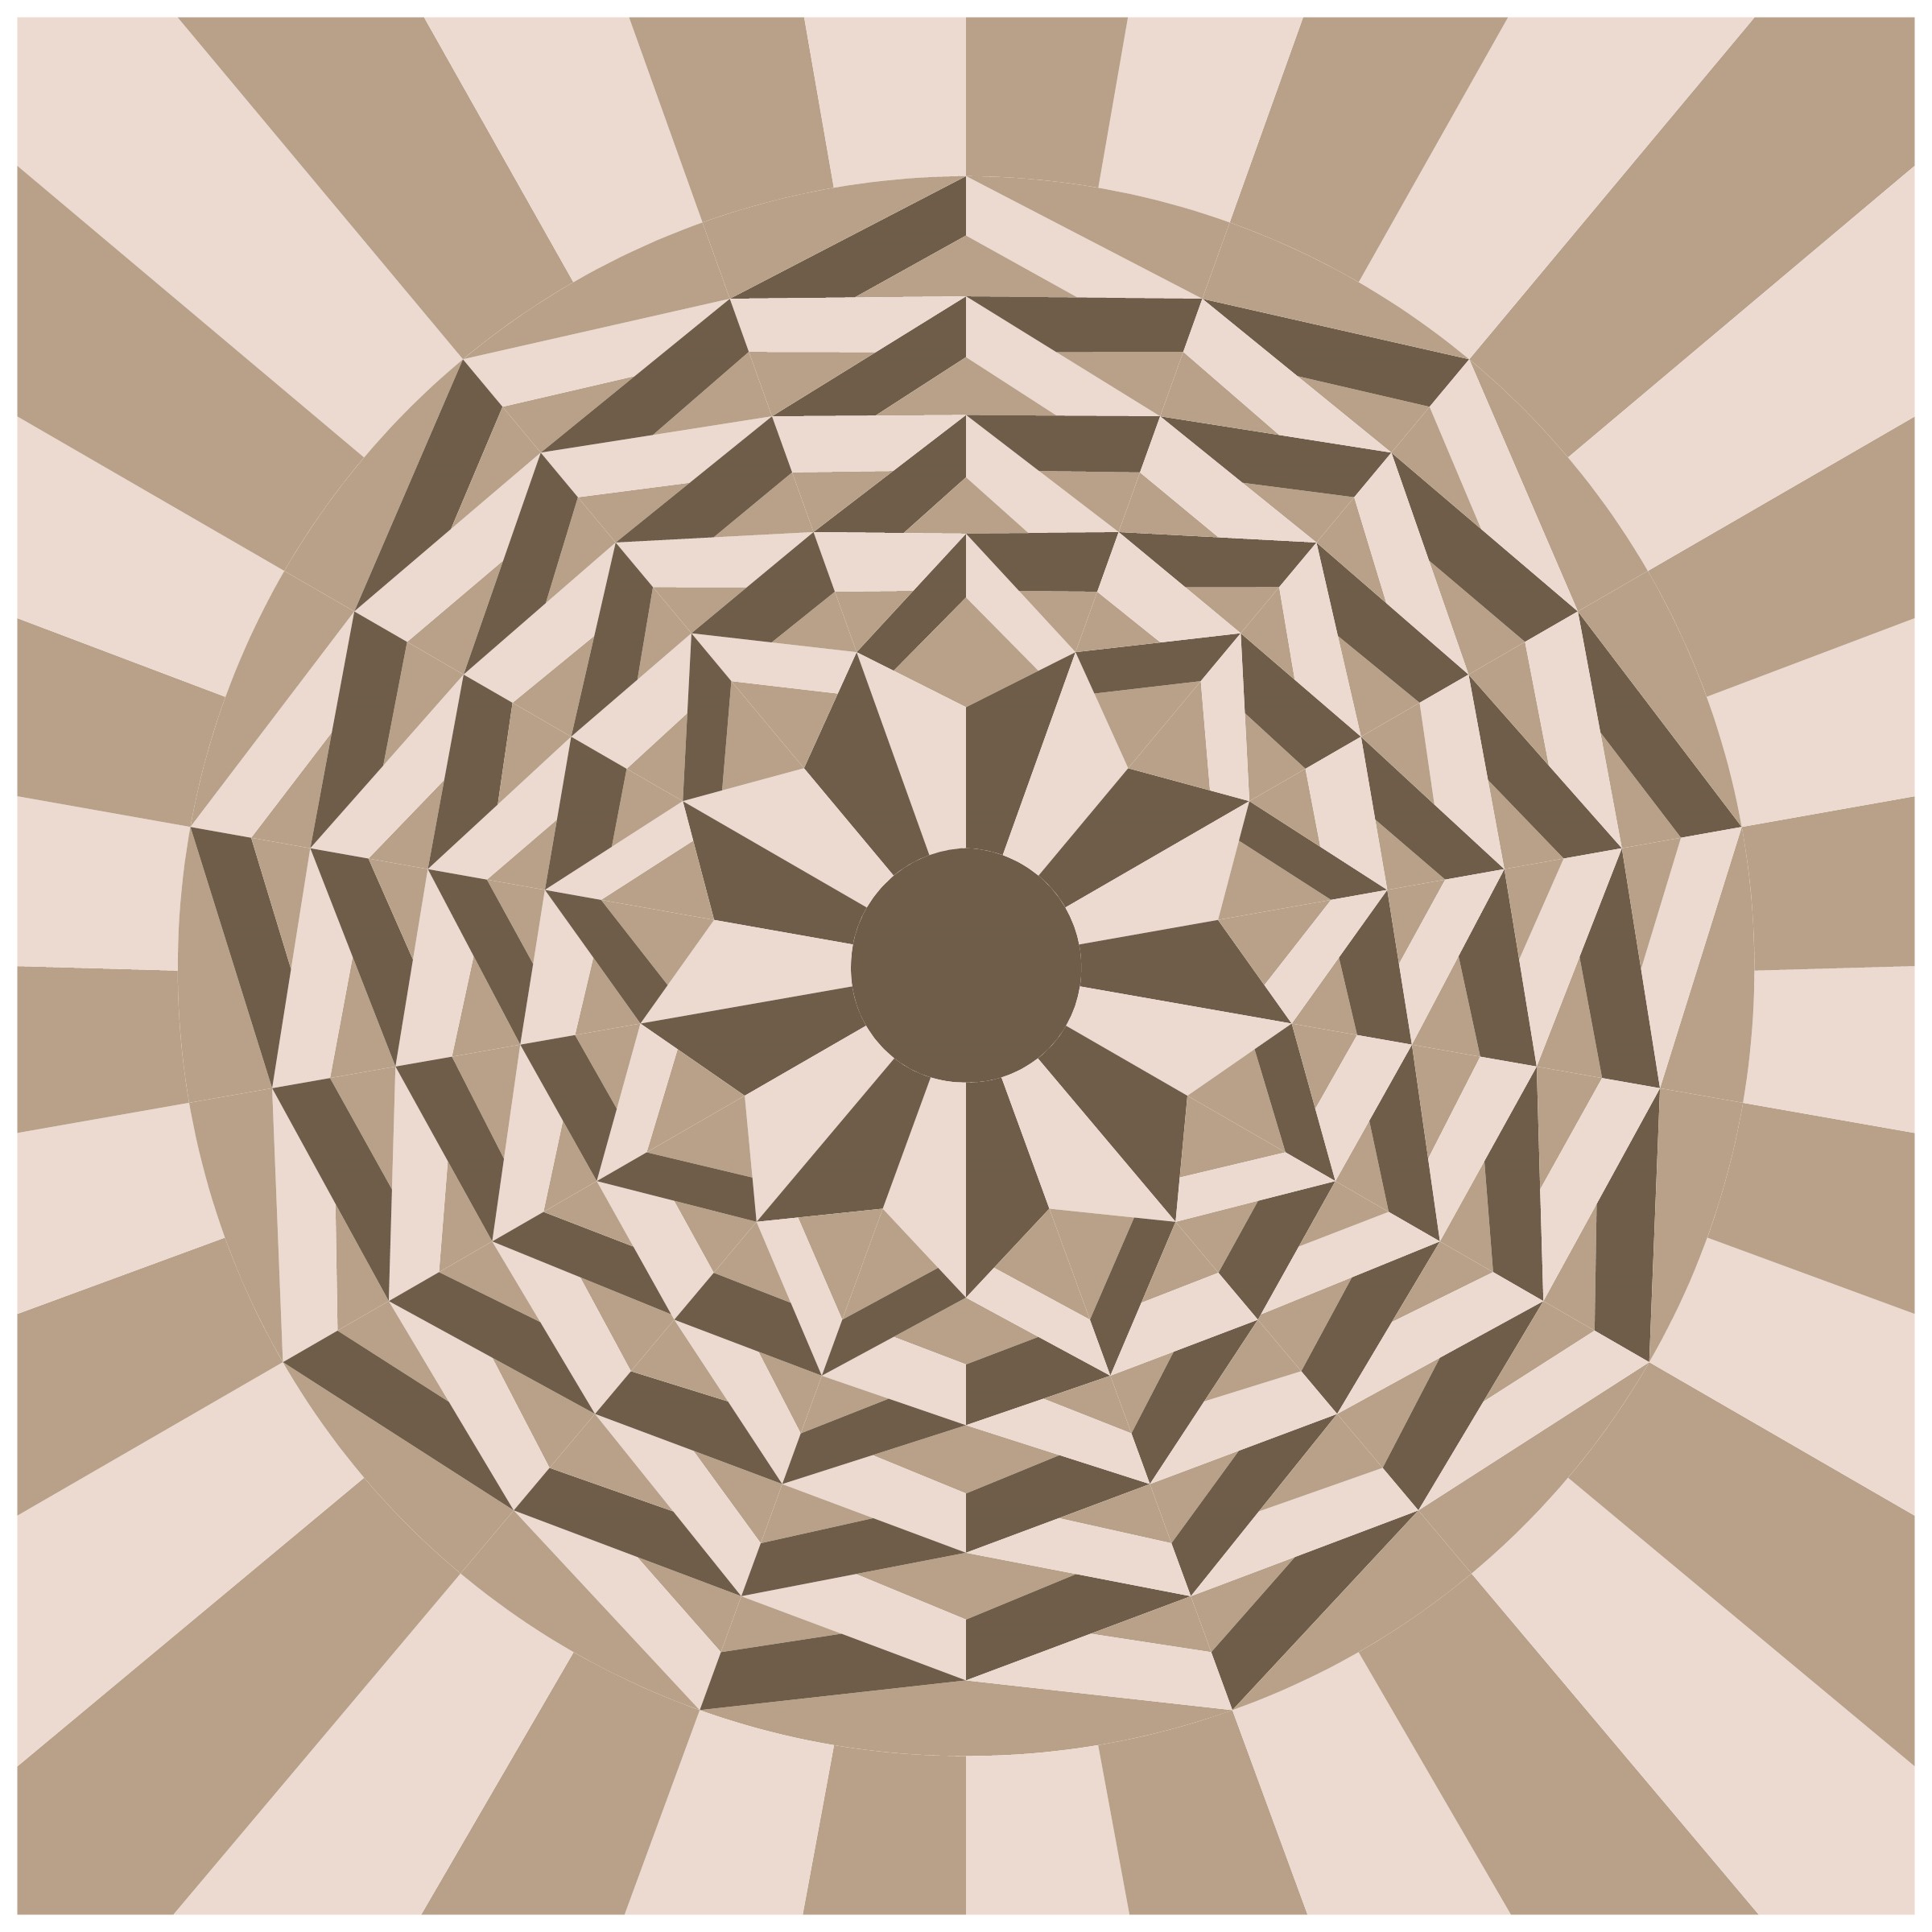
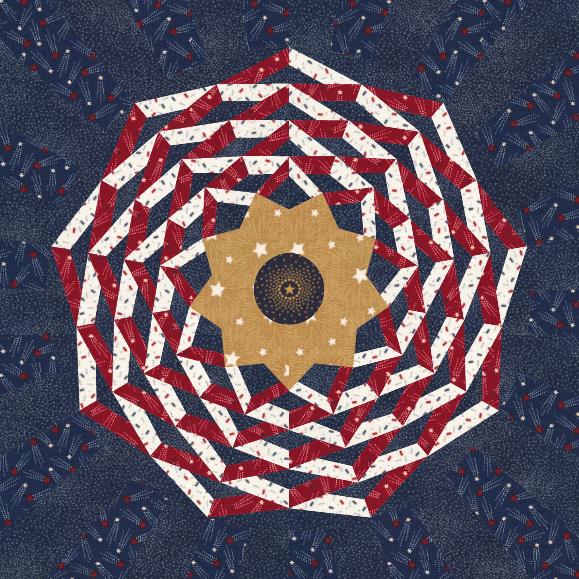
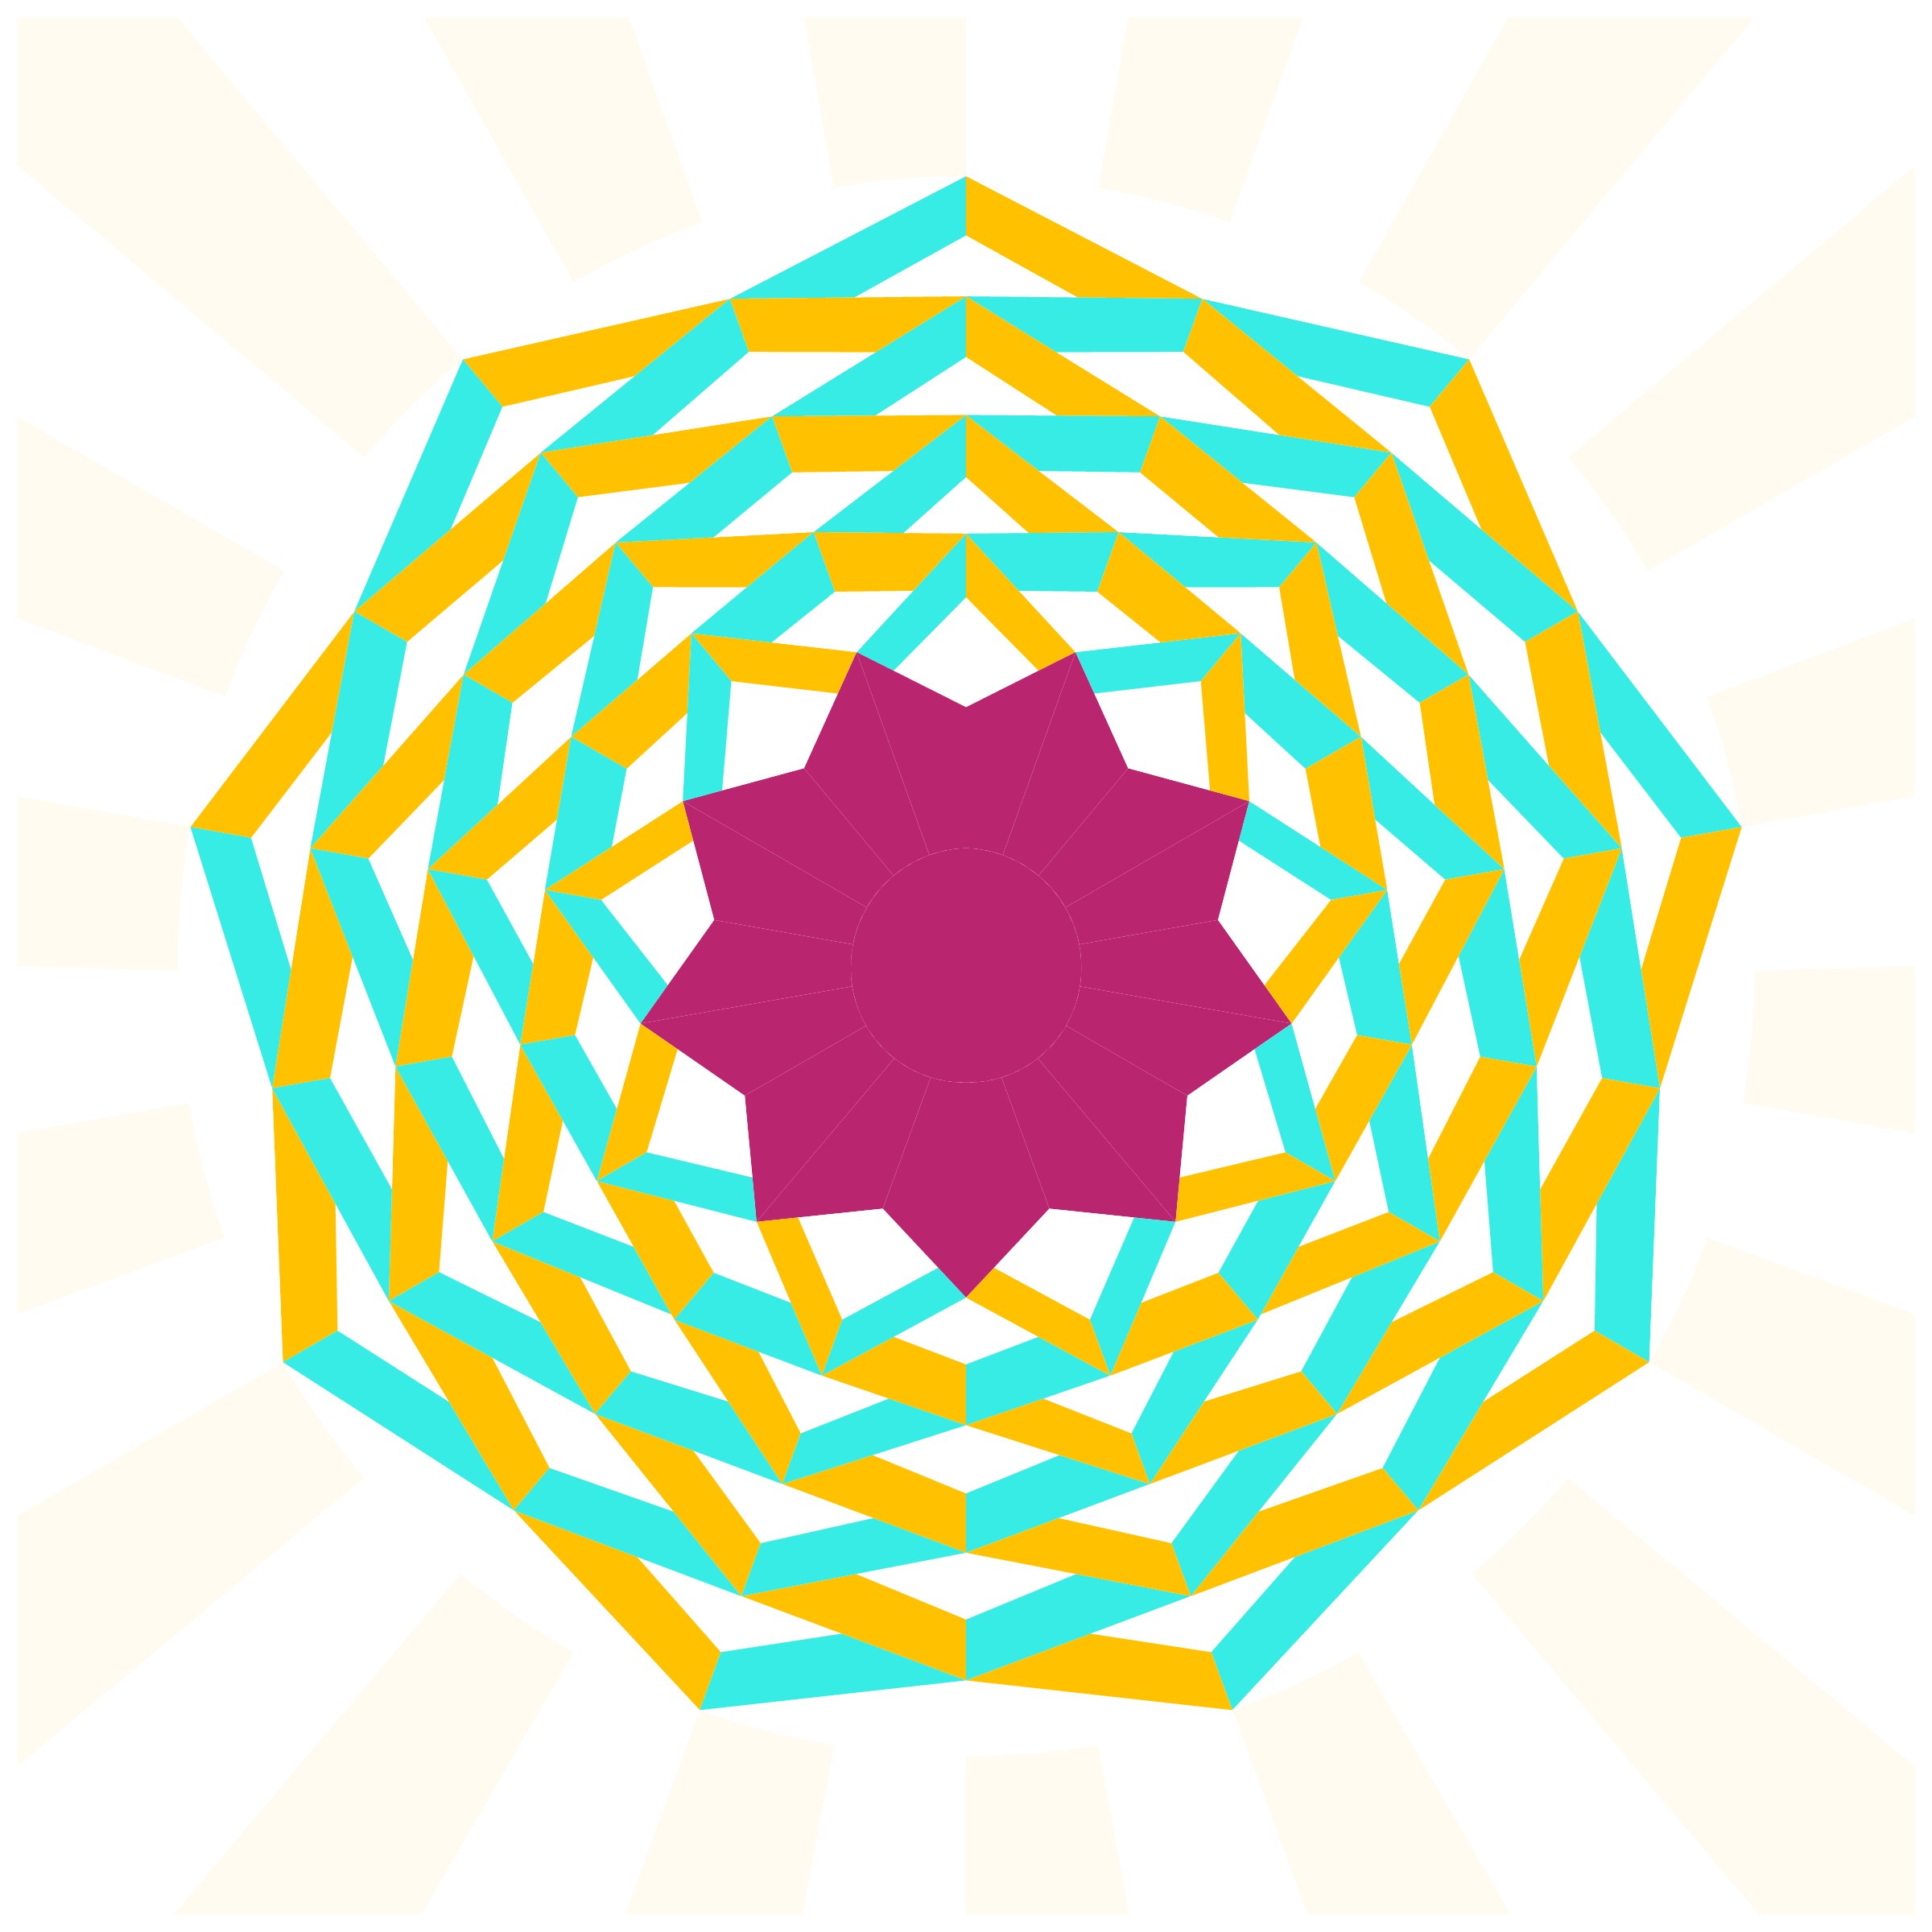
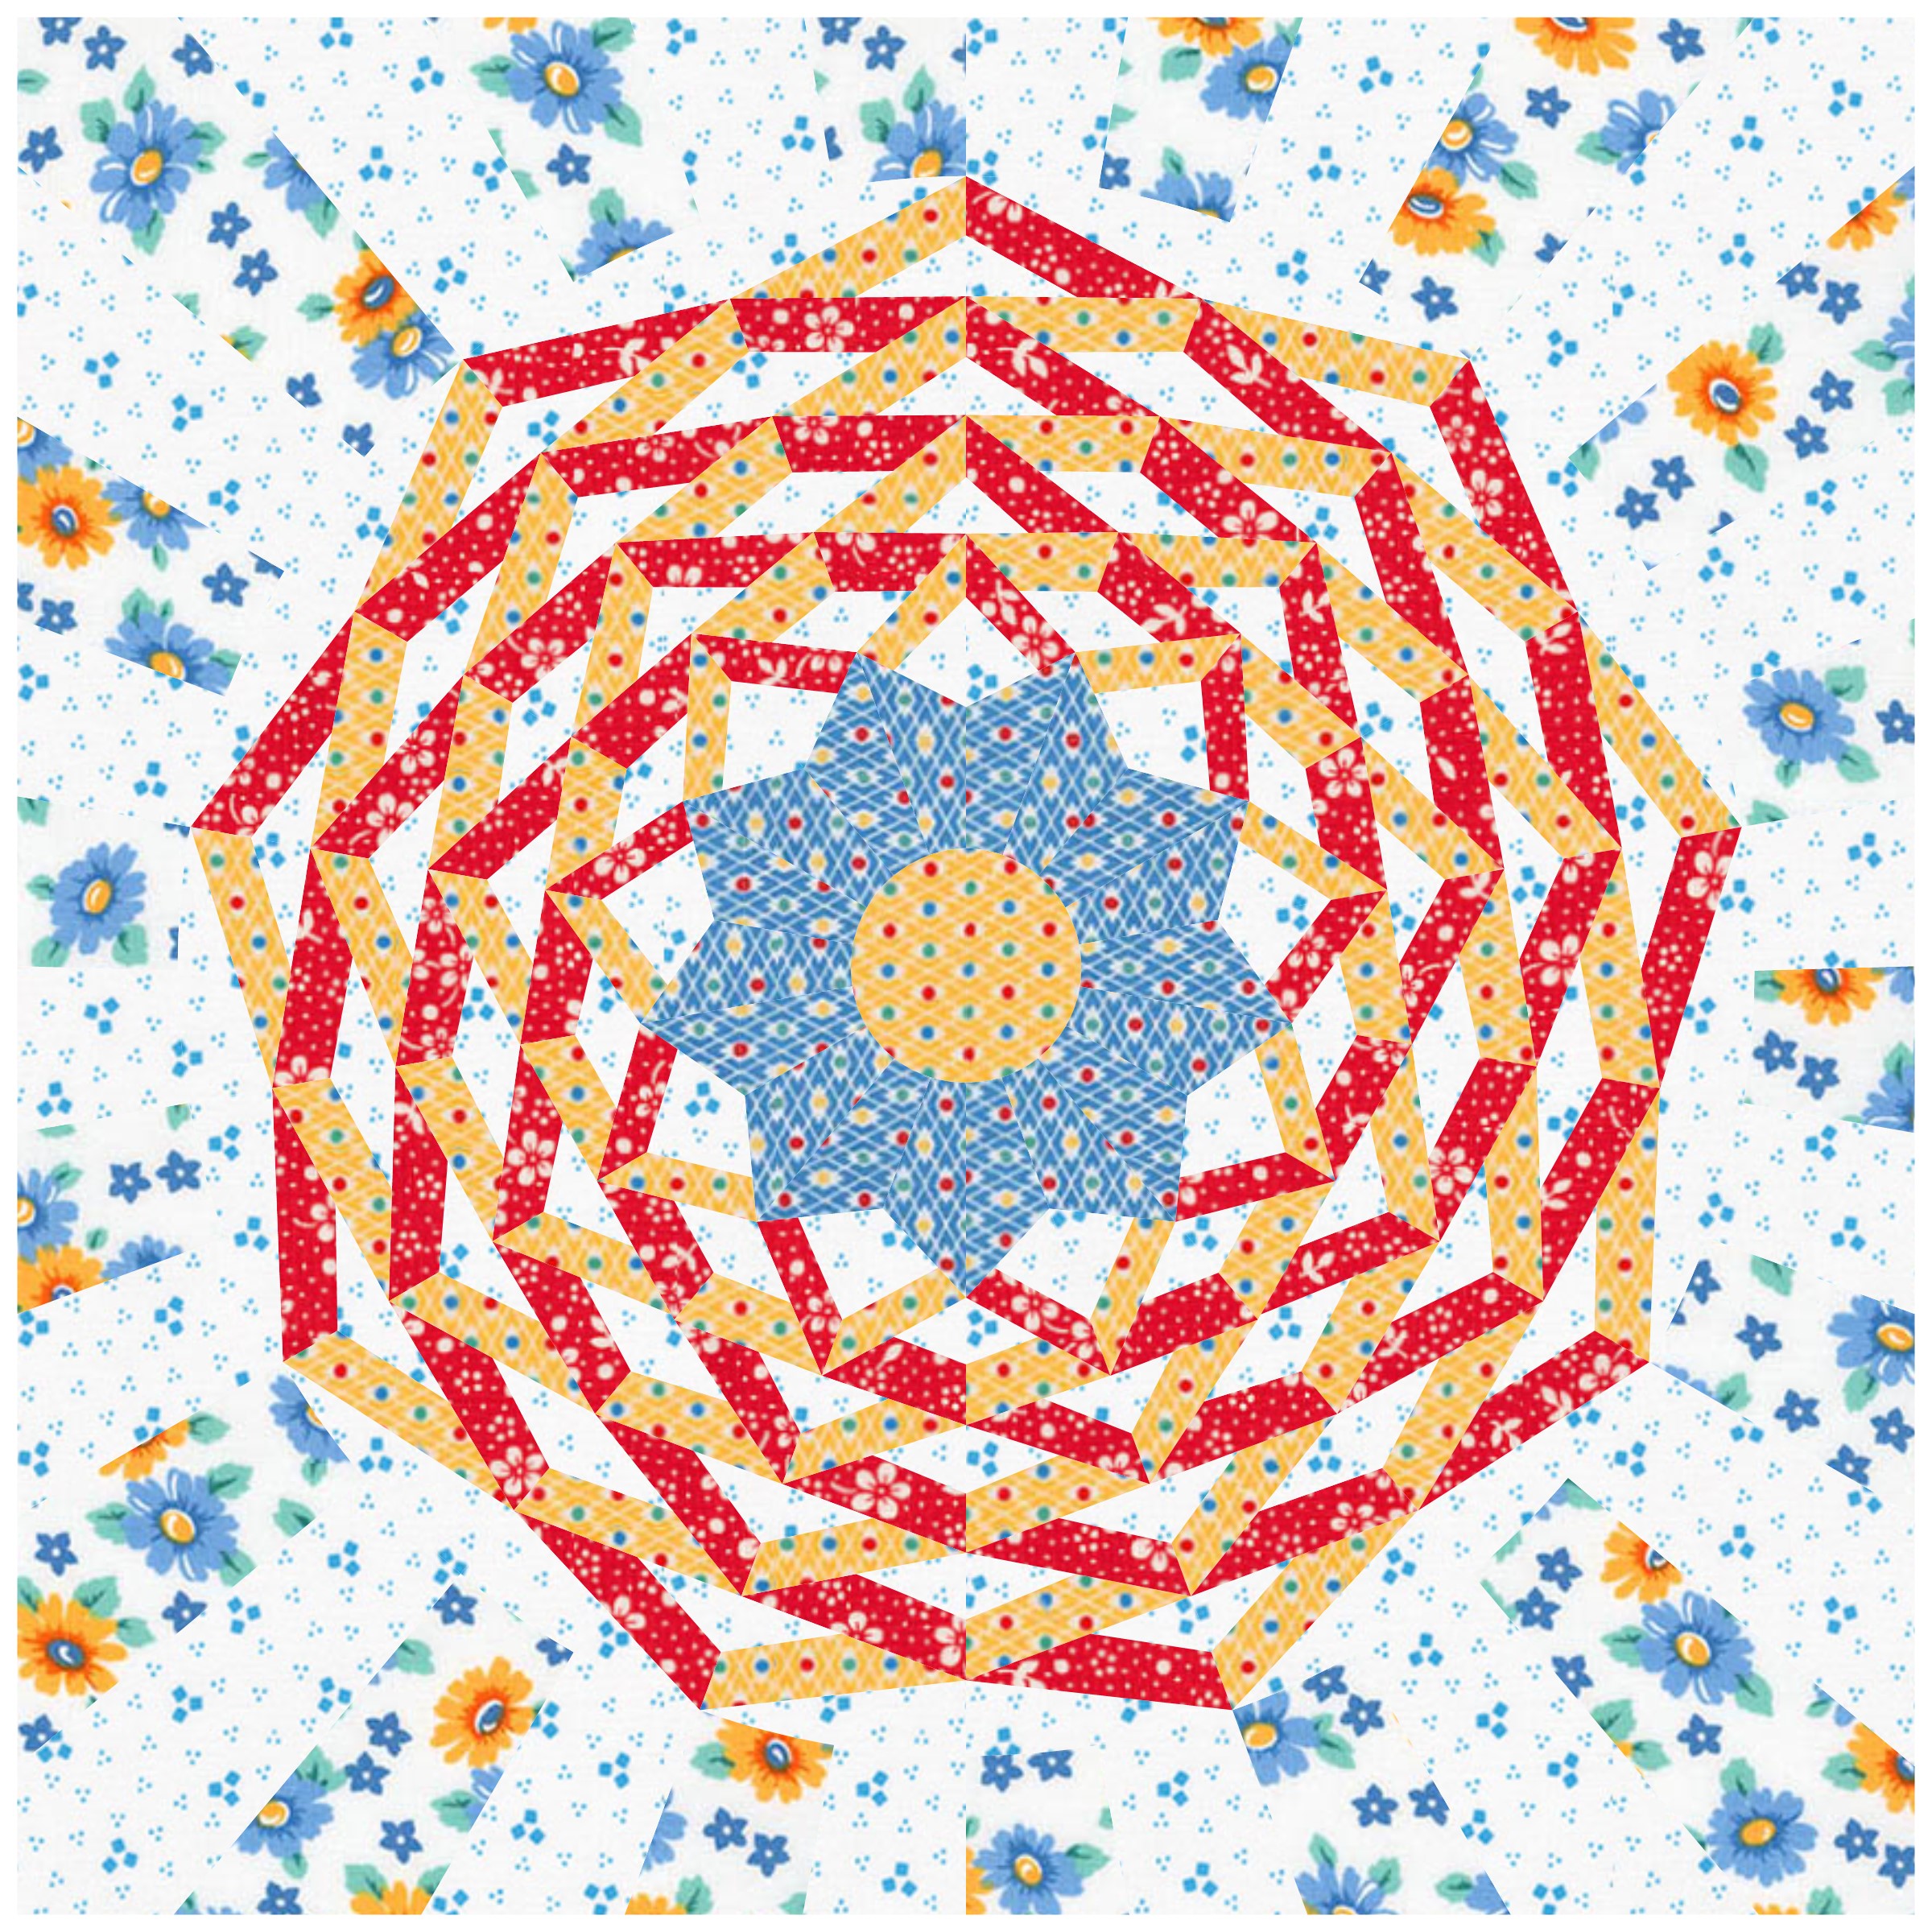
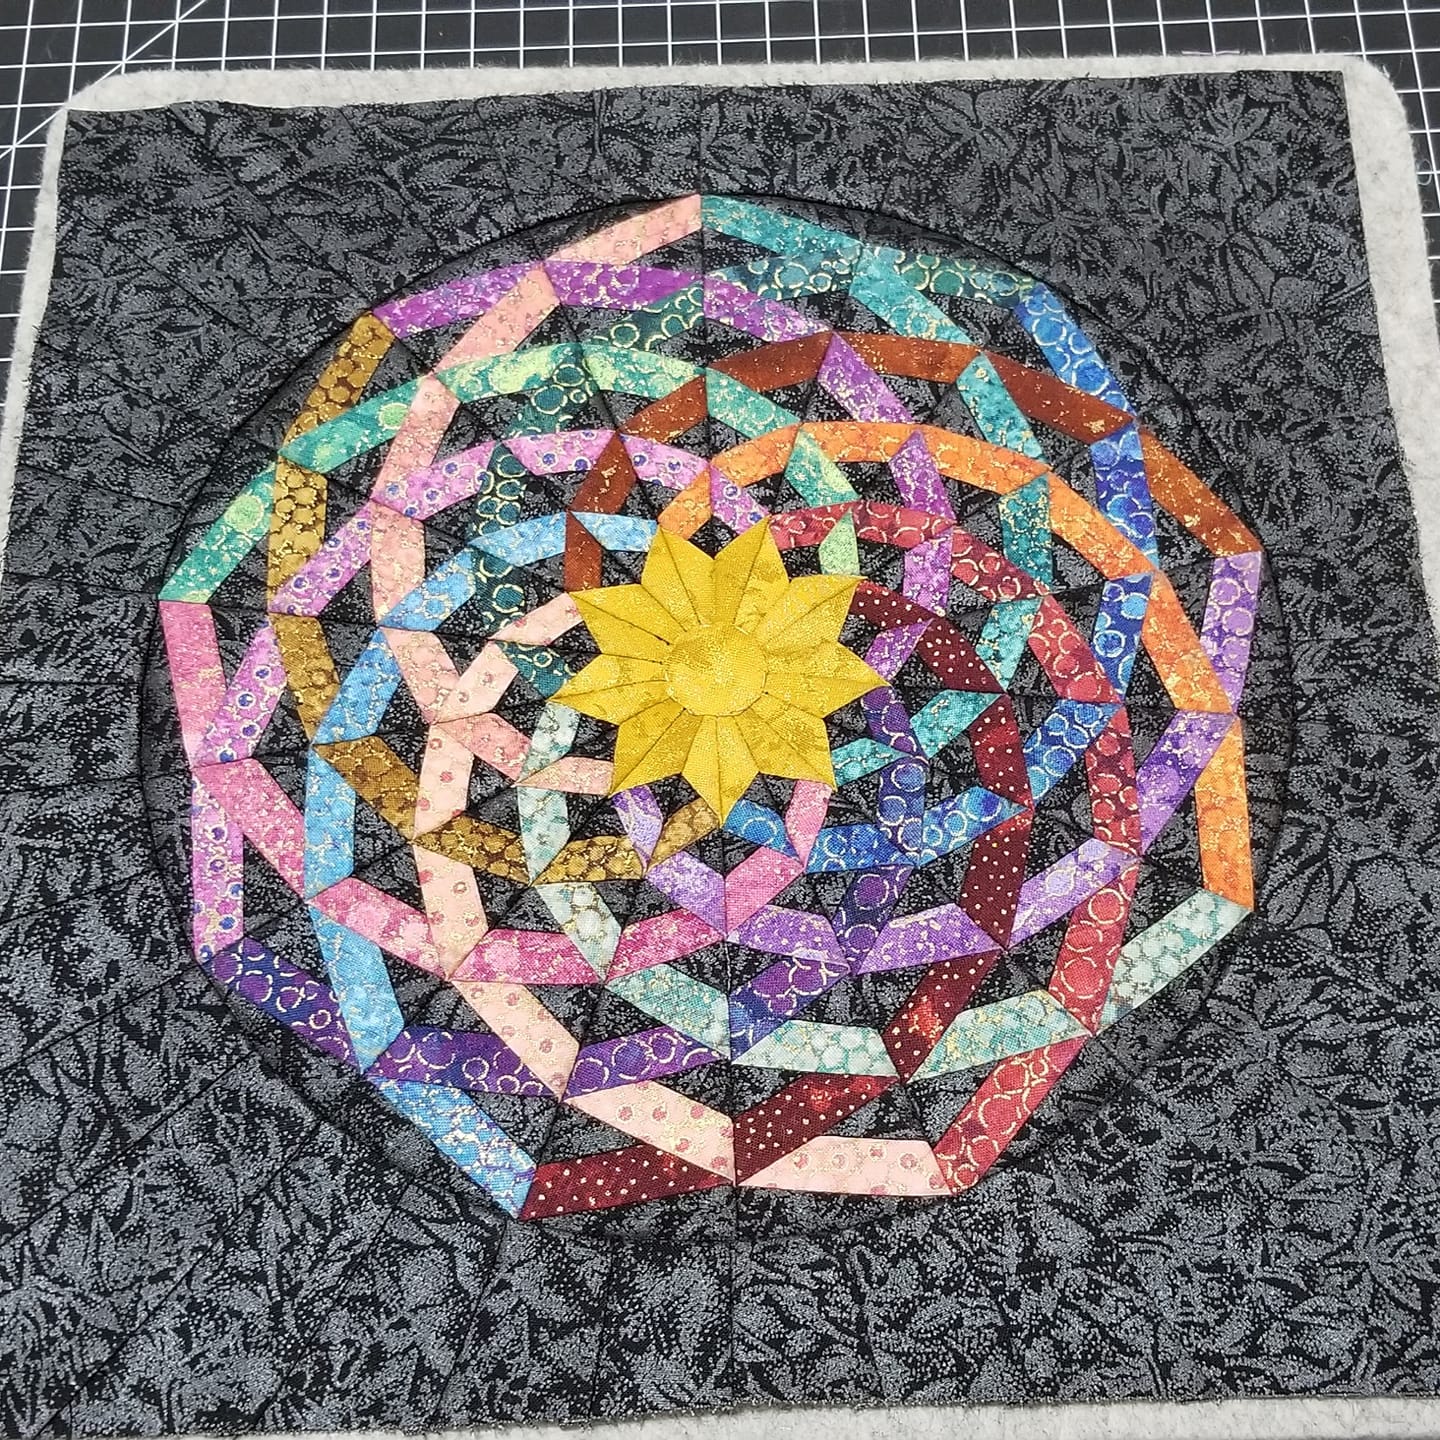
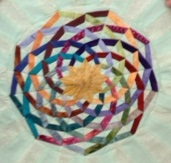
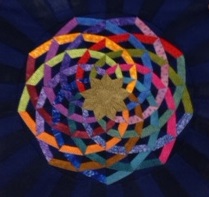
Dancing Ribbons Colorways
This project offers tons of opportunities to play with different colors and effects through design. Below are a few examples to inspire you.

This version is monochromatic, using only different shades of blue.
Both of these “rings” versions are colored the same except for the background fabrics, but the effect is really different.
You can use as few as 3 fabrics. Chose a light, medium, and dark fabric with a good amount of contrast. Make all the background pieces in the X and Y pieces the medium fabric, make the clockwise ribbons the light fabric, and the counterclockwise ribbons the dark fabric. Alternate light and dark around the center square. Add the light fabric and medium fabric to the Z pieces and you’re set.
Dancing Ribbons Fabric
Because of the small scale of the project, fabric selection becomes very important. Solid fabrics are a beautiful, safe choice. You can’t go wrong with a solid.
Similarly, there are solid-like fabrics which provide a little texture, like solid batiks, hand-dyed fabric, solid shot cotton woven fabric, and so on.
But what about prints? Printed fabric looks beautiful in Dancing Ribbons, but it’s all about understanding how prints will work and which ones may work better than others.
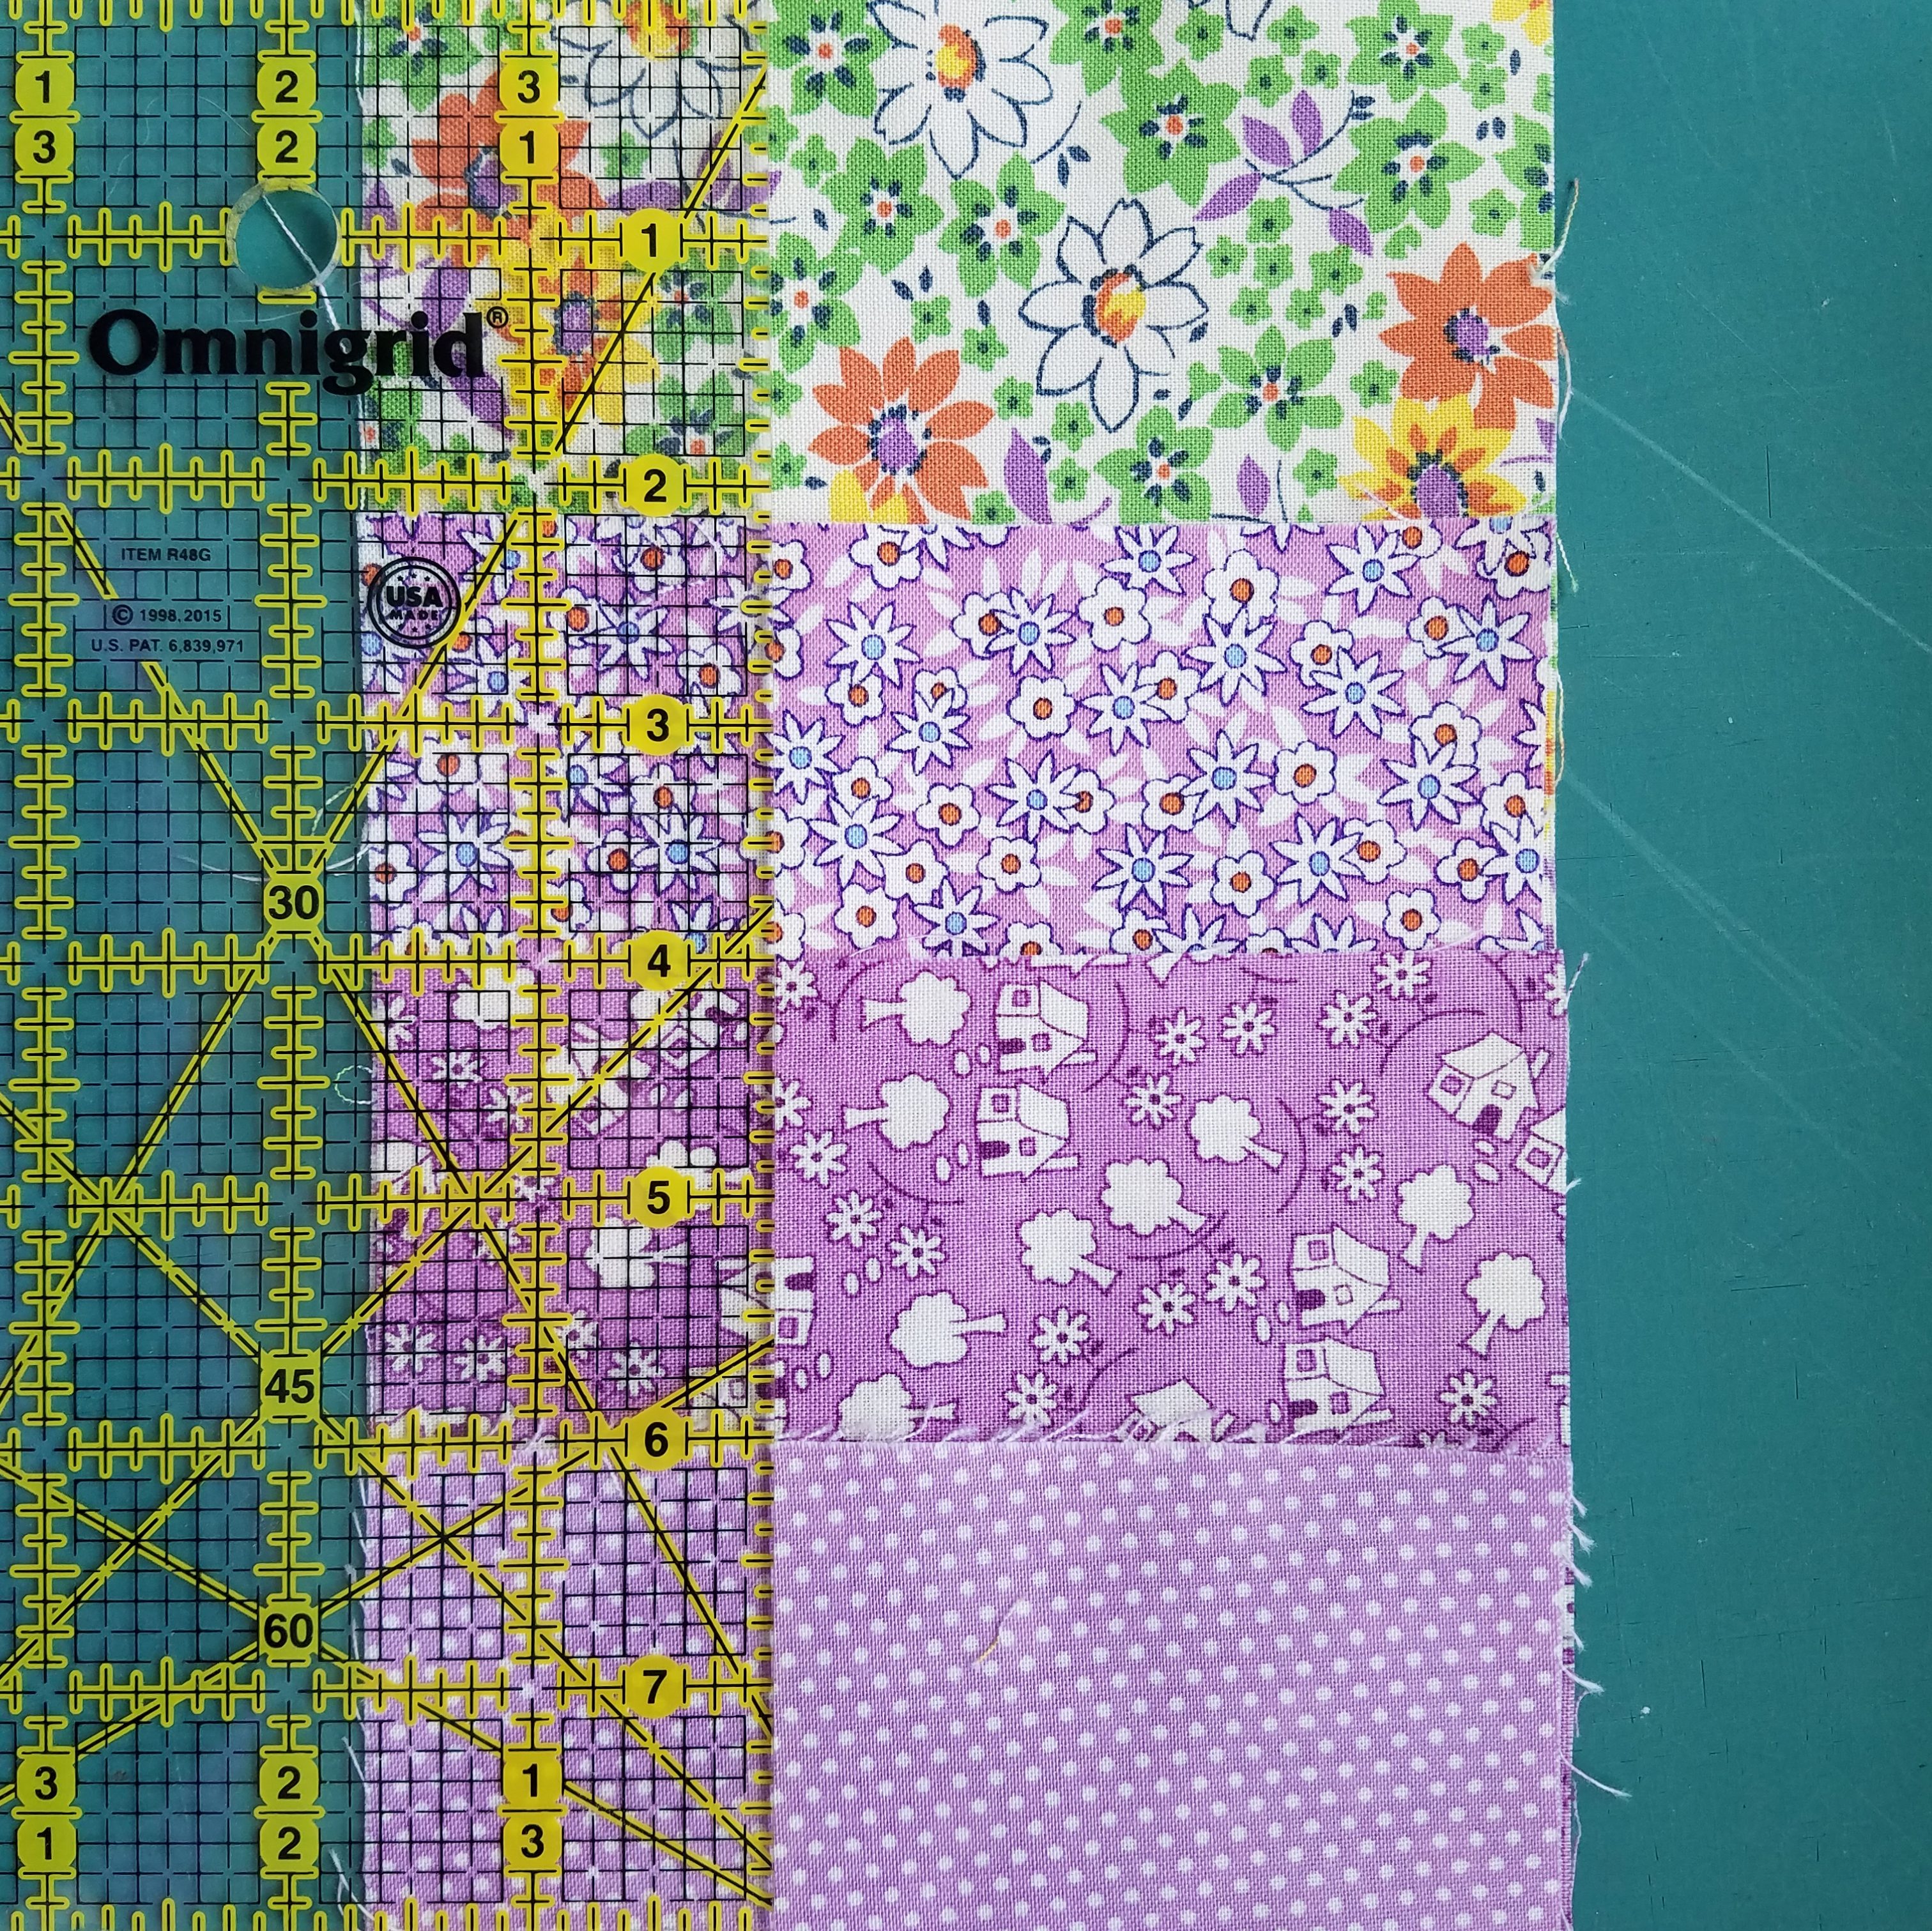
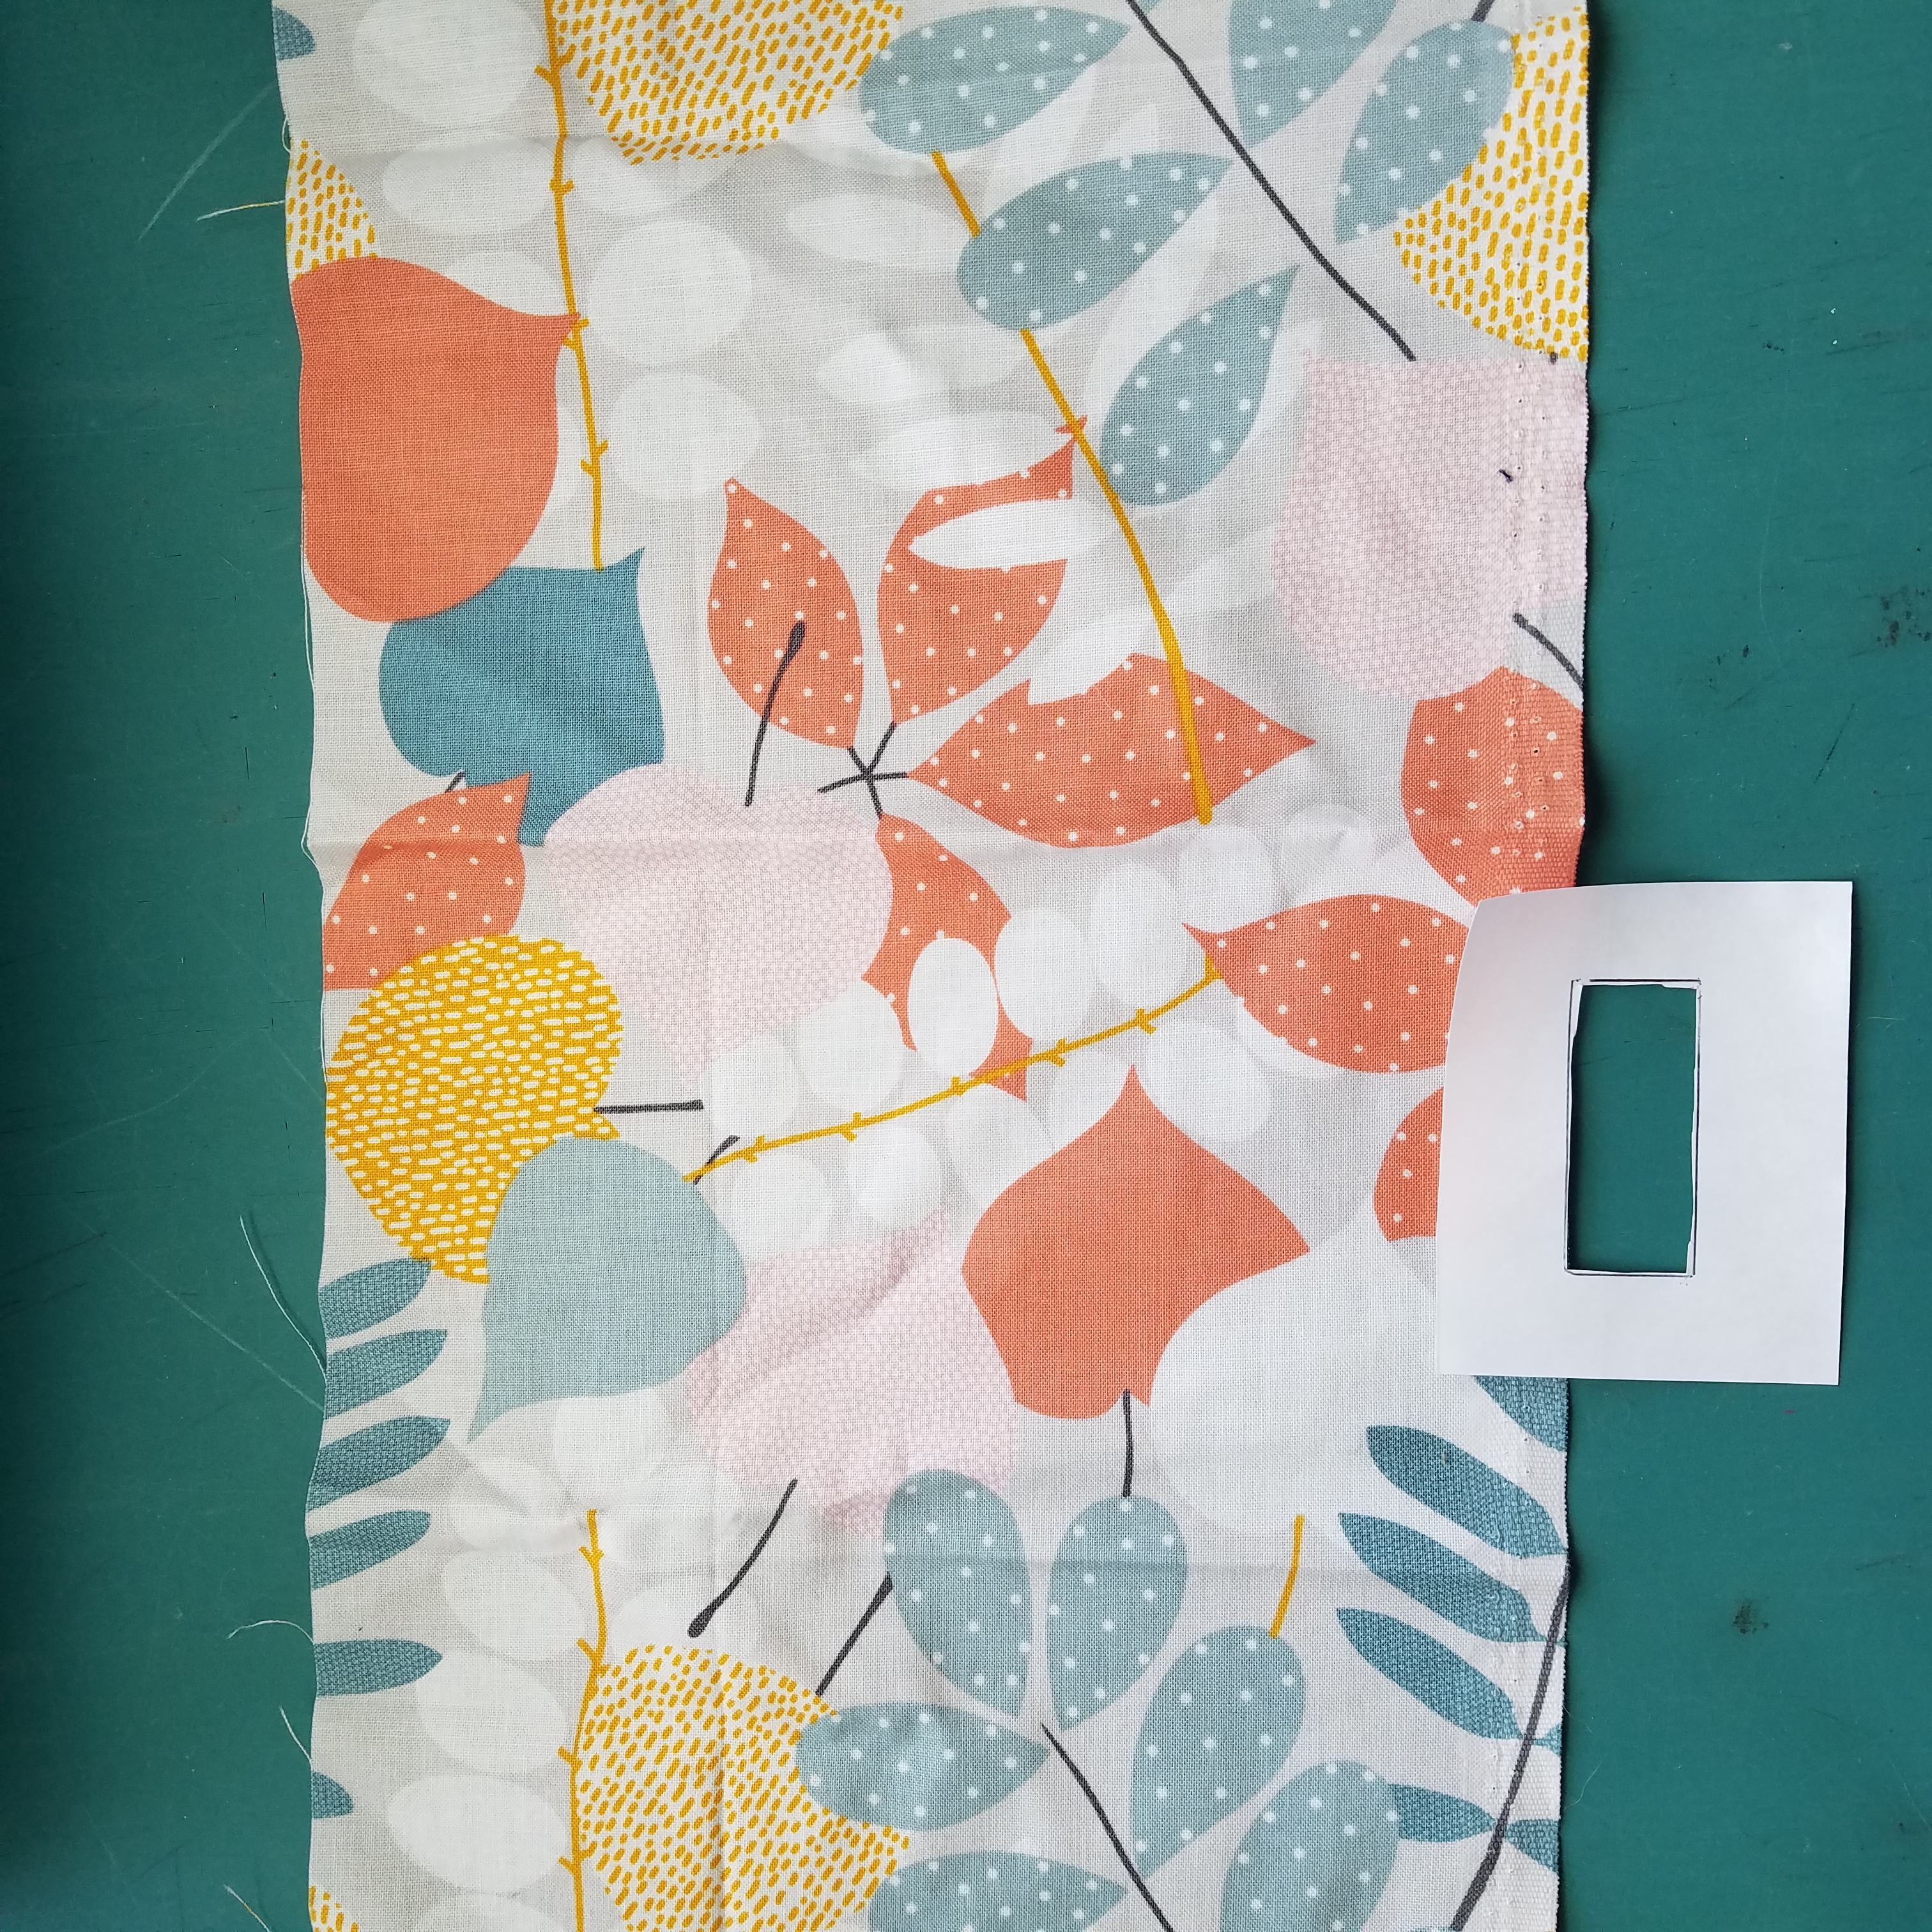
Here I have a collection of feedsack reproductions ranging, relatively speaking, from large to small in print size. The top fabric has the largest design elements, but they are only about 1″ large. The bottom fabric has a pin dot pattern, and the dots are less than 1/8″ large. Each of these has potential to work, but I can audition the fabric to determine its strengths and weaknesses for this project. To do this, I started by cutting a window into a piece of paper the same size as the largest “ribbon” section.
- The first print has a lot of white in between colors, and there is a wide range of colors (greens, oranges, yellows, and purple) meaning this fabric might prove challenging to use in conveying a single color for a ribbon.
- This print has a fair amount of white space, but the purple background helps hold the color of the fabric together. It could work.
- The tiny pin dot leaves lots of the purple background to show. This one would work easily and always read as its color.
- A trickier option. The deeper purple of the background is great, and the white in the figures does not overwhelm the area. But there is a clear right and wrong direction to the print and I would need to decide if I want to pay attention to the orientation of the fabric in my cutting.
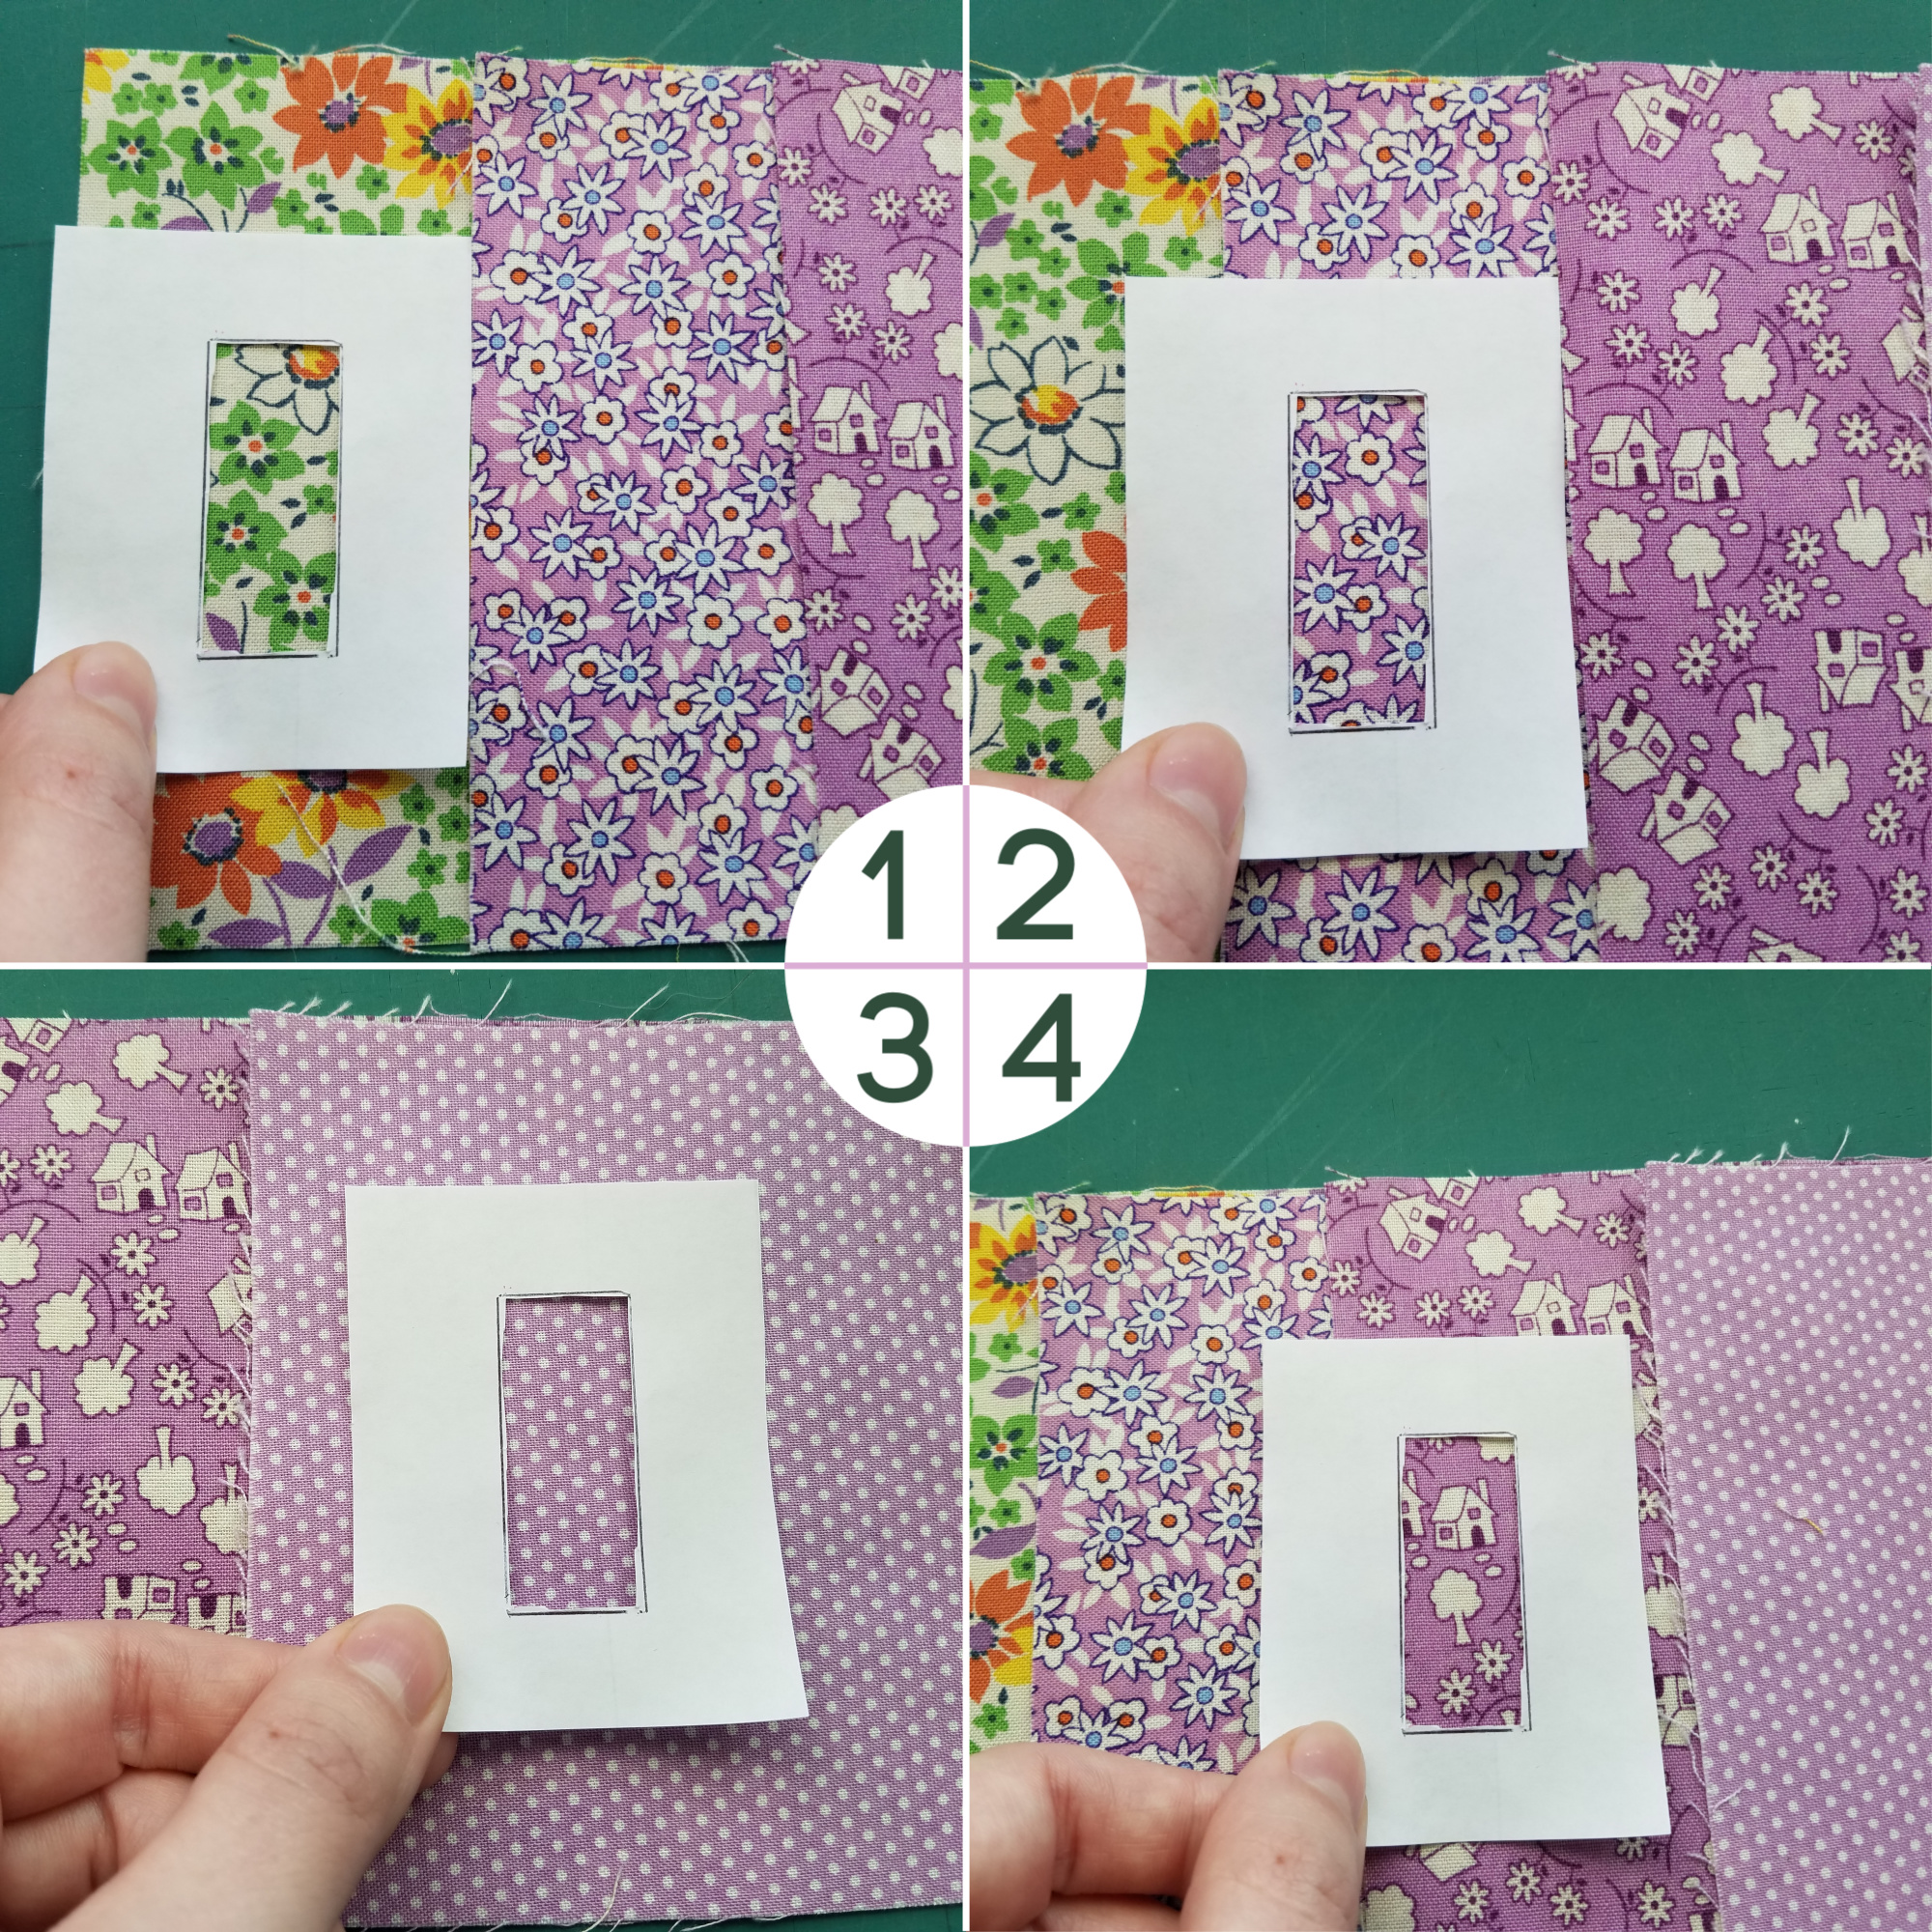
Let’s look at another example.
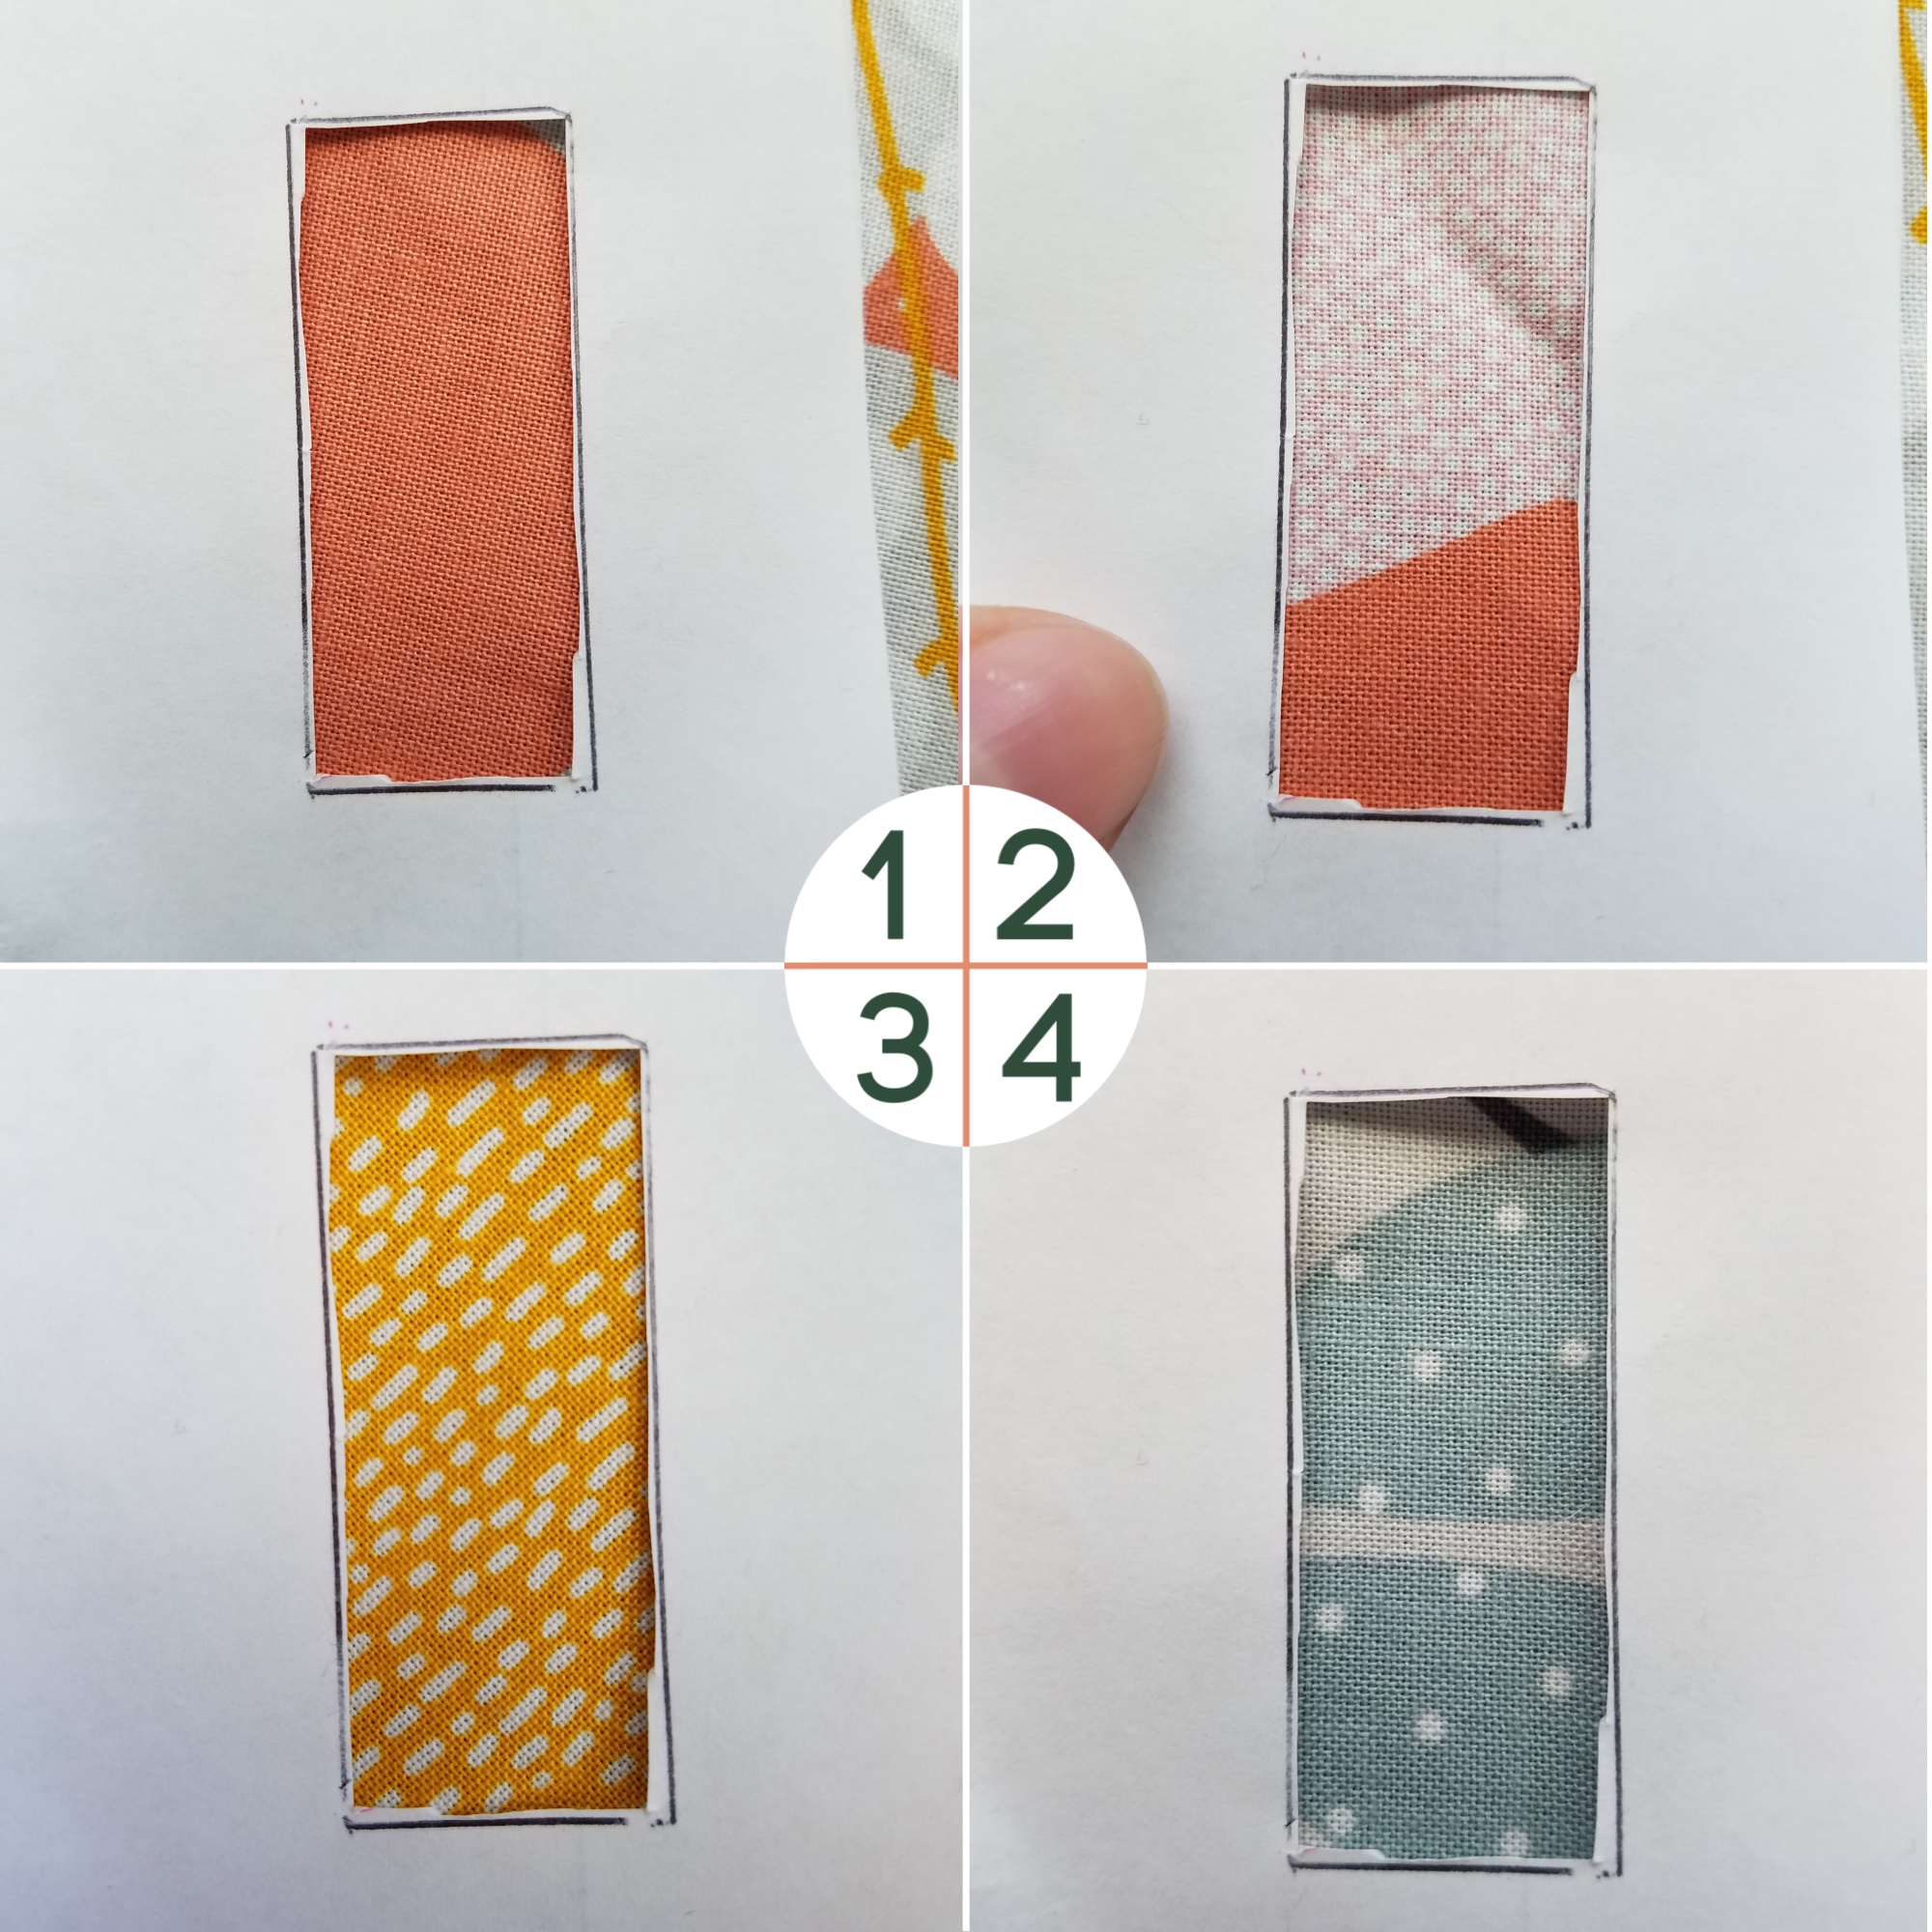
1 and 3 work well in this example, and even 4 might do, but 2 has a total switch from one area to another with what color is happening in the print. What’s going on here?
Oh! Each of those selections are from this one piece of fabric. That could be cool for using up this mega-scale print, but it would require a lot of fussycutting. I might not be ready for that level of commitment.
Make your own little window and audition your fabrics for scale if you want to audition prints before using them.
Dancing Ribbons Inspiration
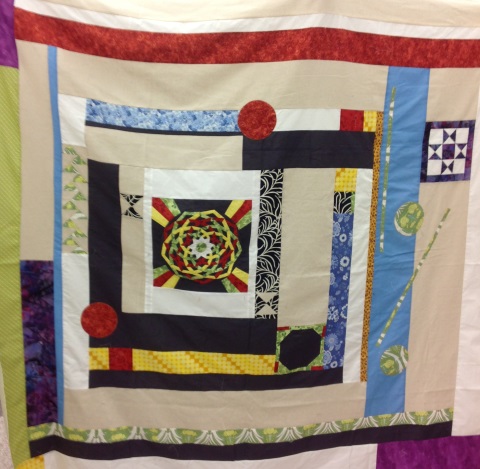
In the almost ten years since the release of Dancing Ribbons, so many quilters have made this project and shared their creations with us. We’re so excited to highlight them here as inspiration for anyone about to make Dancing Ribbons.
Click a photo to see it larger.
Geoff L. used batiks and prints with metallic accents.
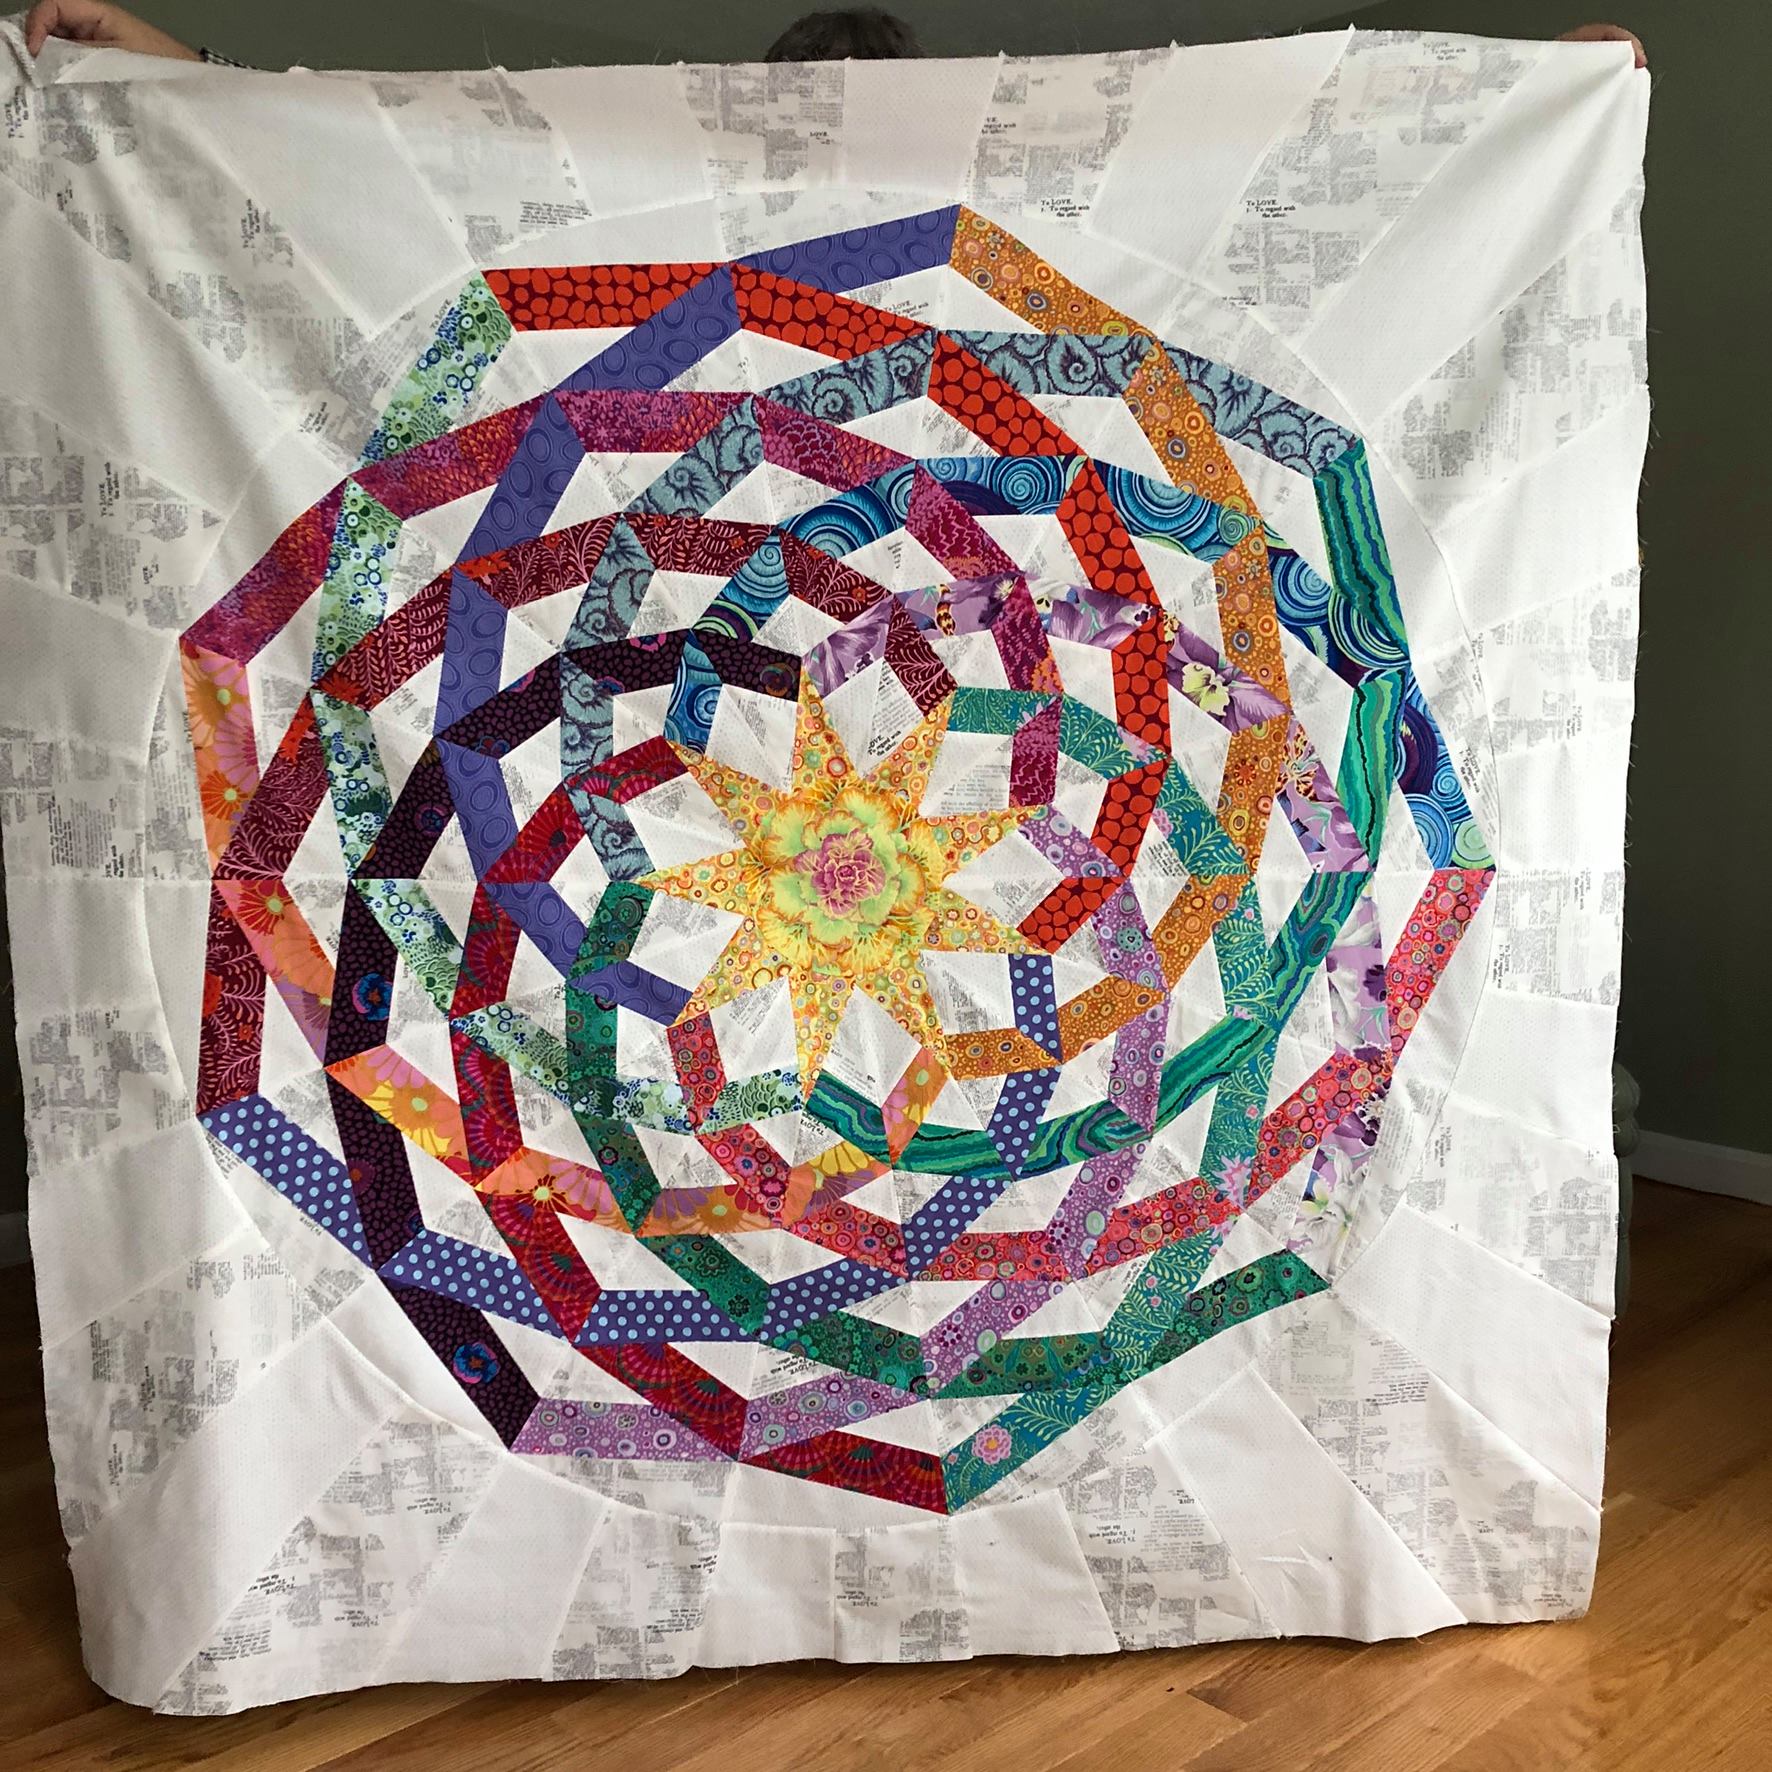
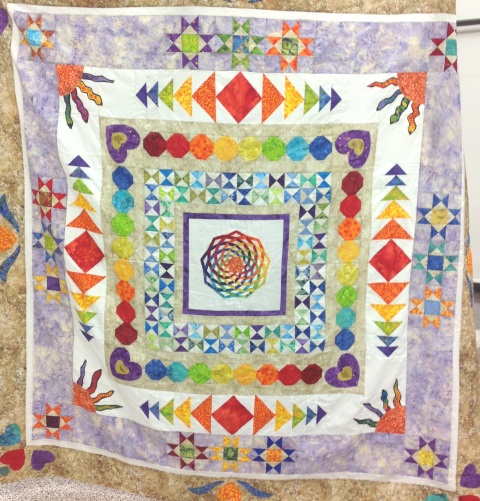
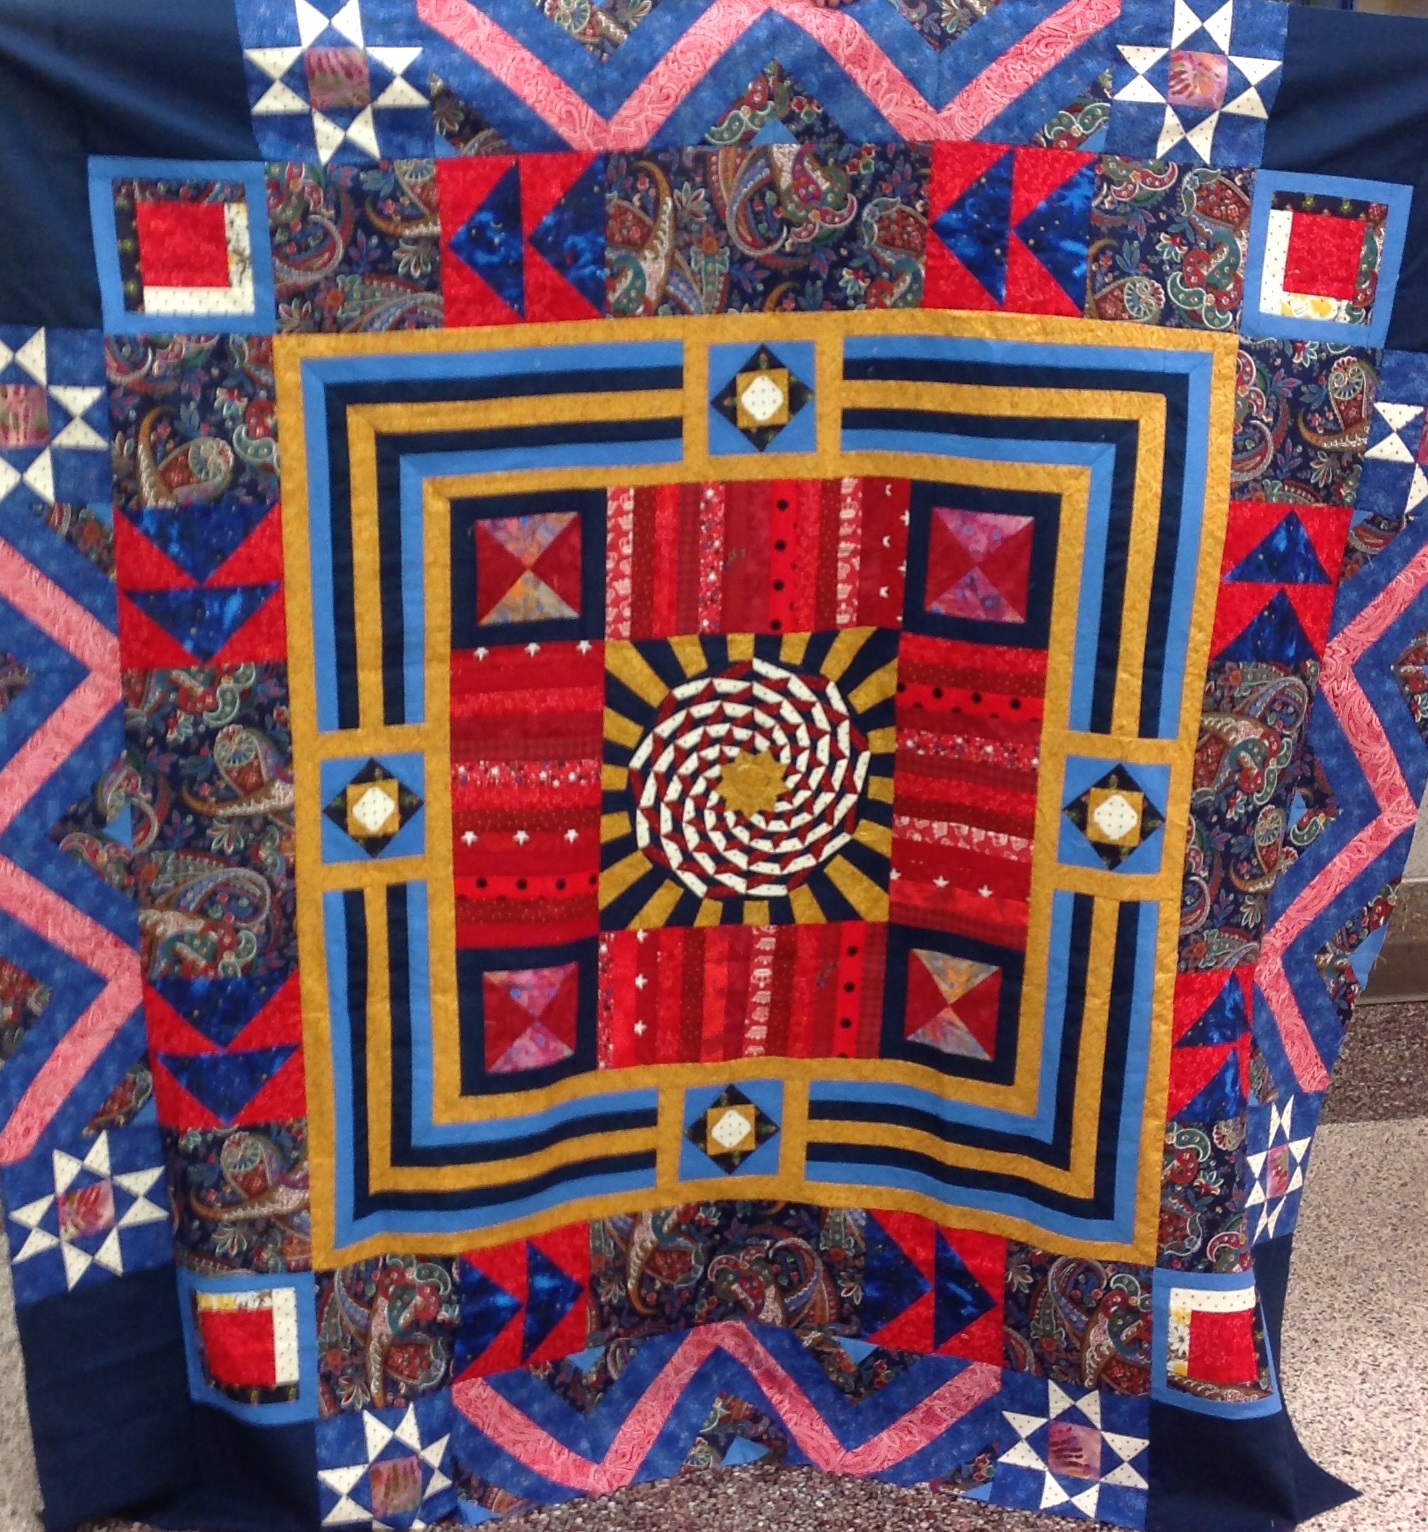
Beth L. supersized Dancing Ribbons with a lot of math know-how and dedication.
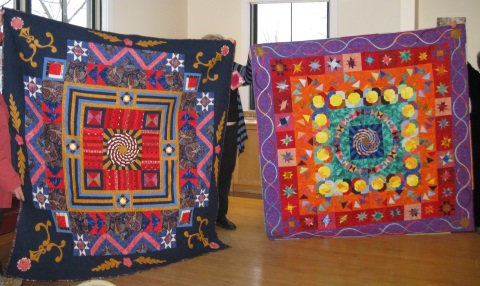
Center Pieces Quilt Guild hosted a Dancing Ribbons challenge in their guild, using the Dancing Ribbons. Below are their quilts!

Cutting Dancing Ribbons
Once you’ve made your fabric selections, you can start cutting out the project using the directions in the Dancing Ribbons pattern. Cross reference your Color & Fabric Guide as needed. And if you prefer to cut out as you go, that’s fine, too!
Suggested Supplies
We’ll go into foundation paper piecing instructions in detail next week. Until then, here’s a suggested supplies list of what else you’ll need to make Dancing Ribbons.
Printer for printing patterns
Sewing Machine
Sewing thread (the same color as background fabric)
Microtex Sharp machine needles
Small cutting mat
Small ruler for trimming
Large Ruler for measuring
Rotary Cutter
Karen K. Buckley Scissors
Fabric Glue Pen
Pencil
Wonder Clips
Wooly felted ironing mat
Small iron
Next Time
Come back next week when we’ll be sewing the X-sections and sharing tips for foundation paper piecing. Be sure to subscribe to the OnPoint newsletter to never miss a post.
Show off your progress, connect with other quilters, get ideas, motivation and more!
Join us in the AQS Project Parade Facebook Group and quilt along with us!
Members get even more…
AQS Members can access hundreds of patterns and digital issues of American Quilter at any time!
Find quilt along series like Forever & A Day, 30 Days of Birds and more.
Not a member? Join today!
I saw this pattern 10 years ago and printed it out. Never got to it as of many others.
I love this pattern and would like to make this – but the pdf for the pattern will not open. Anyone else having this trouble?
Hi Dianne! Try using this link: http://old.aqsblog.com/wp-content/uploads/2012/04/AQS-pattern-144.pdf
If it still doesn’t work for you, let me know and we’ll try another way. Happy making! -Emily
Dancing ribbons! 1st time heard about it… These look so beautiful… Now I m gonna make it soon and will surprise my family members and friends.
where is the July 8 post ?
Hi Karen, Here’s the link: http://old.aqsblog.com/dancing-ribbons-z-sections-finishing-touches Enjoy! Take care, Betsey