[vc_row][vc_column][vc_column_text]Tiny piecing is a challenge some fear, but with these tips, you’ll be ready to face any mini quilt or intricate block with confidence![/vc_column_text][/vc_column][/vc_row][vc_row][vc_column][ultimate_spacer height=”10″][/vc_column][/vc_row][vc_row][vc_column][info_list style=”hexagon” icon_color=”#20a1d8″ font_size_icon=”24″][info_list_item list_title=”Prepare the fabric” list_icon=”Defaults-flask”]Pre-starch your fabrics using your preferred starch (starch, sizing, Best Press, ect.) to ensure the fabric stays the same size and is easier to handle.[/info_list_item][info_list_item list_title=”Set the sewing stage” list_icon=”Defaults-check-square-o”]Use a fresh Microtex (sharp) needle size 70/10. Switch to a straight stitch needle plate if your machine has that option. If your machine has speed control, adjust it to the slowest setting to begin. Set the stitch length small, around 1.8 mm or 14 stitches per inch.
If hand piecing, use a fresh sharp your preferred size and replace as they bend. Take small stitches, approximately 14 stitches per inch.[/info_list_item][info_list_item list_title=”Cut consistently” list_icon=”Defaults-cut scissors”]If rotary cutting, use one ruler, or multiples of the same brand/line for all cutting and to set a quarter inch on the sewing machine to assure accuracy across all steps.
If template cutting, use a hard template material that won’t change shape after repeated tracings, like plastic stencil sheets. If such material is unavailable, make several templates and replace as they warp. Try using scissors with serrated blades like Karen Kay Buckley’s Perfect 7 1/2″ Scissors that grip the fabric as they cut, which stops the fabric from shifting while being cut.[/info_list_item][info_list_item list_title=”Stay organized” list_icon=”Defaults-th”]Lay out your mini project with a Prop-it Quilt Block Easel. It’s like a design wall you can take with your from cutting table to sewing machine to ironing board.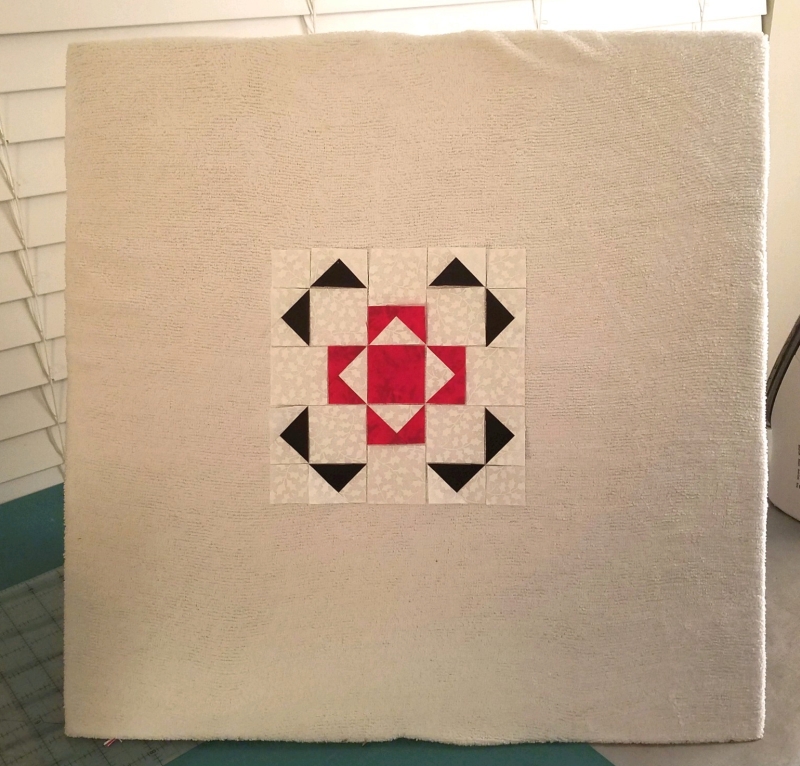 [/info_list_item][info_list_item list_title=”Make it bigger” list_icon=”Defaults-arrows-alt”]When machine piecing, it can be easier and more accurate to make units like Flying Geese, Half Square Triangles, Four-Patches, ect. ect., larger and then trim them to the correct unfinished size. For example, sew a 2″ unfinished Half Square Triangle and then trim it to 1 1/2″ square to make an accurate 1″ finished unit.
Note that this does not work on 9-Patches.[/info_list_item][info_list_item list_title=”Press like a pro” list_icon=”Defaults-cogs gears”]Hand piecing doesn’t require pressing decisions mid-project, but machine piecing does, so consider your options with every seam. Take into account matching points and dealing with bulk which can push designs out of shape at such small sizes. A project may call for every pressing technique out there, including pressing seams open, locking seams, splitting and or clipping seams.[/info_list_item][info_list_item list_title=”Glue baste” list_icon=”Defaults-puzzle-piece”]Match up all the little pieces with a dot of Roxanne Glue Baste-It to hold tiny pieces together. Apply in the seam allowance at a point that must match, give it a moment to dry, and sew with confidence.[/info_list_item][info_list_item list_title=”Manage seams” list_icon=”Defaults-asterisk”]When hand piecing, it may be easier to cut out pieces up to an inch larger to give the quilter something to hold onto while sewing and trim the seam after piecing.
Seam allowances create bulk quickly in tiny piecing and there are a few ways to deal with that. Seams can be trimmed down equally or staggered. Some quilters choose to stitch an eighth inch seam allowance to begin with and adjust the pattern sizes accordingly.
[/info_list_item][info_list_item list_title=”Measure, measure, measure” list_icon=”Defaults-cubes”]Check the size of each unit, each block, each row as you progress to catch size discrepancies before sewing them into the project. An eighth of an inch size difference adds up when the pieces are only an inch![/info_list_item][/info_list][/vc_column][/vc_row][vc_row][vc_column][ultimate_spacer height=”10″][/vc_column][/vc_row][vc_row][vc_column][vc_column_text]Do you have any questions about tiny piecing? Tips of your own to share? Let us know in the comments![/vc_column_text][/vc_column][/vc_row]
Thank you for such a well organized post filled with useful information when working with small pieces.
I am looking forward to trying these tips on my next project. Thank you.
Start sewing with needle down to insure that the first stitch is on the edge of the fabric.
Use a stiletto to help guide the fabric under the needle. If you pre-wash your fabric, spray it with starch while it is wet and hang to dry.