
Looking for a fun quilty craft? Try these paper craft projects showcasing beautiful quilts.
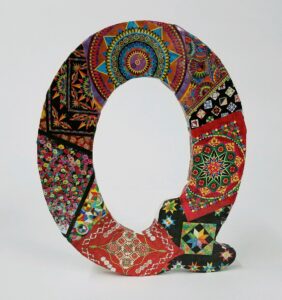
The Quilted Q
by Betsey Langford
Supplies Needed:
Wooden Letter Q
Mod Podge
Foam paint brush
AQS Catalogue of Show Quilts
Scissors
Steps:
- Select and cut out quilts from an AQS Catalogue of Show Quilts.
- Layout and arrange the cut out quilt images on the Q letter form, planning color scheme and quilt position.
- Using the foam paint brush, coat the Q letter form in Mod Podge. Stick the quilt images in place, adding glue to the overlapping areas. Work out any bubbles or wrinkles.
- Cover the front side of the Q letter form with quilt images allowing the edges of the quilt images to extend past the front surface of the Q letter form.
- Along the curves of the Q letter form, cut slits in the extending images to help them fold over the edge neatly.
- Apply Mod Podge along the edge of the Q letter from. Wrap the quilt images over the edge.
- Continue until the entire Q letter form is covered.
- Allow to dry.
- Apply Mod Podge over the surface of the quilt images to varnish.
- Allow to dry.
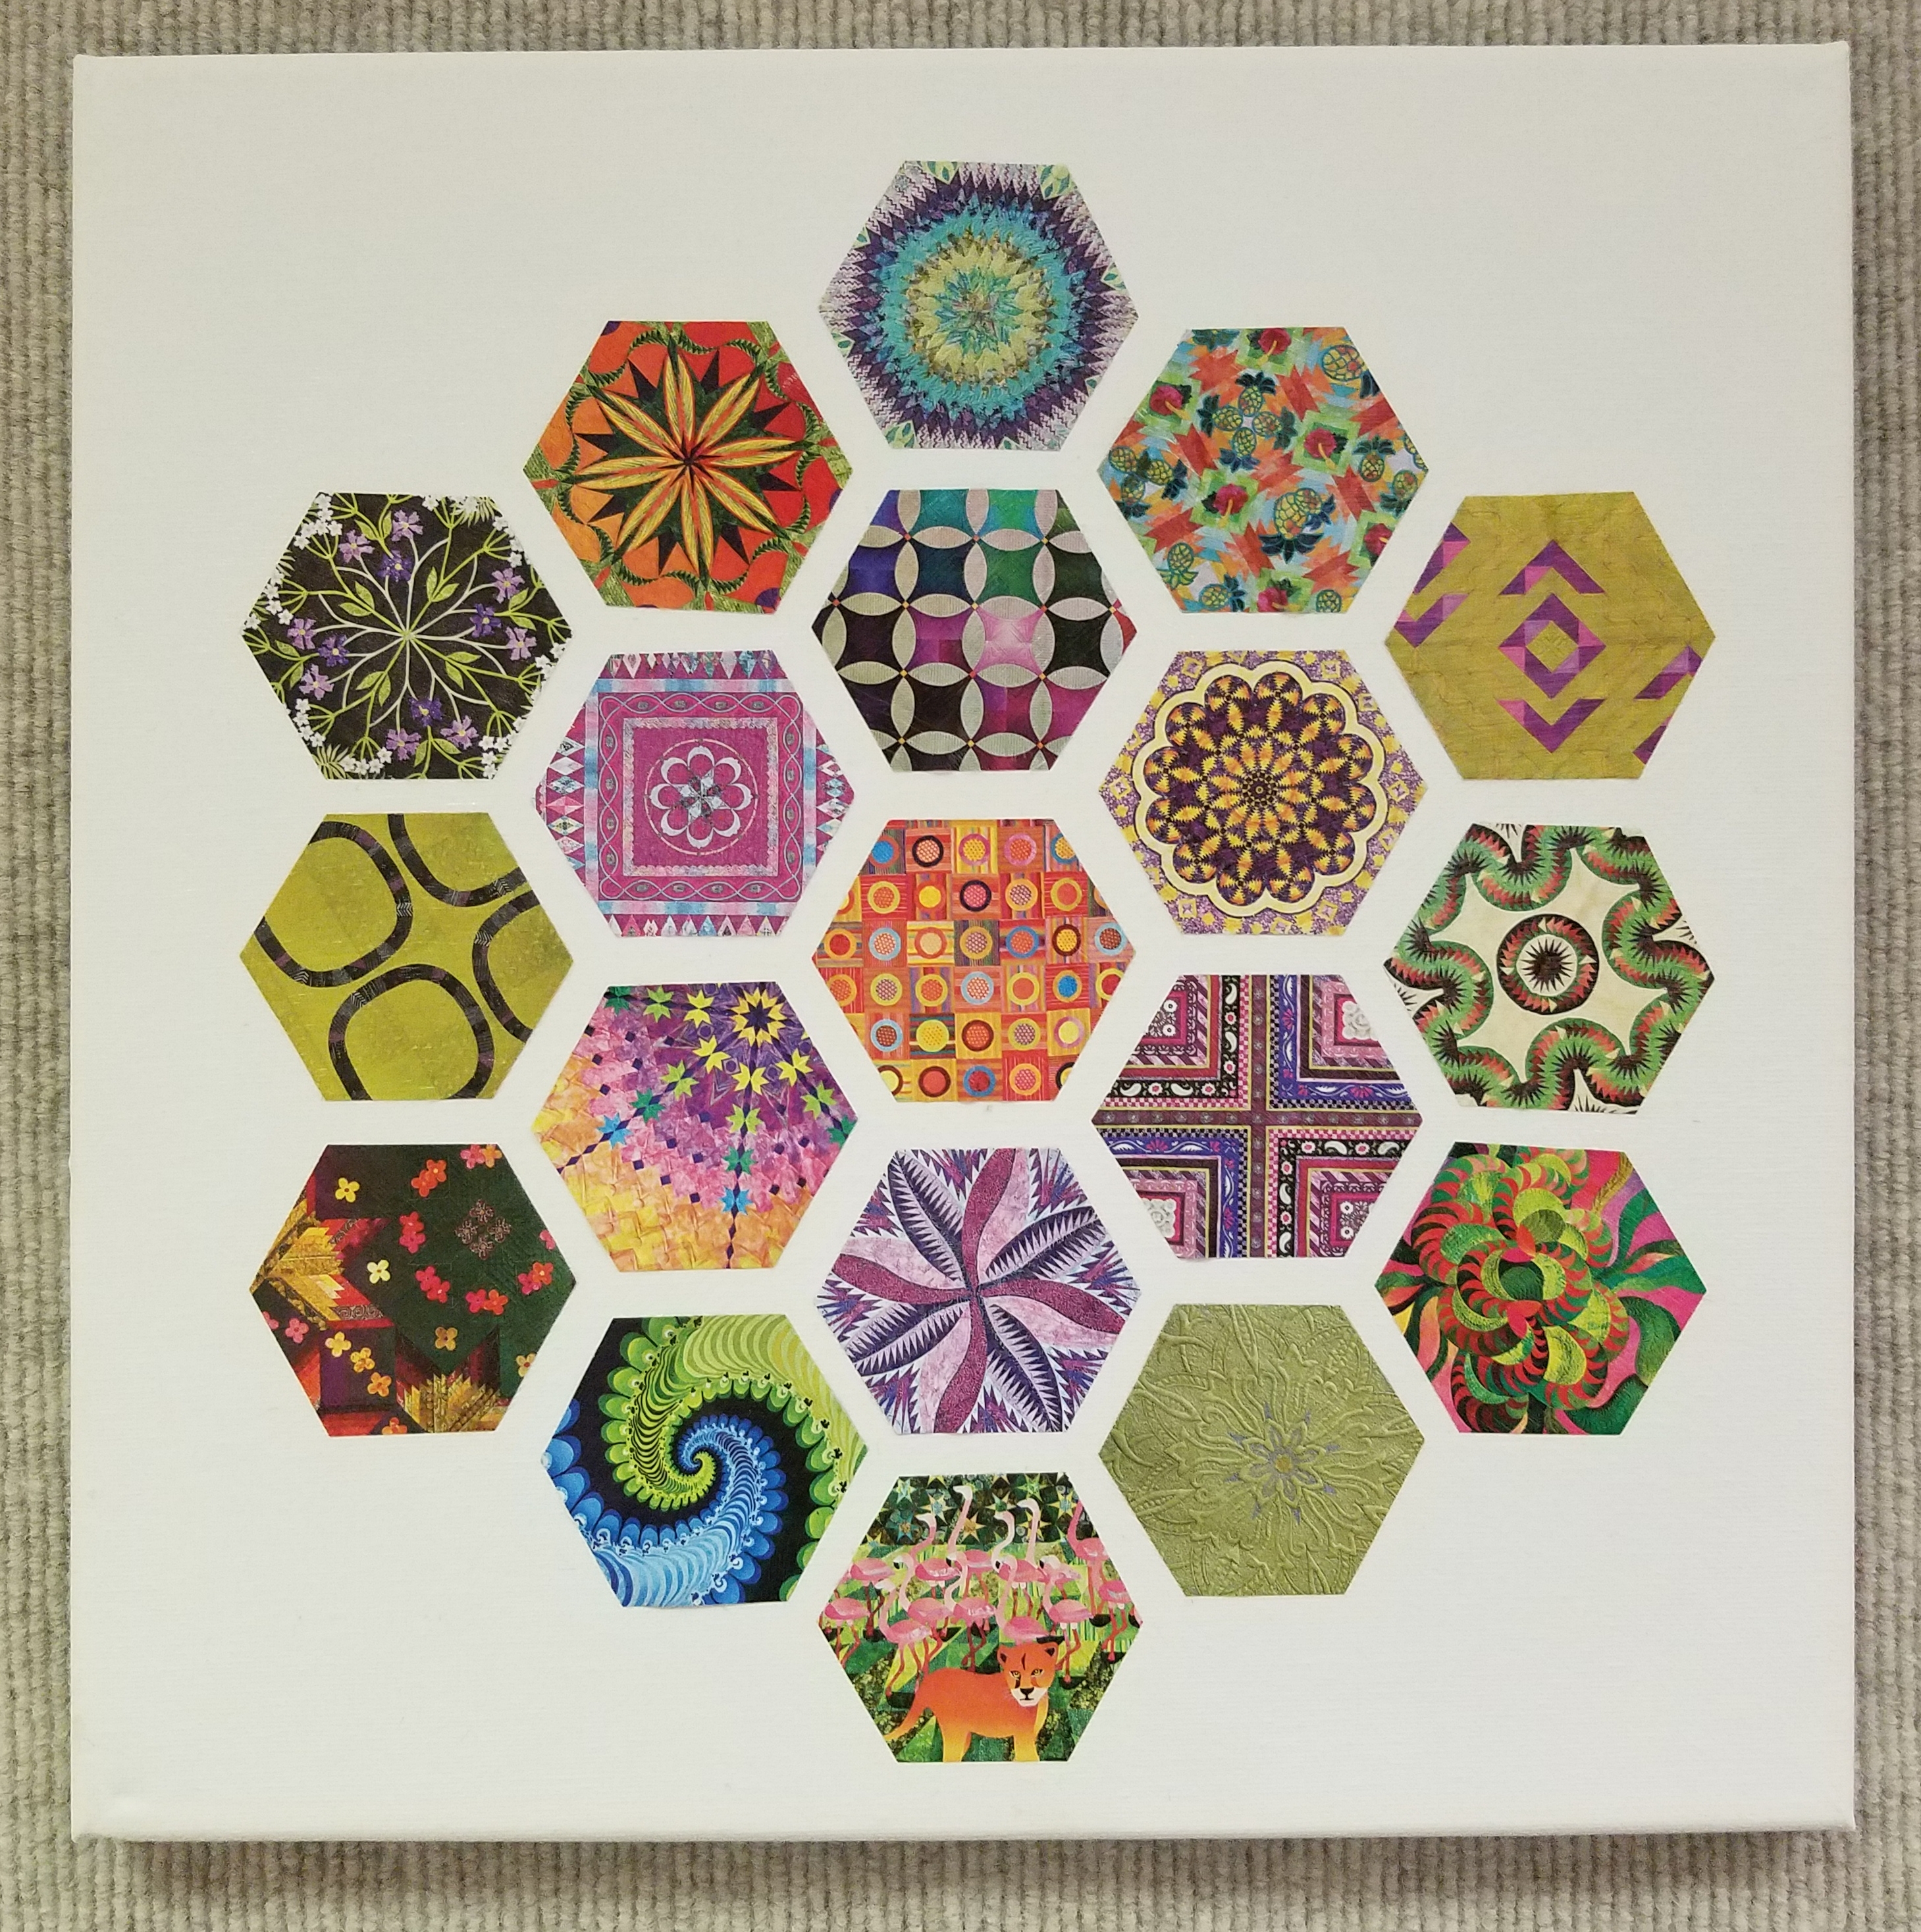
Quilt Wall Art
by Emily Cross
Materials Needed:
12″ square painting canvas
Mod Podge
Foam paint brush
AQS Catalogue of Show Quilts
Scissors
Hexagon or other one-patch quilt shape
Steps:
- Select quilts from an AQS Catalogue of Show Quilts.
- Using the one-patch quilt shape as a guide, cut out quilt images.
- Layout and arrange the cut out quilt images on the canvas, planning color scheme and overall design.
- Using the foam paint brush, coat the backs of the quilt images with Mod Podge. Stick the quilt images in place.. Work out any bubbles.
- Allow to dry.
- Apply Mod Podge over the surface of the canvas to varnish.
- Allow to dry.
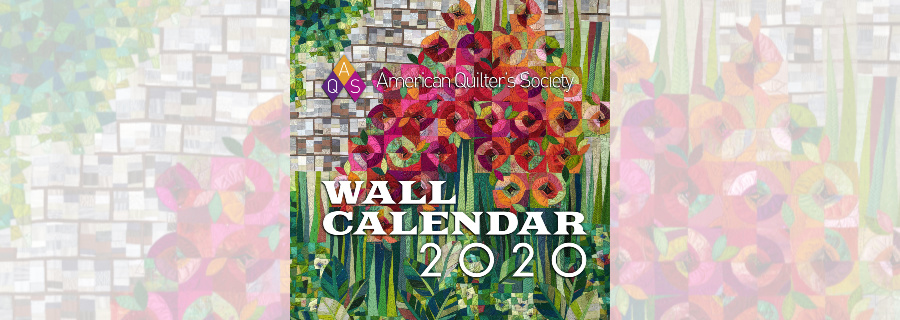
Need some great quilt images for your artwork? Grab these Catalogue of Show Quilts on sale now!
Click on the cover to shop.
Love paper craft? Want to recycle calendars after a new year begins? Check it out!
0 Comments for “Paper Craft with Quilts: Decoupage ideas for your studio”