Working on multiple quilting projects? Try these tips to keep things in order and moving forward.
Count them one by one…
- Take a look around your creative space and make a list of all the projects that are in the works.
- A second list may be needed for projects with purchased fabrics, but haven’t been started.
- Prioritize the In the Works list.
Make a schedule…
- Grab a calendar and beginning with the highest priority project, schedule the project.
- Try to be realistic with the time needed to complete the project.
- Very Important: Assign a due date. Make it a Red Letter Day on the calendar.
- Continue scheduling the remaining projects in order of priority.
Sprinkle work days with creative energizers…
- Stick to the schedule, but remember the joy!
- From time to time, take a few minutes to rejuvenate your creative spirit.
- Take breaks and be sure to do something different for the break like take a walk.
- Invite a friend over to visit with you while you work. They might even iron for you!!!
- Take your sewing machine to a new location.
- When your favorite song comes on, stop and DANCE!
Organize projects by stages…
- Break projects into stages and plan out each stage.
- Overlap projects so they are at varying stages.
- Create a guide for each project.
To help out, we created this handy guide for managing a project.
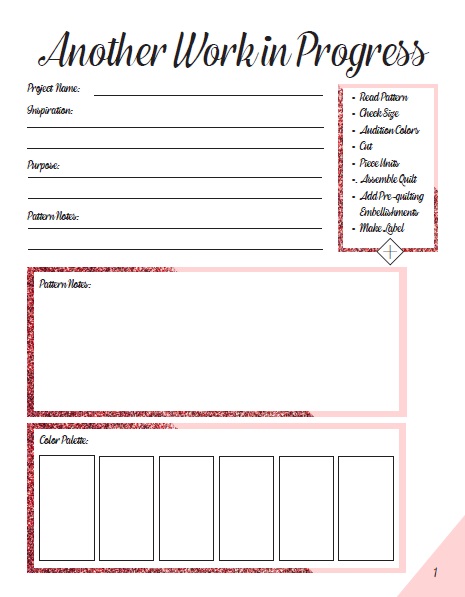
Use the top of the first page to record important information about the project.
Use the list on the side as a quick overall check list. Mark them off as you get them finished.
In the pattern notes, note any changes you would like to make to the pattern along with key parts to watch out for.
This is a great time to confirm the finished size you want for the project. If it needs to change, note it in the patter area.
On the bottom of the page glue swatches of fabric for a quick reference.
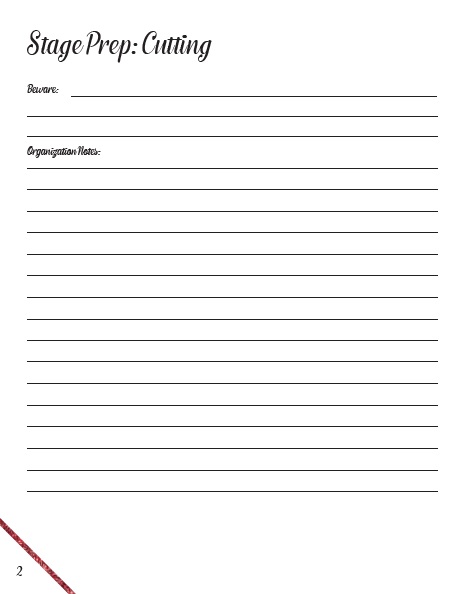
At the top, be sure to note any special cutting instructions you need to watch out for, such as cutting borders from the length before cutting other pieces. If you cut from strips, organize by the largest width strips to make good use of the leftovers.
In the organization area, plan for any labeling and numbering systems needed to stay organized.
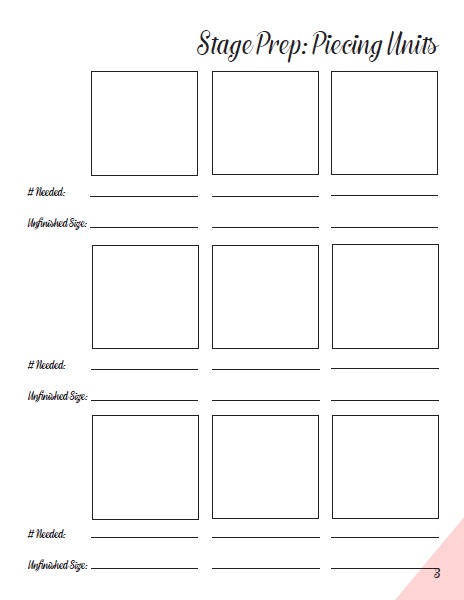
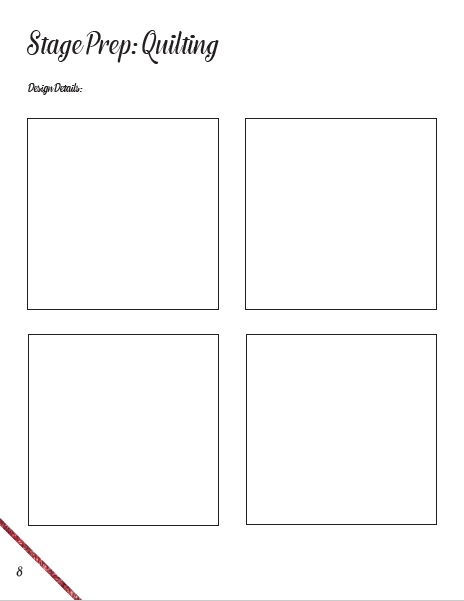
In the boxes, draw the units of construction like half square triangles, square in a square, or flying geese.
Below, note the number needed and the unfinished size for quick trimming reference.
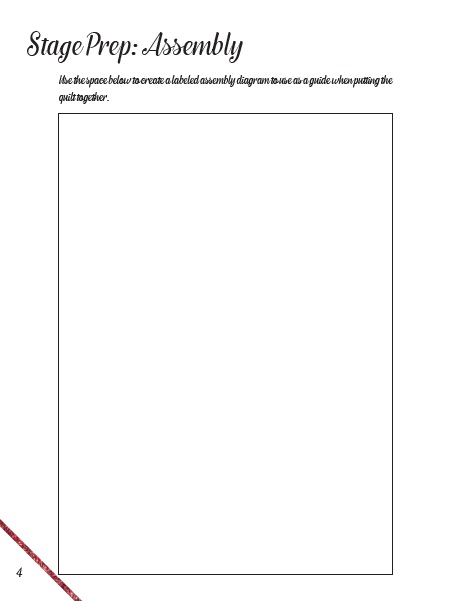
Before assembling, put the quilt on the design wall and let it look at you for as long as it takes for everything to find the perfect spot. Once it looks just right, create a diagram for assembly on this page.

Use this page to plan the label for your project.
Use the diagram at the bottom to design your label.
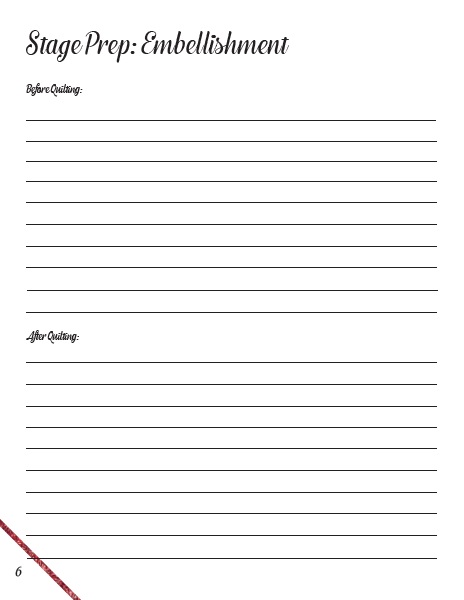
Use the page to record embellishment ideas you want to do before and after quilting.
Note the size needed with the quilting technique in mind. Be sure to allow enough extra for longarm, machine quilting, or hand quilting.
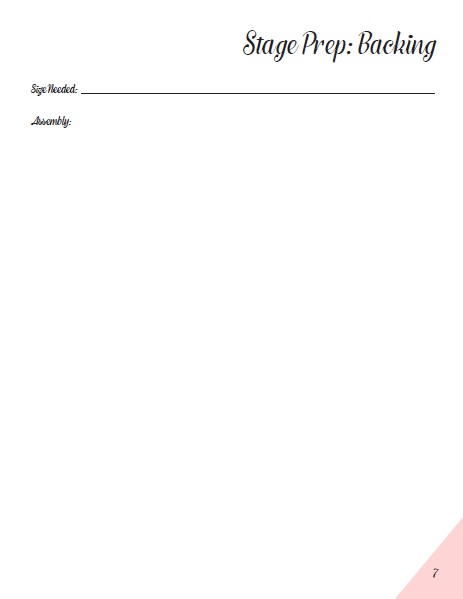
Sketch out the assembly plan for the backing. You can include left over blocks, scraps, or creative piecing.
Consider your batting choice and note it here.
You may want to have several copies of this page available to note patterns for each area of the project.
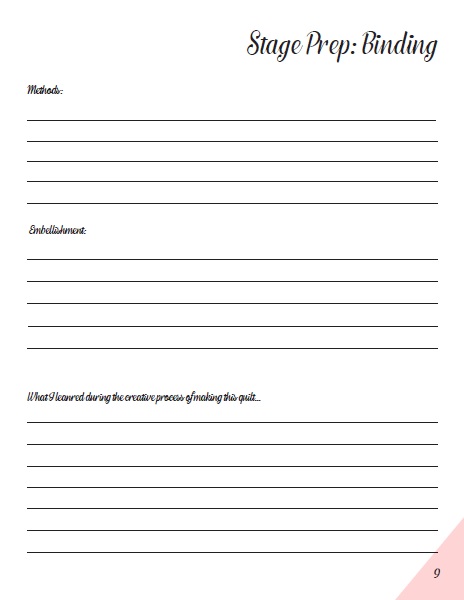
Note binding techniques such as bias or straight cut. Note size and filling for future reference.
Decide if you want any embellishments added to the binding and note here.
At the end of the project, add what you have learned during your creative process.
Here is the link again in case you didn’t get it at the beginning of this guide.
Looking for more ways to organize your creative live? Take a look at our 2020 Creative Organizer.
Love this idea for getting organized!
Love this! Thanks!
Thanks for this. Ive been trying to find something to help me get organized. Hope this helps
This was very useful. Thank you!
Hi, thanks for this WIP. I have several quilts and kits made in to tops and several in the process. This will certainly help.
AQS put out the Quilting Design Notebook. This is brilliant. Used it for the first time this year. It records everything photo or sketch of the quilt you are making, snippets of the various materials. You can record cottons stitches etc. I really enjoy looking back on the booklet now that the quilt has gone to my friend.
Thank you AQS
Love the worksheet. I document all of the same topics, but the information is all over the place. Some in MS Publisher, some in Excel, some in hen-scratches. I have started a wip worksheet for the project I am just starting. I found I need to add a couple of additional pages: 1. Stage Prep: Fabric: instead of, or in addition to the Palette, a list of the fabrics, brand, line, sku, where purchased, how used in the quilt; whether to pre-wash, any pressing information. 2. Stage Prep: Batting: brand, size needed, whether special uses during quilting, whether double, etc.
I have recently been feeling a bit overwhelmed by the UFO’s languishing in the closet and in my cabinet, as well a few WIPs calling for my attention now. So the UFO/WIP articles are helping me. So much so, that I will be using a lot of the information as part of a guild program I will be doing in March. THANK YOU SO MUCH.
Love this idea, sometimes my project get separated, I have several going and now I can put all the information in the clear bag with the fabric and pattern.
Might be more helpful if the Creative Organizer calendar was for 2020
Hi Elsa, Here is the link to the 2020 Creative Organizer. Enjoy! Betsey