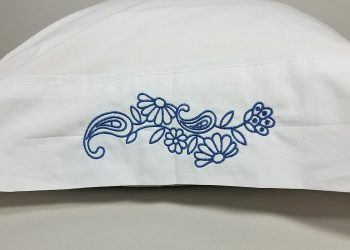

Let’s Make Personalized Embroidery Pillowcases!
It’s the third week and the third project of Machine Embroider Your Life from American Quilter’s Society and EverSewn! We’re so excited to bring you nine great machine embroidery projects to make in the following weeks. There’s lots of fun in store. This week we’re making personalized pillowcases using machine embroidery. It’s the perfect way to add your touch to any bed set. Let’s get started!
Click Here to download the written instructions as a PDF
Supplies
- 120 x 180 mm Embroidery Hoop and Embroidery Sheet Guide
- 11/75 Machine Embroidery Needle
- Water Soluble Adhesive Stabilizer
- Ruler
- Scissors
- Seam Ripper
- Pins
- Pencil/Marking tool
- Embroidery Thread(s)
- Premade pillowcase or Click Here for instructions to make your own!
Registration Marking
Mark the center of the pillowcase band with either a water soluble marking tool, or by pressing creases. Fold the pillow case in half, side to side, to find the middle and mark. Fold the pillowcase band in half (in the area you wish to stitch) to find the middle and mark again.
Hooping
Cut a piece of water soluble adhesive stabilizer large enough for the embroidery hoop. Lay the stabilizer over the outer hoop with the shiny paper side up and the woven side down, and then press in the inner hoop over the stabilizer. Close the clamp to secure. Pull the stabilizer drum tight. Use a pin or seam ripper to score the paper around the outer edges and an X through the middle and pull the paper away. Set the hoop’s placement guide into its grooves and mark the center point with a pencil.
With the rest of the pillowcase oriented over the attachment side of the hoop, bring the pillowcase over the sticky stabilizer and line up the center points over the marked center point of the hooped stabilizer. Press the pillowcase to the adhesive stabilizer and secure with a few pins.
Design
If you’re following along on a machine other than the Sparrow X, select a design and arrange the design following your machine’s editing software. Motifs with some open space work well for pillowcases. To determine what size works best for your pillowcase, measure the area you wish to stitch; a long, narrow design worked well for us. We have some ideas below with links to the design.
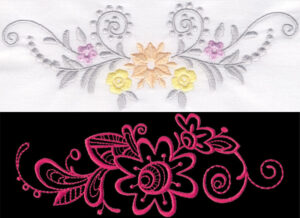
Graceful Spring Centerpiece, Doodle Flower Border
Open the EverSewn Pro app on your smart device.
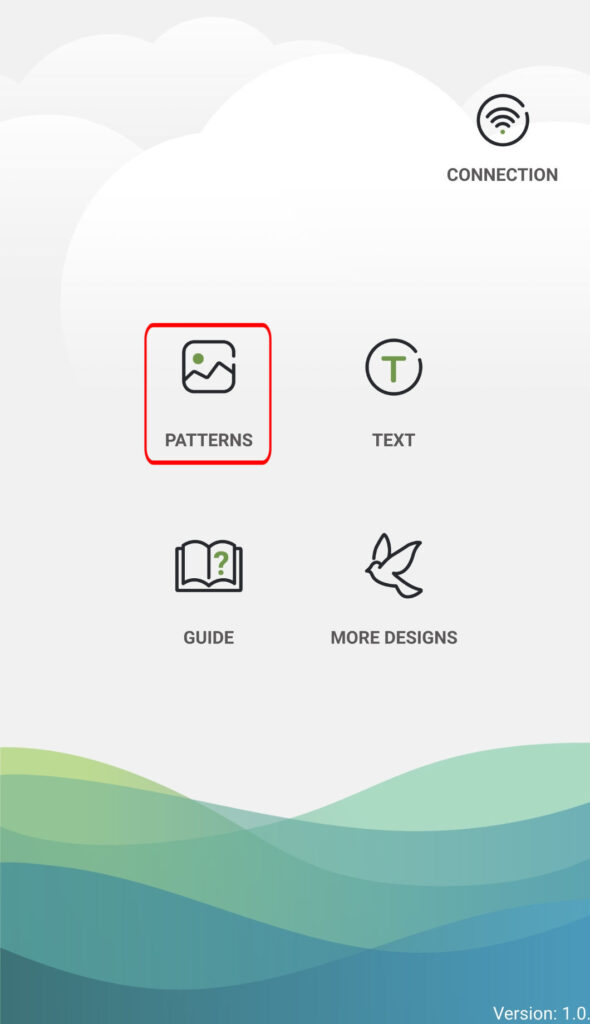
Select the Pattern tab.
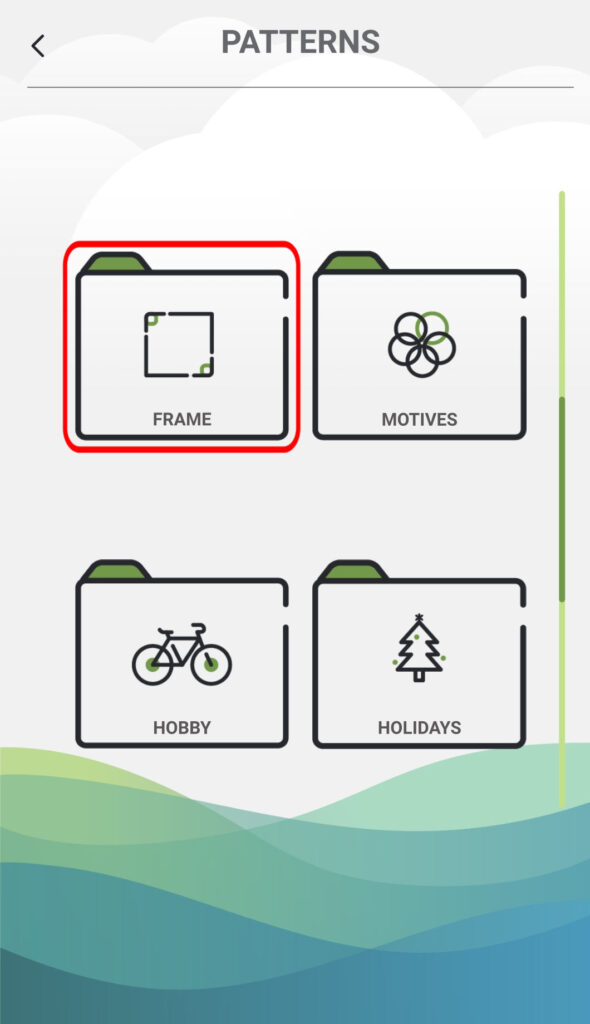
Click the Frame folder.
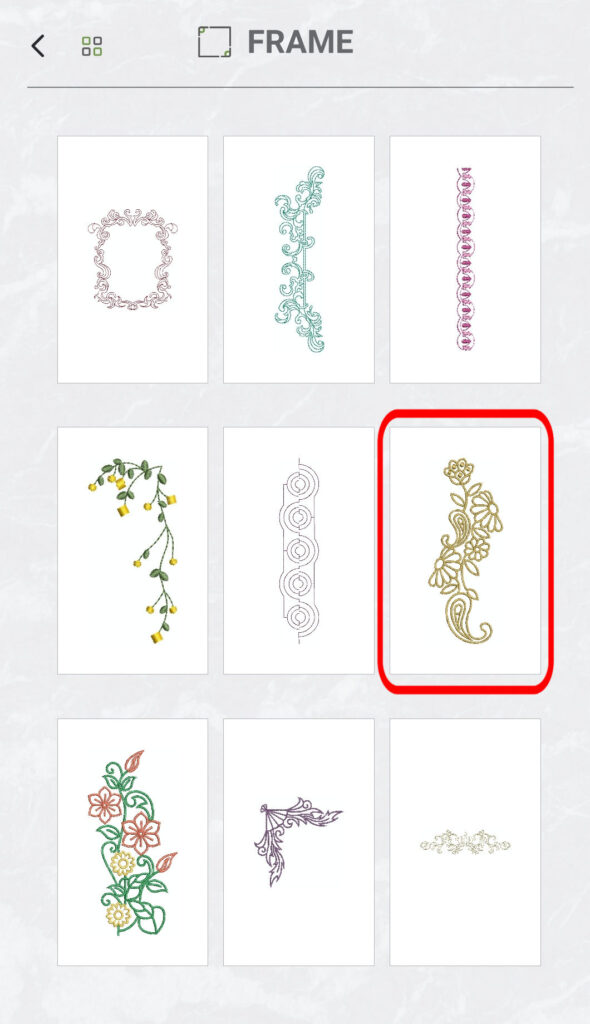
Select the design you want to make.
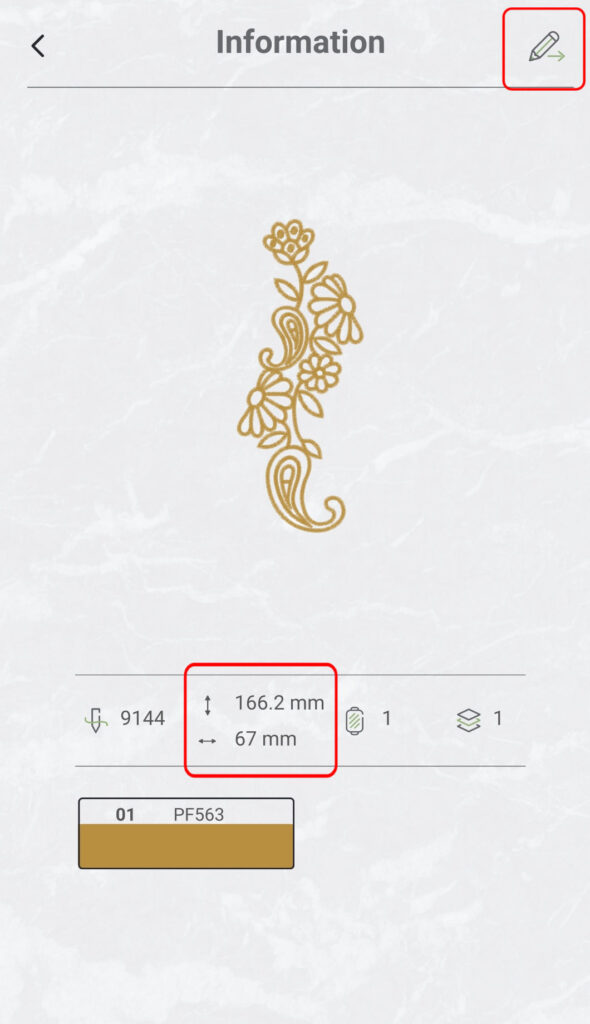
The app takes you to an information page. This is where you check the size of the design against the size of your band for compatibility. Click the pencil button in the upper right corner to send it to the editing screen.
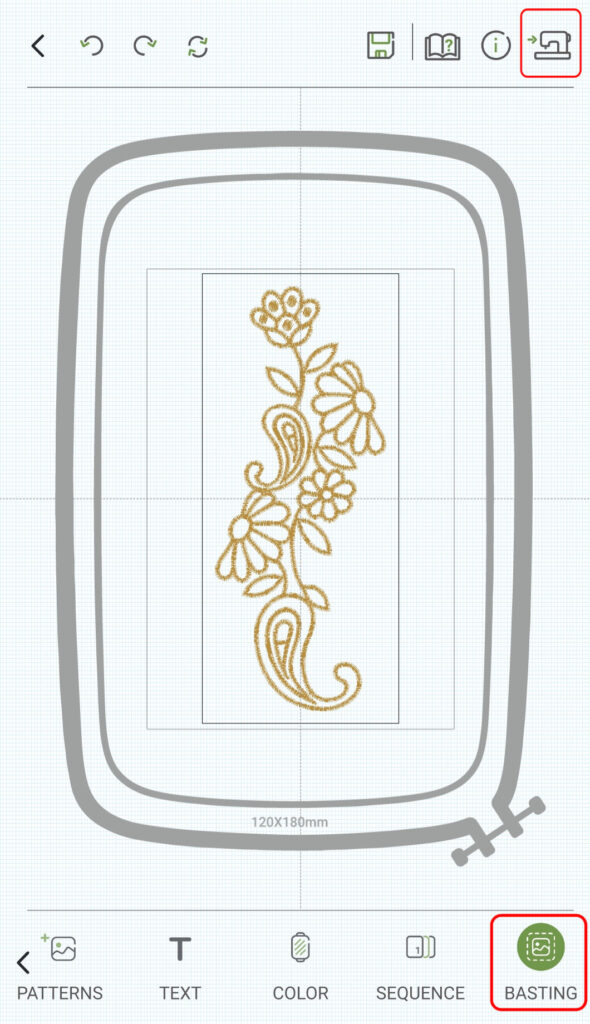
The app automatically places the design in the center. Add a basting stitch to the design by tapping the Basting button in the bottom sliding menu. Once done editing, click the button in the upper right corner that looks like a sewing machine with an arrow pointing at it to send the design to the machine for stitching.
Stitchout
Thread the embroidery thread in the machine. Press the start button on the front of the machine to begin stitching the design. Follow any thread change prompts from the machine/app until the design is finished.
Finishing Touches
While the pillowcase is still hooped, remove the basting stitches with a seam ripper, and then remove the pins. Unhoop the project and cut away the excess stabilizer. Any leftover stabilizer will wash away later.
If the design wrinkles when washed, press with a warm iron and a pressing sheet.
Now all you have to do is enjoy your personalized embroidery pillowcases!
Click Here to download the written instructions as a PDF
Keep the fun going!
Join us in the AQS Project Parade Facebook Group to show off your creations!
Members get even more…
AQS Members can access hundreds of patterns and digital issues of American Quilter at any time!
Find quilt along series like Forever & A Day, 30 Days of Birds and more.

Not a member? Join today!
0 Comments for “Machine Embroider Your Life: Embroidery Pillowcases”