
Let’s Decorate a Dress!
It’s the seventh week and the seventh project of Machine Embroider Your Life from American Quilter’s Society and EverSewn! We’re so excited to bring you nine great machine embroidery projects to make in the following weeks. There’s lots of fun in store. This week we’re going to decorate a dress with machine embroidery in a continuous line. Let’s get started!
Click Here to download the written instructions as a PDF
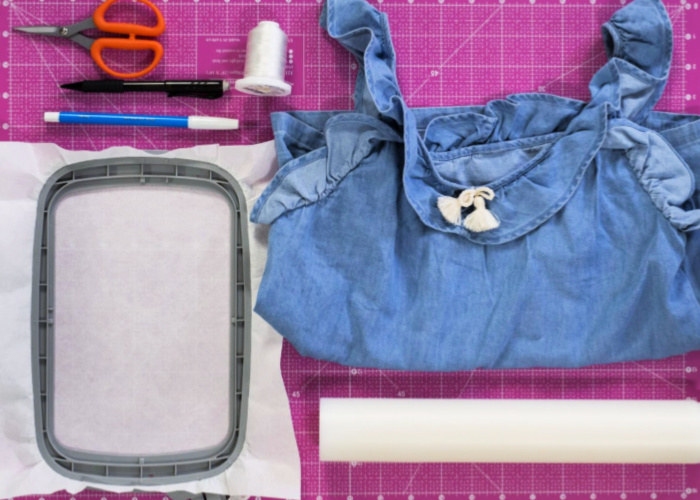
Supplies
- 120 x 180 mm Embroidery Hoop
- 11/75 Machine Embroidery Needle
- Self-adhesive Stabilizer (water soluble for light stitching, tearaway for dense stitching)
- Medium Weight Cutaway Stabilizer
- Ruler
- Scissors
- Seam Ripper
- Pins
- Pencil/Marking tool
- Embroidery Thread(s)
- Pre-washed Dress (We used a baby dress)
Create the Placement Guide
Hoop a piece of cutaway stabilizer in the hoop. Load the hoop into the machine. We’ll create our design and then finish the placement guide.
Selecting a Design
If you’re following along on a machine other than the Sparrow X, select a design and arrange the design following your machine’s editing software. Designs made for borders or described as continuous line are a good option. If the design has lots of open space, use water soluble self-adhesive stabilizer, and if it has denser stitching use tearaway or even cutaway self-adhesive stabilizer. We have some ideas below with links to the design.

Tula Pink Arrowheads Border (used in video), Aqua Swirls, Grass & Flowers Border.
Design
Open the EverSewn Pro app on your smart device.

Select the Pattern tab. We’re using a purchased design for our dress, so it’s in the My Design folder. Select the design.
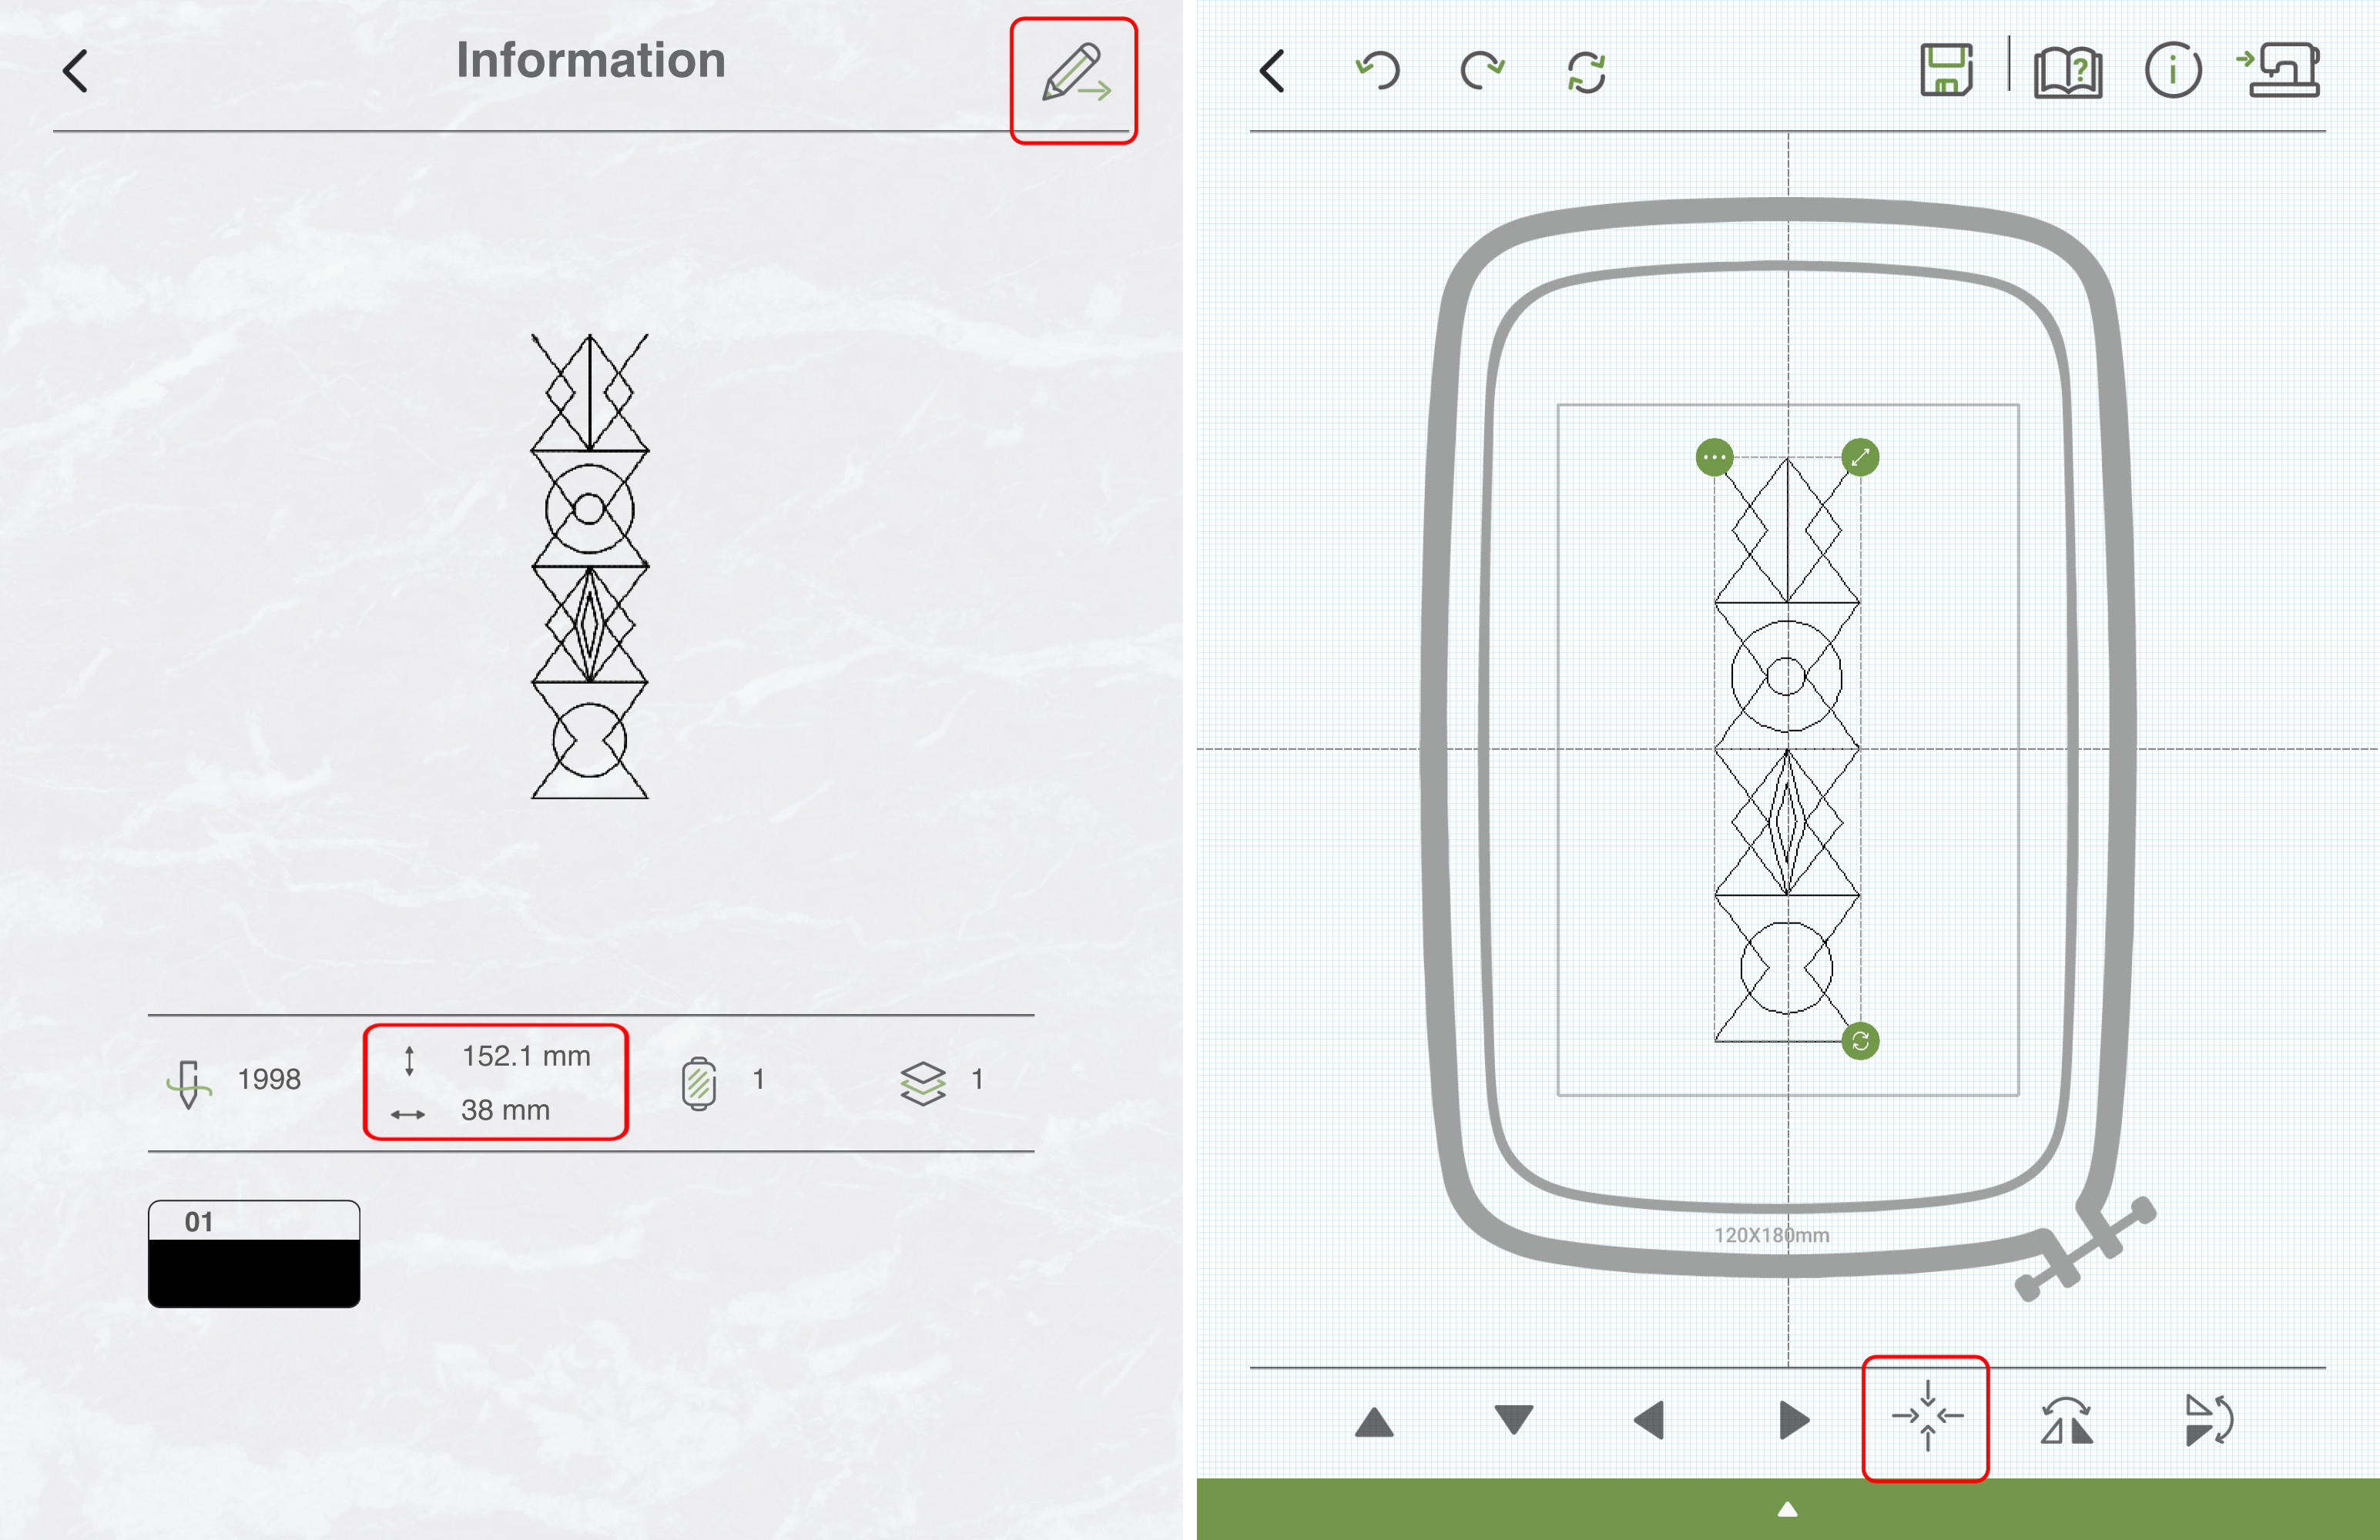
The app takes you to an information page. Look at the size of the design. Measure the length of the line around the bottom of the dress you want to embroider and divide up the amount to figure out how many repeats you’ll need and/or if you need to adjust the size at all. We recommend planning on one design centered on the dress and then add as many repeats on either side as needed for easier stitching.
Click the pencil button in the upper right corner to send the design to the editing screen.
In the editing screen, use the tools under the “Move” tab down in the bottom sliding menu to center the design.
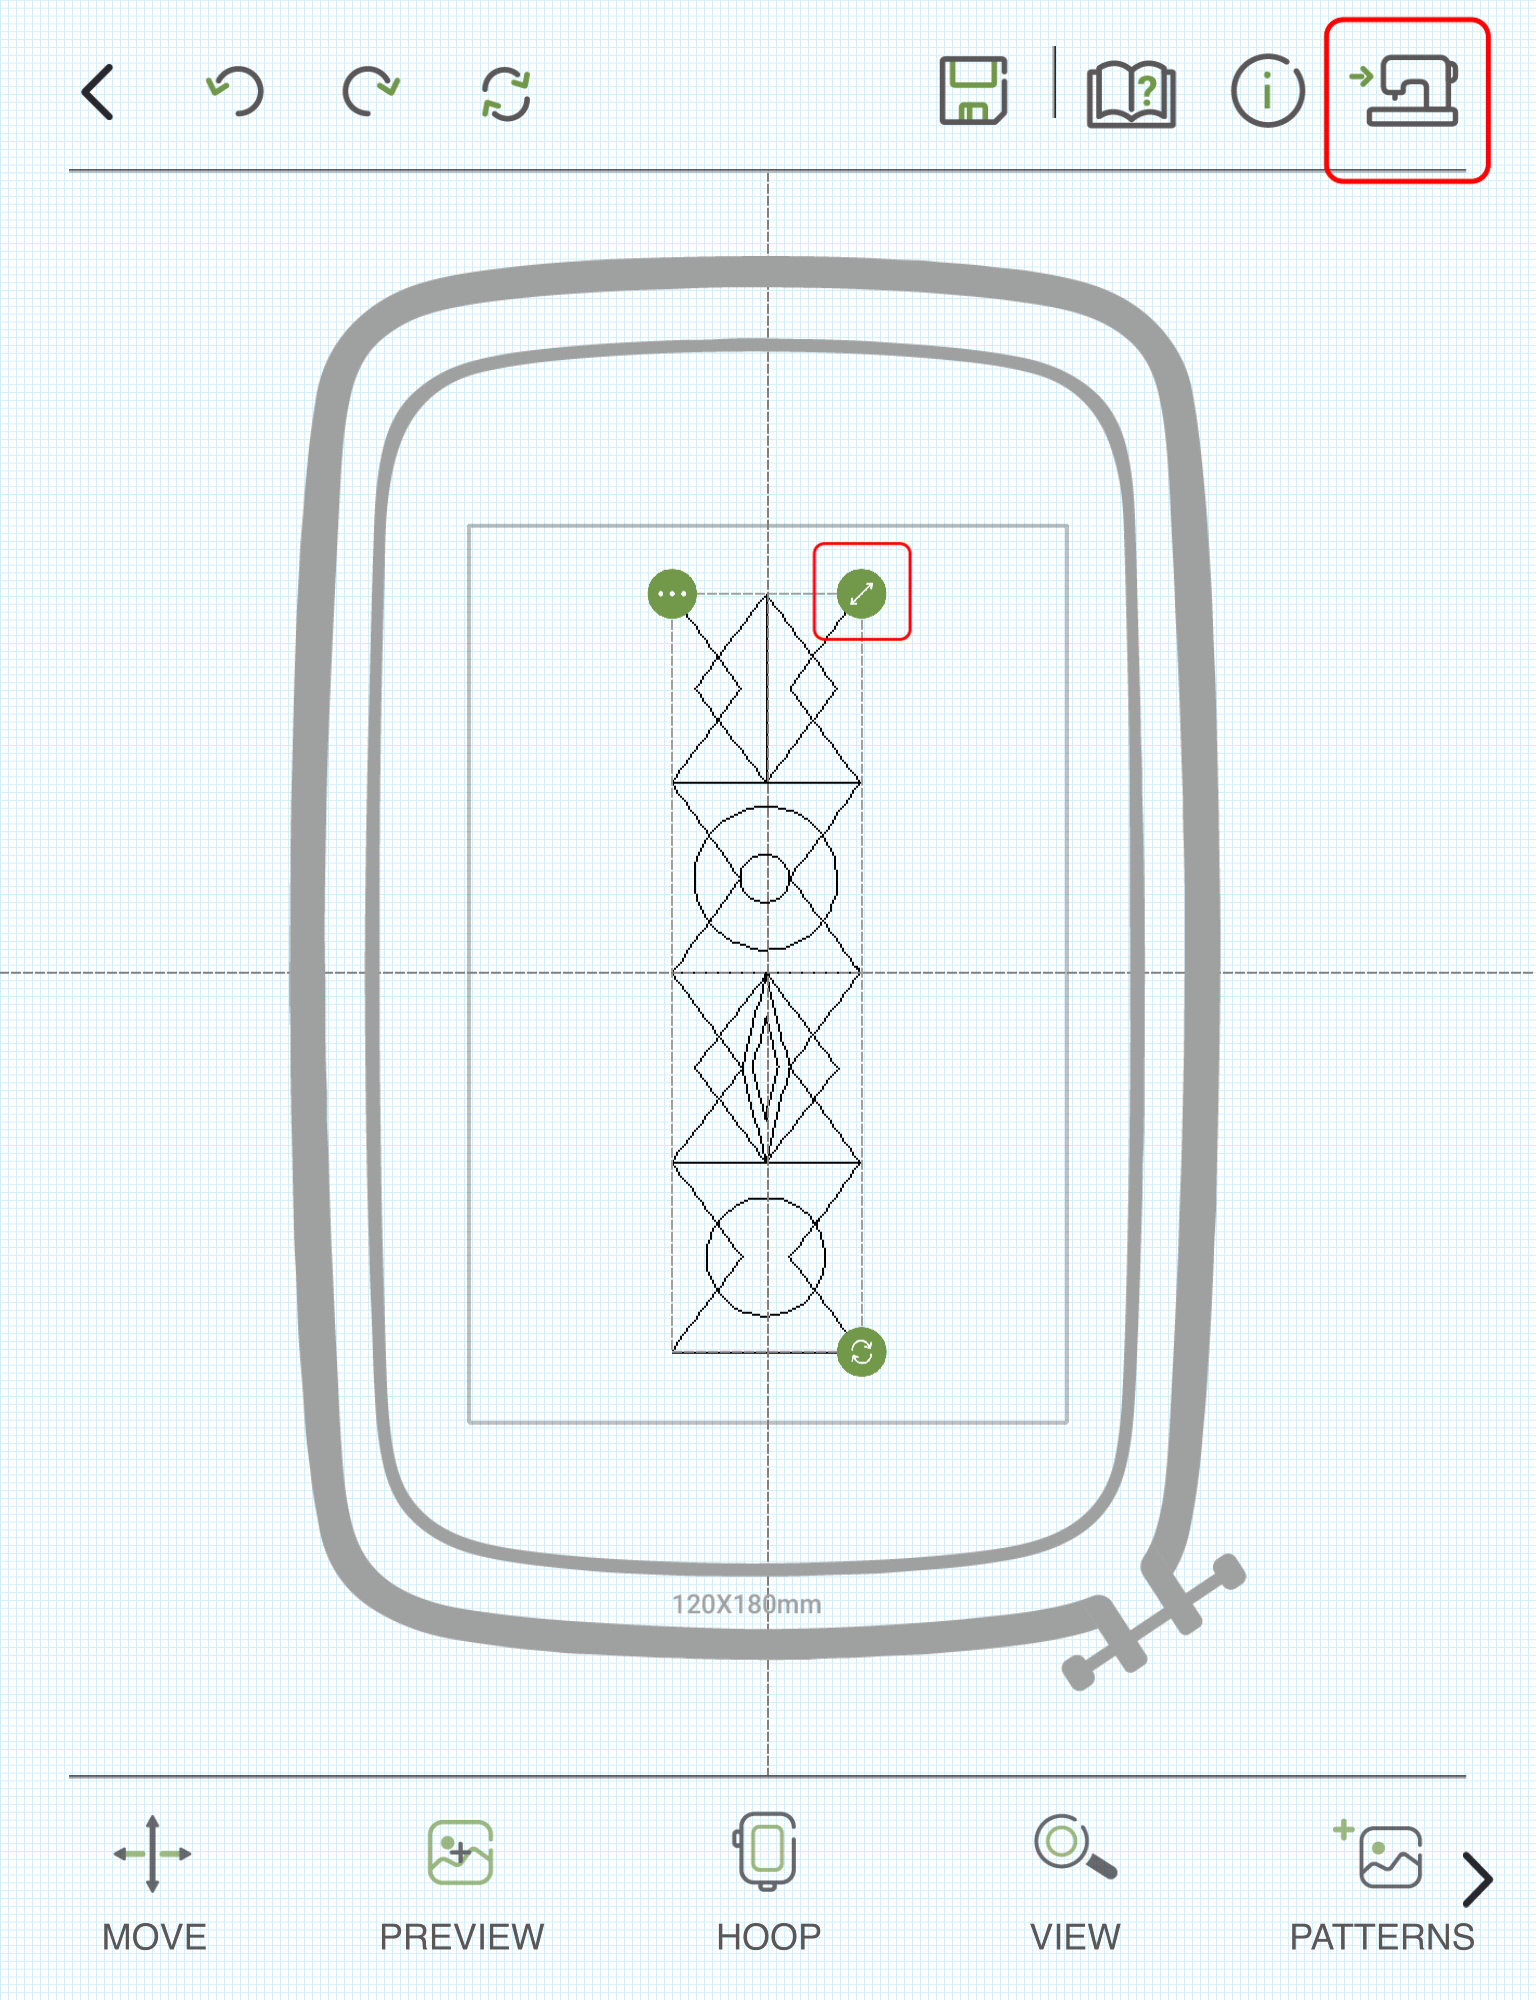
If you need to adjust the size of the design, select the design by tapping on it and use the green buttons to adjust as needed. Remember to re-center using the tools in the “Move” tab along the bottom.
Once the design is set, click the button in the upper right corner that looks like a sewing machine with an arrow pointing at it to send the design to the machine for stitching.
Finishing the Placement Guide
With the design set, and the hoop loaded with hooped cutaway stabilizer, stitch out the design. Remove the hoop from the machine. Make an X on the paper at the corner where the clamp is, and even write/draw the design inside the basting stitch to help you keep track of the design orientation. Mark the center lines with a pencil. Trace the inside of the inner hoop with a pen or pencil.
Unhoop the stabilizer and cut out around the marked inner hoop line to complete the placement guide.
Dress Preparation
Note: If the dress you’re working on is small, it may be easier to rip out the side seams and resew them later.
Using your placement guide to help visualize, audition the position you want the design. Once you like where the design is, measure from the middle of the design to the edge of the dress and note that measurement.
Lay the dress on a flat work surface. With a ruler, measure the distance from the edge of the dress to the measurement you noted in the previous step on the inside of the dress. Make sure everything is even and straight. Mark the center line with a water soluble marker on the inside of the dress. Repeat along the length of the area you wish to embroider. Finally, fold the dress in half to find the center and mark this along the marked line at the edge.
Stabilizer Preparation
Cut a length of self-adhesive stabilizer about 10″ longer than you plan to embroider. Using a ruler and marker or pencil, mark the center of the of the stabilizer on the “back” (mesh-like or woven) along through the long and short sides.
1st Hooping
With the stabilizer marked, we’re ready for the first hooping. Place the outer hoop on a flat work surface with the clamp fairly loose. Place the marked stabilizer with the paper side pointing up. Line up the center markings of the inner hoop to the center lines on the stabilizer. Align all the hoop parts and press the inner hoop into the outer hoop. Make sure the center markings all still line up, and then close the clamp and tighten the nut.
Using a pin or the point of a seam ripper, score the paper and remove to reveal the adhesive part of the stabilizer.
Line up the marked center intersection of the dress to the marked intersection of the hooped stabilizer. Keep lining up the marked center line down the length of the area to be embroidered. Pat everything into the self-adhesive stabilizer so it’s smooth and straight. Add a few pins along the edge of the dress where the hoop doesn’t catch it to ensure a stable area for stitching.
Roll the excess dress up and out of the way and clip as needed. Install the hoop in the machine.
1st Stitchout
Return the EverSewn Pro App to the beginning of the design. Press the start button on the front of the machine to begin stitching the design. Follow any thread change prompts from the machine/app until the design is finished.
Repeat Placement
After the first stitchout, remove the hoop from the machine, remove the pins from the edge of the dress, and unhoop the dress. Remove the paper from the stabilizer for the next area to be hooped. Line up the marked center lines as before.
Take the placement guide and fold over the edge at the end where the next stitchout will meet the first. Fold it over so a stitch or so shows to help get an alignment with no gaps. Place the folded edge right up against the end of the previous stitchout. Line up the marked center line of the placement guide to the marked center line of the dress/stabilizer. (If you have trouble checking this, place a pin through the dress where the line is marked and line up the placement guide to the pin.)
Pin the placement guide in place and unfold the edge.
Repeat Hooping and Stitchout
Place the outer hoop on a flat work surface with the clamp really loose. Place the dress over the outer hoop. Line up inner hoop over the placement guide. Align all the hoop parts and press the inner hoop into the outer hoop. Make sure the edges of the placement guide and the inner hoop still line up, and then close the clamp and tighten the nut.
Return the EverSewn Pro App to the beginning of the design. Press the start button on the front of the machine to begin stitching the design. Follow any thread change prompts from the machine/app until the design is finished.
Repeat this as needed to complete the continuous line design.
Now all you have to do is enjoy your decorated dress!
Click Here to download the written instructions as a PDF
Keep the fun going!
Join us in the AQS Project Parade Facebook Group to show off your creations!
Members get even more…
AQS Members can access hundreds of patterns and digital issues of American Quilter at any time!
Find quilt along series like Forever & A Day, 30 Days of Birds and more.

Not a member? Join today!
0 Comments for “Machine Embroider Your Life: Decorate a Dress”