A happy sewing machine makes a happy quilter! Follow these three easy steps after every project to keep your machine happy.
Step One:
Bust the dust!
- Remove the bobbin from the bobbin case or the drop-in bobbin area.
- Use a cotton swab to remove lint and stray threads from the bobbin area of the machine.
- No need for blowing or sucking dust out of the way, simply swipe it out.
- Grab any trapped threads with tweezers and remove them.
- Use a dry soft cloth the wipe down the throat area of the machine.
- Use a cotton swab to remove dust from the foot and needle area.
- Make sure the thread path is clear of fuzz too.
Step Two:
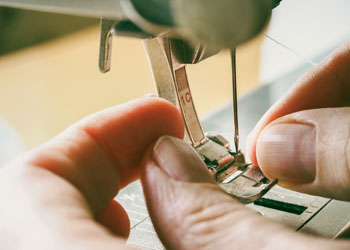
Change the Needle
- Remove the needle and examine it.
- Is it sharp? Does it have any burrs? Is it bent? Is it sticky or gummy? Replace it with a new sharp one.
- If you used a specialty needle for your last project, store it in a well labeled container.
- Install the needle. Be sure to consult the manual if needed.
- Rethread the machine and sew a sample to be sure all is good.
Step Three:
Reset the Machine
- Replace the foot with your normal sewing foot.
- Store any specialty feet you were using in their designated location.
- Set the sewing speed back to your normal pace.
- Return the tension back to its regular or auto setting.
- Set the stitch, along with length and width, back to your regular stitch.
- Everything should be ready to go for your next adventure.
- Is the bobbin almost empty? Wind any extra bobbins you need in a neutral color so you are ready to go.
These three easy step not only keep your machine happy, but get you ready for your next project too!
Please remember, this doesn’t replace regular heavy duty cleaning or a spa day at the repair shop.
Happy National Sewing Machine Day!
Thanks very practical and easy way to keep our beloved machine running smoothly