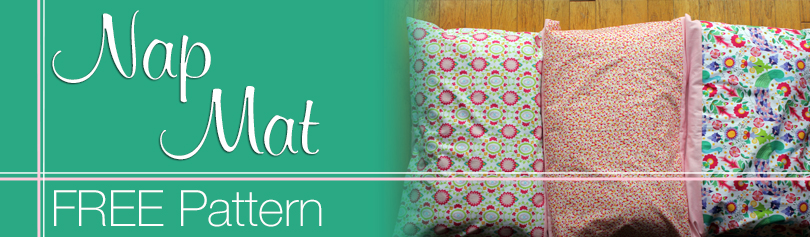
Snuggle up with your little one on this adorable nap mat. Perfect for three standard sized pillows and your favorite playful prints. When nap time is over, pop out the pillows and put the mat away.
by Betsey Langford
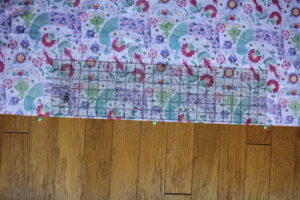
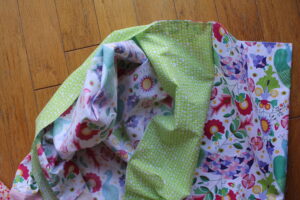
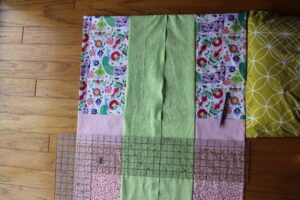
To begin, use a piece of fabric 54″ x 60″ or create a piece of fabric by sewing fabrics together as shown here. This will fit three standard sized pillows.
![01full-fabric](https://preview.americanquilter.com/wp-content/uploads/2017/01/01full-fabric-300x200.jpg)
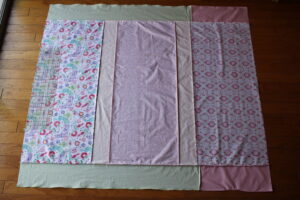
Finish the long edges as desired.
![02rolled-hem](https://preview.americanquilter.com/wp-content/uploads/2017/01/02Rolled-Hem-300x200.jpg)
These edges were rolled hem stitched.
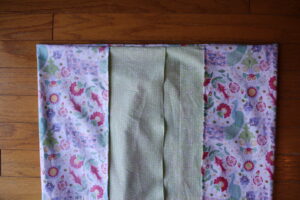
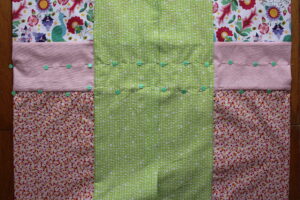
To fold the fabric into three parts, make the center with a pin.
![find-center](https://preview.americanquilter.com/wp-content/uploads/2017/01/Find-Center-300x200.jpg)
Measure 12 1/2″ from center on both sides.
![measure-from-center](https://preview.americanquilter.com/wp-content/uploads/2017/01/measure-from-center-300x200.jpg)
At these marks, fold the sides over so each side overlap a few inches (between 2″-3″) past center. Use your pillow as your guide.
![fold-at-marked-points](https://preview.americanquilter.com/wp-content/uploads/2017/01/Fold-at-marked-points-300x200.jpg)
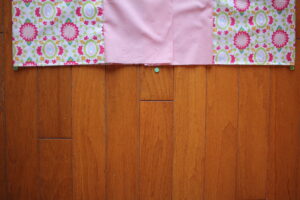
Pin the top and bottom well, pinning the overlap carefully to stabilize.
![pin-end](https://preview.americanquilter.com/wp-content/uploads/2017/01/Pin-end-300x200.jpg)
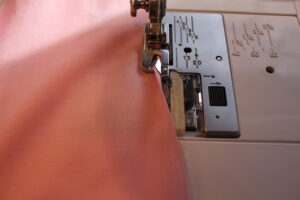
Sew 1/8″ with wrong side together for the top and bottom to make the first half of the french seam.
![sew-eight-inch](https://preview.americanquilter.com/wp-content/uploads/2017/01/sew-eight-inch-300x200.jpg)
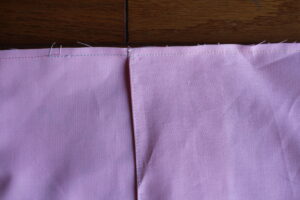
Remove the pins and turn wrong side out.
![turn-wrong-side-out](https://preview.americanquilter.com/wp-content/uploads/2017/01/turn-wrong-side-out-300x200.jpg)
![end-wrong-side-out](https://preview.americanquilter.com/wp-content/uploads/2017/01/end-wrong-side-out-300x200.jpg)
Sew 1/4″ along the top and bottom to complete the second half of the french seam and turn right side out again.
![overlap](https://preview.americanquilter.com/wp-content/uploads/2017/01/Overlap-300x200.jpg)
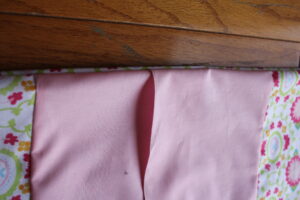
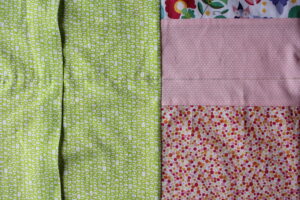
Here is what the french seam looks like on the inside.
![inside-view](https://preview.americanquilter.com/wp-content/uploads/2017/01/inside-view-300x200.jpg)
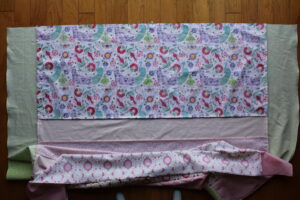
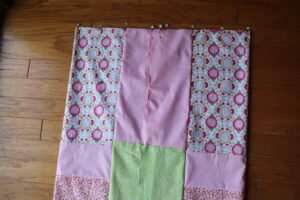
Using your pillows as your guide, mark the two top-stitching lines to create the three pillow compartments. Be sure to lay everything back out evenly; now’s the time for perfectionism!
![mark-pillow-pocket](https://preview.americanquilter.com/wp-content/uploads/2017/01/mark-pillow-pocket-300x200.jpg)
Pin the pillow lines to secure all the layers.
![pin-to-hold](https://preview.americanquilter.com/wp-content/uploads/2017/01/Pin-to-hold-300x200.jpg)
Top stitch marked lines beginning at the overlapping side to avoid pulling the lip of the overlap up as you sew across. Be sure to back stitch at both ends for stability. You may want to sew two lines for extra security.
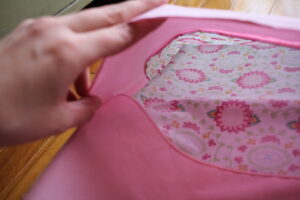
![sew-to-make-pillow-division](https://preview.americanquilter.com/wp-content/uploads/2017/01/Sew-to-make-pillow-division-300x200.jpg)
Backside finished:
![back-before-stuffing](https://preview.americanquilter.com/wp-content/uploads/2017/01/Back-before-stuffing-300x200.jpg)
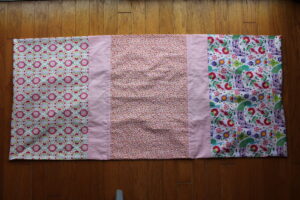
Front side finished:
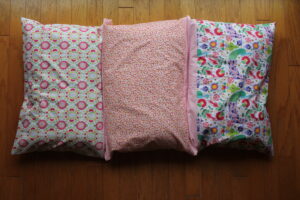
![ready-to-stuff-with-pillows](https://preview.americanquilter.com/wp-content/uploads/2017/01/Ready-to-stuff-with-pillows-300x200.jpg)
Stuff with pillows.
![finished-nap-mat](https://preview.americanquilter.com/wp-content/uploads/2017/01/Finished-Nap-Mat-300x200.jpg)
This is not good for an Infant as they should not even have blankets or pillows when sleeping This is a Problem with trghe SID Infants that die. Better for a over 1 child.