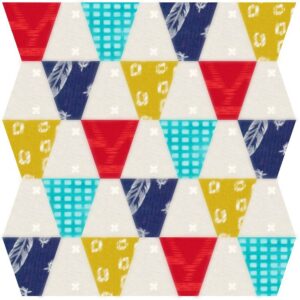
Whether you’ve tried English Paper Piecing (EPP) before or not, you’re going to want to play with this fun technique. Use it on any EPP project and you’ll have it finished in a snap.
First, pick a size for your pattern. We have some handy templates here for you to print and use:
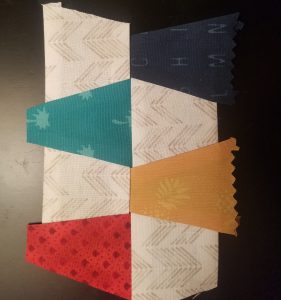
Next, collect some scraps and give this method a try.
Step One:
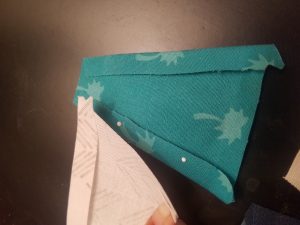
Prepare the seam allowances by pressing alternating seams to the template. For the colored thimbles we pressed the side seams, for the background thimbles we pressed the top and bottom.
Step Two:
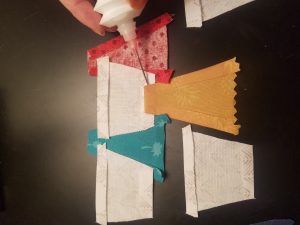
Glue the overlapping edges to the pressed seam allowances.
Step Three:
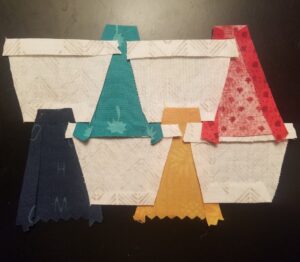
Continue adding piecing until you have your piece the size you want.
Step Four:
Layer the glued top with batting and backing fabric and top stitch around each piece to secure and quilt it at the same time.
Trim the piece and bind.
This is just a sample of Karen Stone’s amazing EPP technique. Her iquilt class is full of tips and tricks for doing all sorts of pieces from simple to complex.
If you thought this was fun, you’ll want to learn more with Karen.
No internet? No problem, get the DVD.
So the only sewing is done at the end when piece is sandwiched? Topstitiching it all together.
Hi Jeannette, Yes, the top stitching is the only stitching for this little project. For a small project, it makes a quick and clever finish. For a quilt, the pieces would need to be sewn first. Thanks, Betsey